Introduction
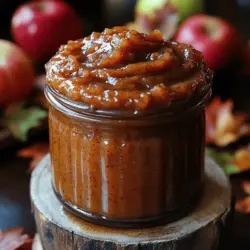
As the leaves begin to change and the air turns crisp, the arrival of fall beckons us to embrace the comforting flavors of the season. One of the most beloved traditions of autumn is the making of apple butter, a luscious spread that captures the essence of ripe apples and warm spices. Historically, apple butter has roots that trace back to early American settlers, who sought to preserve the bountiful harvest of apples. This delightful concoction, once a necessity for extending the life of fruit, has now become a cherished staple in many households, evoking nostalgia and the joy of family gatherings.
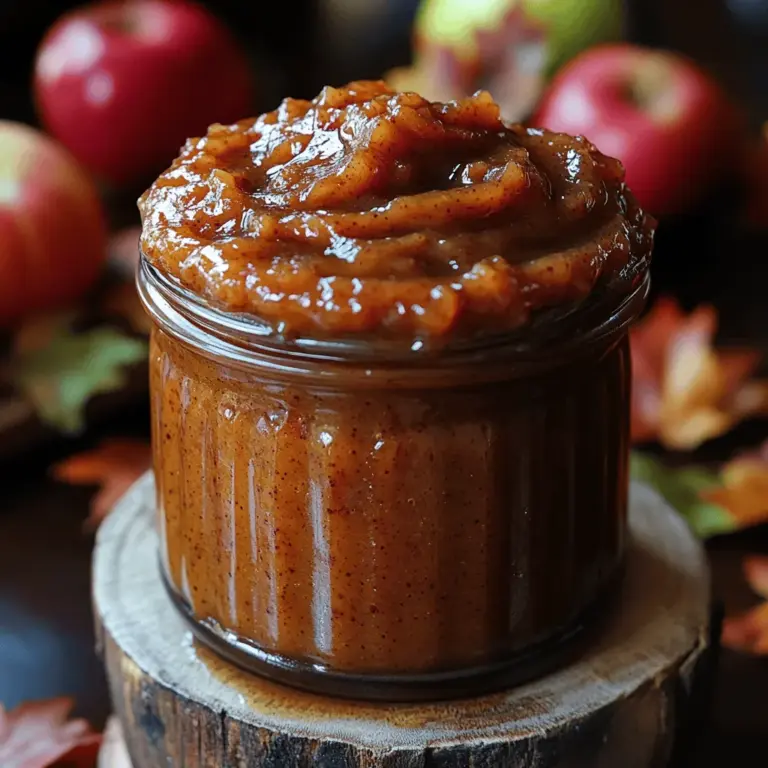
Homemade apple butter offers a rich, complex flavor that far surpasses anything you can find in a store. The process of making it allows you to savor the natural sweetness of apples while incorporating warm spices that evoke the spirit of autumn. What’s more, there’s something incredibly satisfying about creating a product from scratch, especially when it involves gathering seasonal produce. The aroma that fills your kitchen as the apple butter simmers away is like a warm hug on a chilly day.
In this recipe, we’ll explore the wonderful world of slow cooker apple butter. The beauty of using a slow cooker lies in its convenience; it allows you to prepare this delightful spread with minimal hands-on time. Just set it and forget it! This method ensures that the flavors meld beautifully over several hours, resulting in a rich and velvety apple butter that you can enjoy on toast, pancakes, or even straight from the jar.
Understanding the Ingredients
Before diving into the cooking process, it’s important to understand the key ingredients that will transform simple apples into a spiced, sweet spread. Each component plays a vital role in crafting the ideal apple butter, and knowing how they work together will enhance your final product.
Apples
The star of the show is, of course, the apples. When selecting apples for your apple butter, consider varieties that balance sweetness with a hint of tartness. Some of the best options include:
– Granny Smith: Known for their tartness, these apples add a refreshing zing to the butter.
– Fuji: Sweet and juicy, Fuji apples contribute a natural sweetness that reduces the need for excessive sugar.
– Honeycrisp: These apples are prized for their crisp texture and balanced flavor, making them a fantastic choice for apple butter.
Combining different apple varieties can also elevate the overall taste, creating a more complex flavor profile. Aim for a balance of sweet and tart apples to achieve the perfect blend.
Sugars
The next key ingredient is sugar. While traditional recipes often call for granulated sugar, incorporating brown sugar can add depth and a hint of caramel flavor. The combination of both sugars not only sweetens the apple butter but also enhances its texture. Brown sugar, with its higher moisture content, helps achieve that smooth, spreadable consistency that makes apple butter so irresistible.
Apple Cider
Apple cider is another important ingredient that enriches the flavor of your apple butter. It adds moisture and amplifies the apple taste, creating a more concentrated flavor as it cooks down. Using fresh, unfiltered apple cider will provide the best results, but shelf-stable varieties can work in a pinch.
Spices
A defining characteristic of apple butter is the blend of warm spices that infuse it with a comforting aroma. The typical spice mix includes:
– Cinnamon: This classic spice is essential for its warm, sweet flavor.
– Nutmeg: A pinch of nutmeg adds a nutty depth to the butter.
– Allspice: This spice brings a unique, peppery sweetness that complements the apples beautifully.
– Cloves: Just a dash of ground cloves can add a subtle, warm earthiness.
Experimenting with different spices can lead to a personalized apple butter that suits your taste. For those looking to add a twist, consider including ginger or cardamom for an exciting flavor variation.
Vanilla Extract and Lemon Juice
For added complexity, vanilla extract is often included in apple butter recipes. It rounds out the flavor, making it even more decadent. Similarly, a splash of lemon juice not only brightens the overall taste but also helps to balance the sweetness of the apples and sugars.
Importance of Salt
Finally, a pinch of salt is crucial in any sweet recipe, including apple butter. Salt enhances the flavors of the other ingredients and helps to create a well-rounded taste. It may seem counterintuitive, but a small amount of salt can make a substantial difference in the final product.
Preparing the Apples for Apple Butter
Now that we have a clear understanding of the ingredients, let’s move on to preparing the apples. Properly prepping your apples is essential to ensure a smooth texture and balanced flavor in your apple butter.
Step 1: Washing the Apples
Start by thoroughly washing your apples under cool, running water. This step is crucial as it removes any pesticide residues or dirt that may be lingering on the skin. Even if you plan to peel the apples (which we won’t be doing), it’s important to wash them to ensure cleanliness.
Step 2: Coring the Apples
Once the apples are clean, it’s time to core them. Use an apple corer or a sharp knife to remove the core and seeds from each apple. If you don’t have an apple corer, simply cut the apple into quarters and remove the core by cutting around it.
Step 3: Slicing the Apples
After coring, slice the apples into smaller pieces. There’s no need to worry about making perfect slices; the slow cooking process will break them down, so aim for rough, bite-sized pieces.
Why Peeling is Unnecessary
One of the best parts of making apple butter is that peeling the apples is unnecessary. The skins contain pectin, which helps to thicken the apple butter as it cooks down. Additionally, leaving the skins on adds texture and enhances the flavor profile. The slow cooker will break down the skins, resulting in a smooth and creamy butter without the extra step of peeling.
Selecting the Best Apples
When choosing apples, look for firm, unblemished fruit. Avoid any apples that show signs of bruising or soft spots, as these can negatively impact the flavor and texture of your apple butter. A mix of different varieties can enhance the overall taste, providing a more complex and satisfying flavor.
Combining Ingredients in the Slow Cooker
With your apples prepped, it’s time to bring everything together in the slow cooker. This step is where the magic happens, and it’s essential to layer the ingredients properly to ensure even flavor distribution.
Layering the Ingredients
Begin by placing the sliced apples into the slow cooker. Next, sprinkle the sugars evenly over the apples to ensure they are well-coated. This step is crucial, as the sugars will draw out the juice from the apples, which will help to create the syrupy base for your apple butter.
Adding the Spices
Once the sugars are added, it’s time to sprinkle in your chosen spices. Make sure to distribute the spices evenly over the apples and sugars to guarantee uniform flavor throughout the cooking process. A gentle stir can help combine everything without overly mashing the apples.
Personalizing the Recipe
While the classic spices are delicious, don’t hesitate to personalize your apple butter with additional flavorings. A pinch of ginger can add a nice warmth, while cardamom introduces an exotic twist. Feel free to get creative and adjust the spice levels to suit your taste.
Setting the Slow Cooker
Once everything is layered and combined, cover the slow cooker and set it to low heat. The apple butter will need several hours to cook down, typically around 8 to 10 hours. This slow cooking process allows the flavors to meld beautifully while the apples break down into a smooth, rich butter.
As the apple butter simmers, your kitchen will fill with the enticing aroma of spiced apples, making it almost impossible to resist sneaking a taste! Make sure to check in periodically, giving it a gentle stir to ensure even cooking.
From here, you’ll be well on your way to creating a delightful homemade apple butter that encapsulates the flavors of fall. With its luscious texture and sweet, spiced taste, this slow cooker apple butter is sure to become a seasonal favorite in your household.
Understanding the Slow Cooking Method for Apple Butter
The slow cooking method is essential for developing the rich, deep flavors characteristic of homemade apple butter. This technique allows the apples to simmer gently, breaking down their natural sugars and releasing juices that meld beautifully over time. The low, steady heat not only preserves the integrity of the apples but also enhances the flavors through caramelization. As the apples cook down slowly, they concentrate their sweetness and complexity, resulting in a luxuriously smooth and flavorful spread.
When using a slow cooker, you typically have two heat settings: low and high. Cooking on the low setting generally allows for a longer cooking time, anywhere from 8 to 10 hours, which is ideal for achieving that velvety texture and deep flavor. On the other hand, the high setting will cook your apple butter in about 4 to 6 hours but may not allow the flavors to develop as fully. The choice between low and high settings depends on your schedule, but for the best results, low and slow is the way to go.
Tips for Managing the Cooking Process
To ensure consistent results while making apple butter, here are a few tips to help you manage the cooking process effectively:
1. Choose the Right Apples: A mix of tart and sweet apples not only provides a well-rounded flavor but also ensures the perfect balance of sweetness and acidity.
2. Keep the Lid Closed: Avoid lifting the lid during cooking. Each time you do, heat escapes, which can prolong the cooking process and affect the final texture.
3. Stir Occasionally: While it’s important to keep the lid on, giving the mixture a gentle stir once or twice during cooking helps to prevent sticking and ensures even cooking.
4. Taste as You Go: About halfway through the cooking process, taste the mixture. If it needs sweetness, you can stir in a bit of sugar or additional spices to suit your preferences.
Achieving the Perfect Texture
Once the apples have cooked down and softened, it’s time to achieve that perfect texture for your apple butter. Here are some techniques to help you blend the apple mixture effectively:
– Blending Options: You can choose between an immersion blender or a traditional blender. An immersion blender allows you to blend directly in the slow cooker, which is convenient and minimizes cleanup. However, a traditional blender can achieve a finer consistency, though it requires transferring the hot mixture in batches, which can be a bit messy.
– Pros and Cons:
– Immersion Blender: Easy to use, less cleanup, and safe for hot mixtures. However, it may not achieve as smooth a texture as a traditional blender.
– Traditional Blender: Provides a very smooth finish but requires caution to avoid splattering hot mixtures. Always allow the mixture to cool slightly before blending.
After blending, it’s essential to check the consistency. If it’s too thin, you can return it to the slow cooker for additional cooking. If it’s too thick, a splash of apple cider or water can help loosen it up before the final cooking phase.
Thickening the Apple Butter
After achieving the desired smoothness, it’s time to thicken your apple butter. Here’s how to return the blended mixture to the slow cooker for further cooking:
1. Return the Mixture: Pour the blended apple mixture back into the slow cooker. Spread it evenly to help with uniform cooking.
2. Monitor Cooking Time: Continue to cook on low for an additional 1 to 2 hours, stirring occasionally. This will allow excess liquid to evaporate and the flavors to concentrate further.
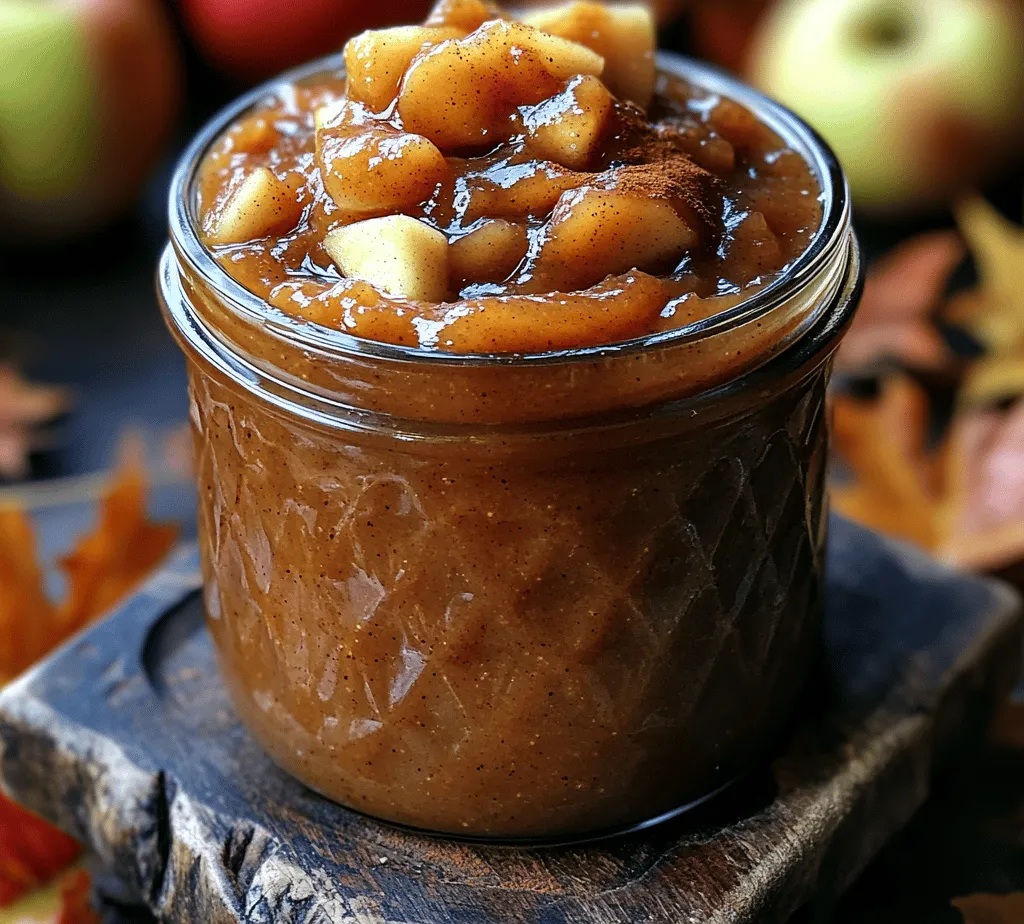
3. Assessing Thickness: The right thickness for apple butter can vary based on personal preference. Generally, it should be thick enough to hold its shape on a spoon but still spreadable. If you prefer a thicker texture, allow for a longer cooking time while keeping a close eye to prevent burning.
4. Stir Regularly: During this thickening phase, it’s crucial to stir every 15 to 30 minutes to prevent the mixture from sticking to the sides of the slow cooker and to promote even cooking.
Jarring and Preserving Your Apple Butter
Jarring and preserving your homemade apple butter is the final step in this delicious journey. Here’s how to do it safely:
1. Sterilizing Jars: Before you begin jarring your apple butter, ensure that your jars are properly sterilized. You can do this by placing them in boiling water for 10 minutes or running them through a dishwasher cycle without detergent.
2. Filling the Jars: Once your apple butter has reached the desired thickness, carefully ladle it into the sterilized jars, leaving about 1/4 inch of headspace at the top. This space allows for expansion during the cooling process.
3. Sealing the Jars: Wipe the rims of the jars with a clean cloth to remove any residue, then place the sterilized lids on top. Screw on the metal bands until they are fingertip-tight.
4. Refrigeration vs. Water Bath Canning: If you plan to use your apple butter within a few weeks, simply refrigerate it. For longer storage, consider water bath canning. To do this, process the filled jars in a boiling water bath for 10 to 15 minutes. Ensure the jars are fully submerged and allow them to cool completely after processing.
Serving Suggestions for Apple Butter
Homemade apple butter is a versatile spread that can elevate many dishes. Here are some creative and delicious ways to enjoy your apple butter:
– On Toast: Spread a generous layer of apple butter on warm toast or bagels for a comforting breakfast.
– With Pancakes or Waffles: Drizzle apple butter over pancakes or waffles instead of syrup for a delightful twist.
– In Yogurt: Swirl apple butter into plain yogurt for a naturally sweet and flavorful snack.
– As a Gift: Fill small jars of apple butter, decorate them with ribbons or labels, and gift them to friends and family during the fall season.
– Pairing with Cheese: Apple butter pairs beautifully with sharp cheeses, such as cheddar or gouda, making it a great addition to cheese boards.
– Use in Baking: Incorporate apple butter into baked goods, such as muffins or cakes, for added moisture and flavor.
Conclusion
Making homemade apple butter is not just about creating a delicious spread; it’s a celebration of autumn’s bounty. The slow cooking process transforms simple apples into a velvety, spiced delight that fills your home with the warm, inviting scents of fall. Whether you enjoy it on toast, pancakes, or as a thoughtful gift, apple butter offers a taste of the season that’s hard to resist.
This fall, take the time to savor the flavors of homemade apple butter. The satisfaction of crafting something from scratch that brings joy and warmth to your loved ones is unparalleled. So gather your apples, dust off your slow cooker, and dive into this delightful culinary adventure. You’ll create cherished memories and a beloved spread that can be enjoyed all year round.