Introduction
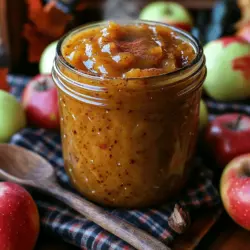
As the leaves begin to turn and the air cools, the essence of autumn fills our homes and hearts. This season beckons us to embrace the comforting flavors and traditions that make it special. One such tradition is the making of apple butter—a delightful, spreadable concoction that captures the essence of fall in every jar. Apple butter is not just a spread; it is a cozy embrace on a chilly morning, a reminder of harvest time, and an invitation to gather around the table.
Apple butter is a versatile treat that can elevate your breakfast toast, serve as a dip for snacks, or even be a secret ingredient in your favorite baked goods. But what truly sets a great apple butter apart is the selection of apples used in its creation. A mix of different apple varieties brings a depth of flavor that is essential for that perfect spread.
Understanding Apple Butter
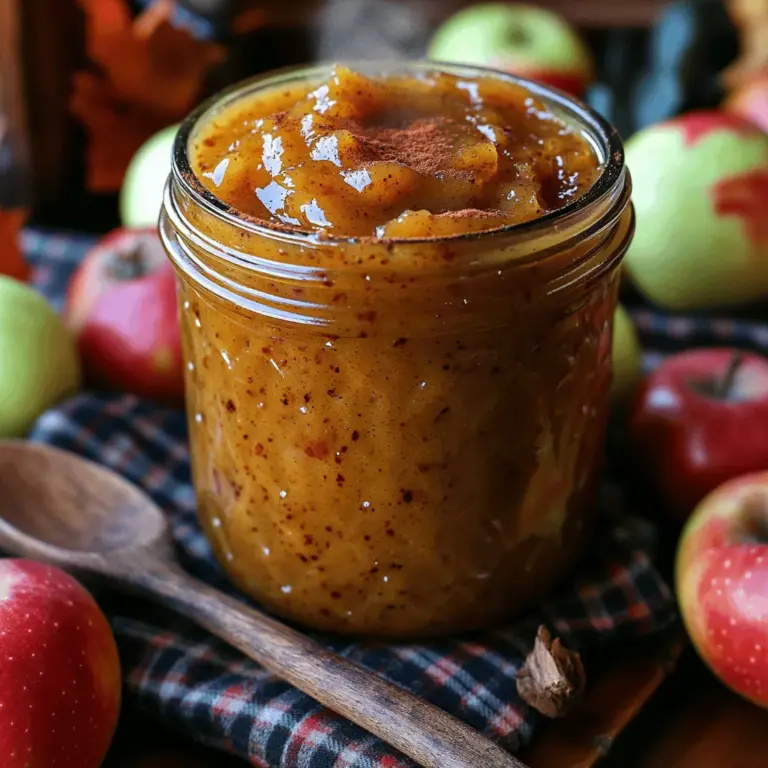
So, what exactly is apple butter? At its core, apple butter is a thick, concentrated form of applesauce that is slowly cooked down until it reaches a smooth, spreadable consistency. The slow cooking process caramelizes the natural sugars in the apples, resulting in a rich flavor profile that is sweet, tangy, and slightly spiced. This beloved condiment is not just a modern invention; it has roots that trace back hundreds of years, originating from early European settlers who sought to preserve their apple harvests.
It’s important to distinguish apple butter from applesauce, as they are not the same. While applesauce is simply cooked apples that can be made chunky or smooth, apple butter is cooked for a longer period, resulting in a thicker texture and a more intense flavor. Furthermore, apple butter often contains spices and additional ingredients that enhance its taste, making it a standout choice for various culinary uses.
In the kitchen, apple butter can be used in countless ways. Spread it on warm biscuits or toast, swirl it into oatmeal or yogurt, or use it as a filling for pastries. It can also be a unique addition to savory dishes, pairing beautifully with pork or chicken. The versatility of apple butter makes it a staple for autumnal gatherings and a cherished homemade gift during the holiday season.
Choosing the Right Apples
When it comes to making apple butter, the choice of apples is critical. Different apple varieties contribute unique flavors and textures, making the final product all the more delightful. Ideally, you want to use a blend of sweet and tart apples to achieve a balanced flavor profile. Here are some of the best apple varieties to consider for your cozy autumn apple butter:
– Granny Smith: Known for its tartness, Granny Smith apples add a refreshing brightness that offsets the sweetness of other apples, creating a well-rounded flavor.
– Honeycrisp: With its juicy and sweet flesh, Honeycrisp apples bring a delightful sweetness and crisp texture to the mix, enhancing the overall mouthfeel of the apple butter.
– Fuji: These apples are exceptionally sweet and have a dense, crisp texture. Their natural sugars will intensify the sweetness of your apple butter, making it rich and satisfying.
Combining these apple types not only enhances the flavor but also contributes to a more complex texture in your apple butter. When selecting apples at the market, look for those that are firm to the touch and free from bruises or blemishes. Fresh, in-season apples will yield the best results, so consider visiting local orchards or farmers’ markets for the finest selection.
Essential Ingredients for Cozy Autumn Apple Butter
Creating the perfect apple butter goes beyond just apples. A few essential ingredients work in harmony to elevate the flavor and create that signature autumn aroma. Here’s a breakdown of the main ingredients and their roles in your cozy apple butter:
– Assorted Apples: As mentioned earlier, a mix of apples will provide both flavor and texture. The sweetness of Honeycrisp combined with the tartness of Granny Smith and the density of Fuji will create a deep, complex taste.
– Sugars: While apples are naturally sweet, adding sugars can help balance the flavor and enhance the natural apple sweetness. Brown sugar or maple sugar are excellent choices, imparting a rich, caramel-like flavor.
– Spices: The spices you choose will be the heart of your apple butter. Traditional spices include cinnamon, nutmeg, and allspice. These spices not only add warmth but also evoke the comforting feelings associated with autumn.
– Apple Cider: Adding apple cider introduces acidity and depth to the apple butter, brightening the overall flavor. It also contributes to the cooking process, helping to break down the apples as they soften.
– Lemon Juice: A splash of lemon juice adds brightness and helps preserve the beautiful color of the apple butter. It also works to balance out the sweetness from the sugars.
– Optional Vanilla Extract: For those looking to enhance the flavor complexity, a splash of vanilla extract can add an unexpected depth that complements the spices beautifully.
Step-by-Step Instructions for Making Apple Butter
Preparing the Apples
The first step in crafting your cozy autumn apple butter is preparing the apples. This part of the process is essential and can also be a fun activity for the whole family. Gather your selected apples and wash them thoroughly to remove any dirt or wax.
Once cleaned, it’s time to peel, core, and slice the apples. Peeling the apples will remove the skin, which can become tough during cooking, while coring removes the seeds and any undesirable parts. Slicing the apples into uniform pieces will ensure they cook evenly. If you have kids, this is a great opportunity to involve them in the kitchen! They can help with washing and even take turns slicing (with supervision, of course). This not only makes for a fun experience but also creates lasting memories centered around cooking together.
Combining Ingredients
After preparing your apples, it’s time to combine the ingredients. In a large pot, place your sliced apples and add in the apple cider, sugars, lemon juice, and your chosen spices. It’s important to ensure that all the apple slices are well-coated with the mixture of ingredients. This step is crucial for developing the rich flavor that apple butter is known for.
Mixing the ingredients thoroughly allows the flavors to meld together as the apples cook down. Once everything is combined, cover the pot and place it over medium heat to begin the cooking process. As the apples start to break down, you can reduce the heat and let them simmer gently, stirring occasionally.
This slow cooking method is what transforms your apples into that luscious, spreadable apple butter. The more time you allow for the cooking process, the richer the flavors will become. As the apples soften, they will release their natural juices, creating a fragrant, warm aroma that fills your kitchen—a quintessential aspect of autumn.
As you continue with your apple butter journey, remember that patience is key. The magic of apple butter lies in the slow cooking process, allowing the flavors to deepen and develop, creating the perfect cozy spread for your fall festivities.
Stay tuned for the next part, where we will dive into the final cooking stages, canning tips, and creative uses for your homemade apple butter.
Optional Ingredients for Customized Flavor
When creating your cozy autumn apple butter, there’s a delightful opportunity to personalize your recipe with optional ingredients that can elevate the flavor profile. Consider adding a pinch of nutmeg for a warm spice undertone, or a splash of maple syrup for a deeper sweetness. If you enjoy a bit of tartness, a squeeze of fresh lemon juice can enhance the apple flavor while balancing the sweetness. Additionally, you might opt to incorporate dried fruits such as raisins or cranberries for an unexpected twist. Adjusting these ingredients allows you to create a unique blend that reflects your personal taste and seasonal preferences.
Loading the Slow Cooker
Once you’ve gathered your ingredients, it’s time to load your slow cooker. Start by peeling, coring, and chopping your apples into small, even pieces to ensure uniformity in cooking. A mix of sweet and tart apples, such as Granny Smith and Fuji, will provide a complex flavor. Add the chopped apples to the slow cooker, followed by your chosen spices, sweeteners, and any optional ingredients you decided to include. Stir the mixture gently to combine all the elements, ensuring that the apples are well-coated with the spices and sugar.
Tips for Efficiently Transferring the Mixture
Transferring your apple mixture into the slow cooker can be messy if not done carefully. To minimize spills, use a large spoon or spatula to scoop the apple mixture directly from your cutting board into the slow cooker. If you have a large pot, consider transferring the mixture in batches to avoid overflow. It’s also helpful to place a kitchen towel under your slow cooker to catch any drips, making cleanup a breeze.
How to Spread the Mixture for Even Cooking
For optimal cooking, spread the apple mixture evenly across the bottom of the slow cooker. Avoid piling the mixture too high on one side. This even distribution allows for uniform heat circulation, ensuring every bit of apple butter cooks thoroughly. If your slow cooker has a high setting, make sure to monitor the mixture closely to prevent any sticking or burning on the sides.
Cooking Process
Now that everything is in place, set your slow cooker to low heat. Slow cooking is crucial as it helps to develop the flavors deeply while breaking down the apples into a silky smooth texture. The extended cooking time allows the natural sugars in the apples to caramelize, enhancing the overall taste.
Recommended Cooking Time and Its Impact on Texture
The recommended cooking time for apple butter is approximately 8 to 10 hours on low. This long cooking duration not only softens the apples but also allows the spices to meld beautifully. As the mixture cooks down, you’ll notice it thickening significantly, which is a sign that the flavors are intensifying. If you prefer a chunkier texture, you can opt for a shorter cooking time, but for that classic smooth apple butter consistency, patience is key.
Blending for Smoothness
Once your apple mixture has cooked down and reached your desired flavor, it’s time to blend it into a smooth apple butter. You can use an immersion blender directly in the slow cooker for convenience, or transfer the mixture in batches to a standard blender. If using a traditional blender, be cautious of the hot mixture splattering; allow the mixture to cool slightly before blending, and always vent the lid slightly to let steam escape.
Importance of Consistency and Texture Preferences
Texture is a personal preference when it comes to apple butter. Some enjoy a silky smooth spread, while others prefer a bit of chunkiness. By blending to your liking, you can create a product that suits your taste. After blending, taste the apple butter and adjust the sweetness or spices if necessary before finalizing the cooking process.
Final Cooking Step for Thickening
If after blending, you find your apple butter is thinner than desired, return it to the slow cooker and continue cooking on low for an additional hour or so. This final cooking step is essential for thickening the mixture to the perfect spreadable consistency. Stir occasionally to prevent sticking and check for doneness.
Signs That the Apple Butter is Ready for Jarring
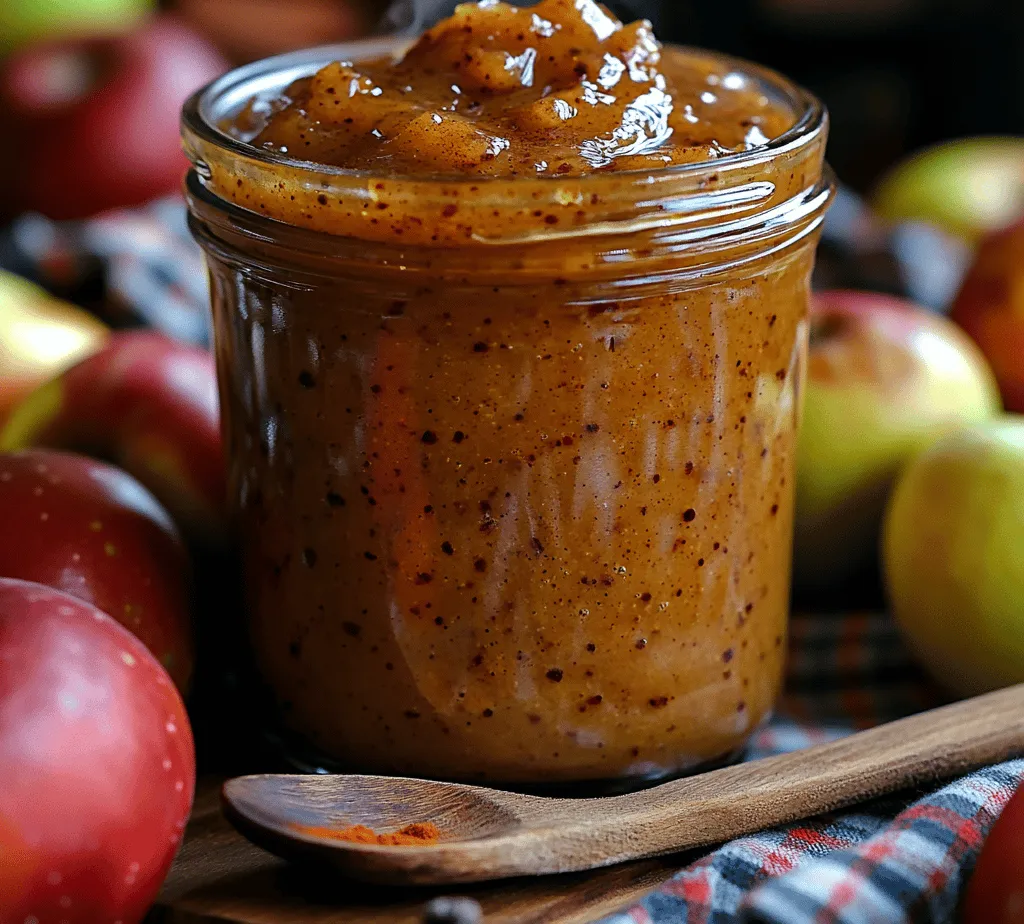
Your apple butter is ready to be jarred when it has a thick, spreadable consistency and a rich, deep color. A good test is to place a spoonful on a plate and let it cool for a few minutes; if it holds its shape without running off the plate, you’re good to go!
Jarring Your Apple Butter
Importance of Using Sterilized Jars for Storage
Before you jar your apple butter, ensure you have sterilized jars ready. Using sterilized jars is crucial for preventing spoilage and ensuring the longevity of your homemade apple butter. To sterilize jars, wash them in hot soapy water, then place them in a preheated oven at 200°F (93°C) for about 10 minutes.
Step-by-Step Guide to Jarring and Sealing Properly
1. Prepare Your Jars: Remove the sterilized jars from the oven and allow them to cool slightly, but not completely.
2. Fill the Jars: Using a ladle, pour the apple butter into the jars, leaving about a half-inch headspace at the top.
3. Clean the Rim: Wipe the rim of each jar with a clean cloth to remove any residue.
4. Seal the Jars: Place the lids on each jar and screw on the bands until they are fingertip-tight.
5. Cool and Store: Allow the jars to cool completely at room temperature. As they cool, you should hear the lids pop, indicating that they have sealed properly.
Discussion on Refrigeration vs. Water Bath Processing for Long-Term Storage
For short-term storage, you can simply refrigerate the sealed jars, where the apple butter will stay fresh for about two weeks. However, for long-term storage, consider using a water bath canning method. This involves submerging the filled jars in boiling water for a specified time, which creates a vacuum seal that preserves the apple butter for up to a year. Ensure to follow proper canning guidelines for safety.
Creative Ways to Enjoy Apple Butter
Suggested Pairings
Apple butter is incredibly versatile and can be enjoyed in numerous ways. Spread it generously on toasted bread or bagels for a cozy breakfast. It’s also a delicious topping for pancakes, waffles, or even French toast. The natural sweetness complements savory dishes well, making it a great glaze for roasted meats or a flavorful addition to cheese platters.
Ideas for Incorporating Apple Butter into Other Recipes
Consider incorporating apple butter into your baking. It can replace some of the sugar and fat in recipes for muffins, cakes, or quick breads, adding moisture and flavor. You can also swirl it into yogurt for a tasty snack or drizzle it over oatmeal for a warm, comforting breakfast.
Using Apple Butter as a Thoughtful Homemade Gift for the Holidays
Homemade apple butter makes for a thoughtful and charming gift during the holiday season. Consider packaging it in decorative jars with ribbons, and attach a handwritten recipe card or a note sharing your favorite ways to enjoy it. This personal touch can enhance the experience for your friends and family.
Nutritional Information and Health Benefits
Overview of the Nutritional Profile of Apple Butter
Apple butter is not only delicious but also offers various nutritional benefits. A typical serving contains natural sugars, fiber, and essential vitamins. The exact nutritional profile will depend on the ingredients used, but homemade apple butter is generally lower in added sugars compared to commercial varieties.
Health Benefits of Apples and Spices Used in the Recipe
Apples are rich in antioxidants, fiber, and vitamin C, contributing to heart health and improved digestion. The spices commonly used in apple butter, such as cinnamon, have anti-inflammatory properties and can help regulate blood sugar levels. Using fresh, high-quality ingredients elevates both the flavor and health benefits of your apple butter.
Discussion on Moderation and Serving Sizes
While apple butter can be a healthy addition to your diet, moderation is key. Despite its wholesome ingredients, the natural sugars can add up quickly. A serving size of about one to two tablespoons is typically sufficient to enjoy the flavor without overindulging.
Conclusion
Homemade apple butter embodies the essence of cozy autumn and offers a delightful way to embrace seasonal cooking. The process of creating it—from selecting the freshest apples to the joy of jarring your own spread—brings a sense of comfort and nostalgia. This simple yet satisfying treat not only enhances your meals but also provides an opportunity to share warmth and love with those around you. So, gather your ingredients, invite your loved ones to join in, and enjoy the timeless tradition of making apple butter together. There’s nothing quite like sharing homemade treats to create lasting memories.