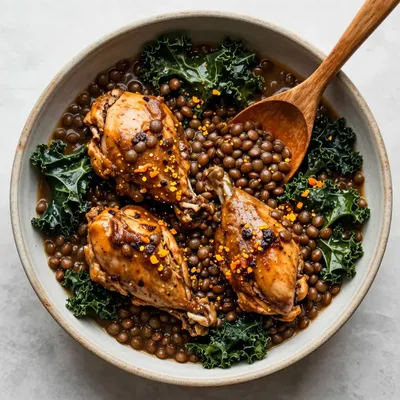
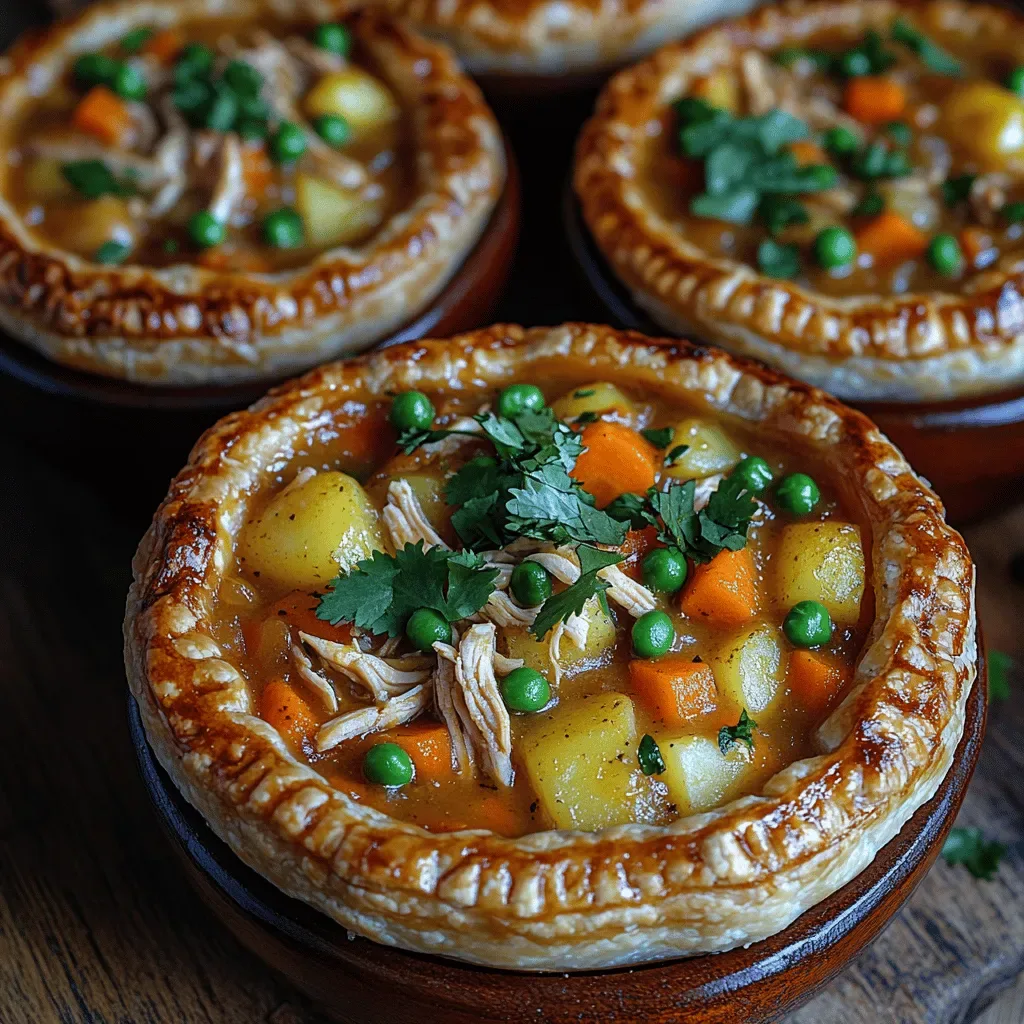
Brazilian Chicken Pot Pie: Exploring the Flavors of a Brazilian Classic
 Save
Save
Imagine the comforting aroma of a flaky crust hugging a creamy, spice‑infused chicken filling, all while a hint of tropical orange brightens every bite. That’s the magic of Brazilian Chicken Pot Pie, a beloved brunch staple that brings the warmth of Brazil’s kitchens straight to your table.
This dish stands out because it blends the buttery richness of a traditional pastry with the distinctive flavors of Brazil—namely, the earthy warmth of cumin, the sweet‑savory balance of orange zest, and the subtle kick of piri‑piri. The result is a harmony of textures and tastes that feels both familiar and exotic.
Whether you’re feeding a lazy weekend crowd, impressing guests at a brunch gathering, or simply craving something hearty yet elegant, this pot pie fits the bill. It’s perfect for breakfast lovers who want a savory start, and it also shines as a midday brunch centerpiece.
The recipe is straightforward: season and sear chicken, create a velvety sauce with vegetables and Brazilian spices, assemble the filling under a golden pastry lid, and bake until bubbling and beautifully browned. Follow each step, and you’ll have a show‑stopping pot pie in under an hour.
Why You'll Love This Recipe
Brazilian Flair: The infusion of orange zest, cumin, and piri‑piri gives the pie a bright, aromatic profile that transports you straight to a sun‑kissed market in São Paulo.
Brunch‑Ready: A hearty protein paired with flaky pastry makes it satisfying enough for breakfast yet elegant enough for a leisurely weekend brunch.
One‑Dish Wonder: The pot pie combines protein, vegetables, and carbs in a single bake, minimizing cleanup while delivering a complete, balanced meal.
Customizable: Swap chicken for turkey, add extra veggies, or adjust the spice level—this recipe adapts to your pantry and palate with ease.
Tips & Tricks
Perfecting the Recipe
Room‑temperature chicken. Let the thighs sit out for 15 minutes before searing; this ensures even cooking and a better crust.
Cold butter for the crust. Keep butter ice‑cold when cutting it into the flour; it creates steam pockets that give the pastry its signature flakiness.
Don’t over‑mix the dough. Mix just until a cohesive ball forms; over‑working develops gluten, resulting in a tough crust.
Steam vents. Cutting slits on the top lets excess steam escape, preventing soggy spots under the crust.
Flavor Enhancements
Add a splash of fresh orange juice just before serving for extra brightness. A tablespoon of chopped fresh cilantro or parsley adds a herbaceous finish. For a richer mouthfeel, swirl a teaspoon of butter into the sauce while it simmers.
Common Mistakes to Avoid
Avoid baking the crust on a cold pan; a hot oven from the start gives the bottom a crisp texture. Also, don’t skip the resting period after baking—cutting too early releases all the juices, leaving the filling dry.
Pro Tips
Use a meat thermometer. Checking for 74 °C (165 °F) guarantees safe, juicy chicken without overcooking.
Brush with milk instead of egg. If you prefer a softer, matte finish, a light milk brush works beautifully.
Pre‑bake the crust. For extra crispness, blind‑bake the pastry for 8 minutes before adding the filling.
Make ahead. Assemble the pot pie up to the point of baking, cover tightly, and refrigerate for up to 24 hours; bake when ready.
Variations
Ingredient Swaps
Replace chicken thighs with bone‑in turkey legs for a leaner option, or use firm tofu cubes for a vegetarian twist. Swap peas for corn kernels or chopped green beans, and experiment with sweet potatoes instead of carrots for an earthy sweetness.
Dietary Adjustments
For gluten‑free diners, use a 1‑to‑1 gluten‑free flour blend for the crust. Substitute the butter with a plant‑based alternative and use coconut cream in place of heavy cream for dairy‑free. To keep it keto, omit the flour and create a crust from almond flour and cheese, and use a low‑carb sweetener instead of orange zest sugar.
Serving Suggestions
Pair the pot pie with a simple arugula salad dressed in lime vinaigrette, or serve alongside fluffy coconut rice for a tropical touch. A side of roasted sweet‑potato wedges adds a caramelized contrast, while a chilled glass of freshly squeezed orange juice echoes the citrus notes in the filling.
Storage Info
Leftover Storage
Allow the pot pie to cool completely, then transfer each portion to an airtight container. Refrigerate for up to 4 days. For longer keeping, wrap individual slices tightly in plastic wrap, then foil, and freeze for up to 3 months. This double‑wrap method prevents freezer burn and preserves the flaky crust.
Reheating Instructions
Reheat refrigerated slices in a 175 °C (350 °F) oven, covered with foil, for 15‑20 minutes until warmed through. Remove the foil for the last 5 minutes to restore crust crispness. In the microwave, heat a single serving on medium power for 2‑3 minutes, adding a splash of broth to keep the filling moist.
Frequently Asked Questions
Can I make this recipe in advance?
Can I use frozen chicken thighs?
What side dishes complement this pot pie?
How do I make the crust gluten‑free?
This Brazilian Chicken Pot Pie brings together bold, sunny flavors with a comforting, buttery crust—perfect for a leisurely brunch or a special breakfast gathering. By following the detailed steps, using fresh ingredients, and applying the tips provided, you’ll achieve a dish that’s both authentic and adaptable. Feel free to experiment with swaps and seasonings to make it truly yours. Serve warm, share generously, and enjoy the taste of Brazil right at home!
Brazilian Chicken Pot Pie: Exploring the Flavors of a Brazilian Classic
Delicious Brazilian Chicken Pot Pie: Exploring the Flavors of a Brazilian Classic
Ingredients
Main Ingredients
- 1 kg bone‑in, skin‑on chicken thighs
- 1 cup diced carrots
- 1 cup frozen peas, thawed
- 1 large onion, finely chopped
Crust & Sauce
- 2 cups all‑purpose flour
- 1 cup cold unsalted butter, cubed
- ½ cup cold water
- ¼ cup heavy cream
- 1 tablespoon tomato paste
Seasonings & Aromatics
- 2 teaspoons ground cumin
- 1 teaspoon piri‑piri flakes (adjust to heat preference)
- Zest of 1 large orange
- 2 cloves garlic, minced
- Salt and freshly ground black pepper, to taste
Instructions
Searing & Building the Filling
- Heat the skillet. Place a large, heavy‑bottomed pan over medium‑high heat and add 2 tablespoons olive oil. When the oil shimmers, it’s hot enough to sear without sticking.
- Sear the chicken. Lay the thighs skin‑side down, leaving space between pieces. Cook 5‑6 minutes until the skin turns deep golden and releases easily. Flip and brown the other side for another 4 minutes. This step creates caramelized bits that will enrich the sauce later.
- Sauté aromatics. Reduce heat to medium, add the onion and garlic to the pan, and stir for 2‑3 minutes until translucent and fragrant. The softened onion forms the flavor base for the sauce.
- Combine vegetables. Stir in carrots and peas, allowing them to coat in the pan juices for about a minute. This brief cook preserves their bright color and snap.
- Make the sauce. Whisk together heavy cream, tomato paste, orange zest, and a splash of water (≈¼ cup). Pour the mixture into the skillet, scraping up browned bits (fond) with a wooden spoon. Simmer 4‑5 minutes until the sauce thickens enough to coat the back of a spoon.
- Finish the filling. Return the seared chicken to the pan, skin side up, nestling it among the vegetables. Spoon a little sauce over each piece. Transfer the entire skillet to a pre‑heated 190 °C (375 °F) oven and bake for 15‑20 minutes, or until the internal temperature reaches 74 °C (165 °F).
Similar Recipes
 Dinner
Zesty Shrimp Tacos with Crunchy Cabbage Slaw: A Flavorful Delight
Delicious Zesty Shrimp Tacos with Crunchy Cabbage Slaw: A Flavorful Delight
 Dinner
Chili Lime Honey Glazed Salmon: A Flavorful and Nutritious Delight
Delicious Chili Lime Honey Glazed Salmon: A Flavorful and Nutritious Delight
 Dinner
Spaghetti & Spinach with Sun-Dried Tomato Cream Sauce: A Luxurious Yet Quick Meal
Delicious Spaghetti & Spinach with Sun-Dried Tomato Cream Sauce: A Luxurious Yet Quick Meal
 Dinner
Sweet & Savory Honey Garlic Chicken Recipe
Delicious Sweet & Savory Honey Garlic Chicken Recipe
 Dinner
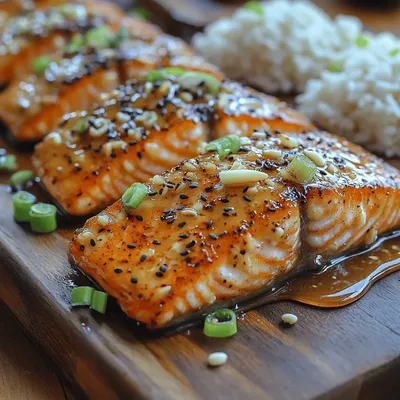
Perfectly Crispy Honey Garlic Salmon: A Deliciously Simple Recipe
Delicious Perfectly Crispy Honey Garlic Salmon: A Deliciously Simple Recipe
 Dinner
Spicy Cajun Shrimp Tacos: A Flavorful Culinary Adventure
Delicious Spicy Cajun Shrimp Tacos: A Flavorful Culinary Adventure
 Dinner
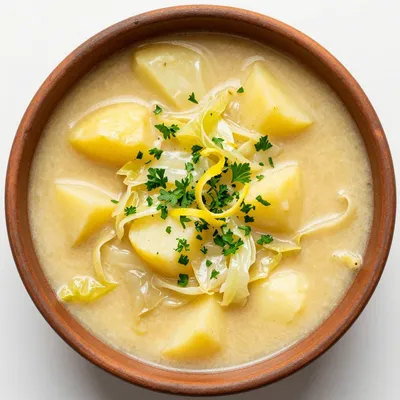
comforting lemon garlic cabbage and potato soup for cold nights
Learn how to make delicious comforting lemon garlic cabbage and potato soup for cold nights. Easy…
 Dinner
Savory Slow Cooker Pierogi and Kielbasa Bake: A Comforting Culinary Delight
Delicious Savory Slow Cooker Pierogi and Kielbasa Bake: A Comforting Culinary Delight

Caroline
I cook these recipes at home before they ever land here — simple ingredients, clear steps.