Cheesy Scalloped Potatoes
 Save
Save
It was a crisp autumn afternoon, the kind where the wind whistles through the trees and the kitchen smells like comfort waiting to happen. I was standing at the stove, the butter melting slowly in a heavy saucepan, and the scent of garlic and onions began to swirl around the room like an invitation. As the steam rose, I could already picture the golden, bubbling crust that would soon crown a mountain of thinly sliced potatoes, each layer soaking up a luscious, cheesy sauce. That moment—when the lid lifts and a cloud of fragrant steam hits you—has become my favorite memory of family gatherings, because it always signals that something truly homely is about to be served.
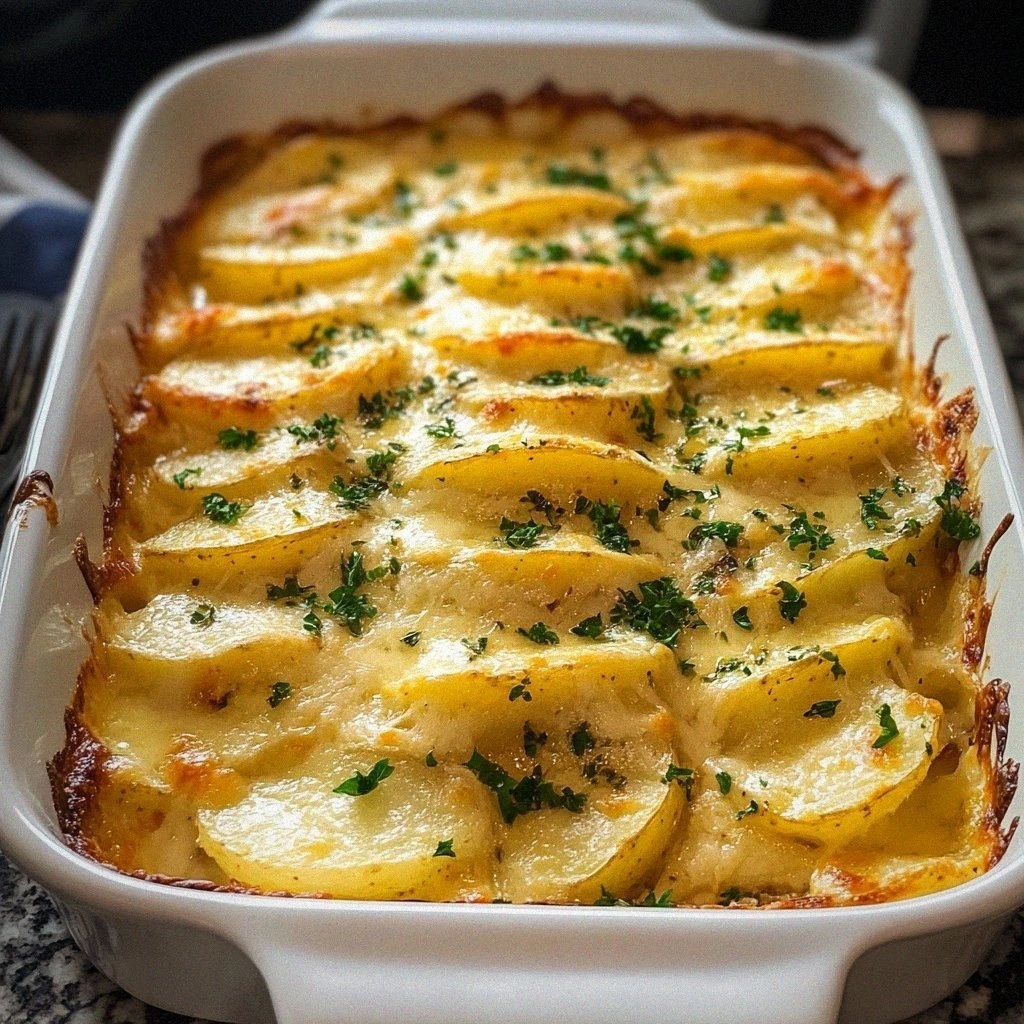
Cheesy Scalloped Potatoes have a way of turning a simple side dish into the star of the table. The creamy sauce, enriched with heavy cream and sharp cheddar, clings to every slice, while the top develops that irresistible crust that crackles just enough to make you pause and listen. Imagine the first bite: the tender potato, the melt‑in‑your‑mouth cheese, the subtle hint of smoked paprika that whispers warmth, and the faint crunch of a perfectly browned edge. It’s a symphony of textures and flavors that feels both indulgent and comforting, like a warm blanket on a chilly evening.
But why does this recipe stand out from the countless versions you’ll find online? The secret lies in a few deliberate choices: the use of both milk and heavy cream for a silk‑smooth base, a brief roux that prevents a watery result, and a layering technique that ensures every bite is balanced. I’ve spent years tweaking the ratios, and the result is a dish that stays creamy in the middle while the top turns gloriously golden. And there’s one ingredient most people skip — and it makes all the difference. Trust me, you’ll want to know what that is.
Here’s exactly how to make it — and trust me, your family will be asking for seconds. I’ll walk you through each step, share the little tricks that keep the sauce from curdling, and even reveal a few variations that let you customize the dish for any occasion. Ready to dive in? Let’s get started, because the best part is just around the corner.
🌟 Why This Recipe Works
- Flavor Depth: By combining sharp cheddar with a touch of smoked paprika, the dish achieves a layered flavor profile that’s both robust and comforting. The cheese melts into the sauce, creating a rich, savory backdrop that never feels one‑dimensional.
- Texture Balance: The thinly sliced potatoes cook evenly, while the roux‑based sauce prevents sogginess. The result is a velvety interior contrasted with a crisp, caramelized top that adds a delightful crunch.
- Ease of Execution: Despite its gourmet appearance, the recipe relies on straightforward techniques—sautéing aromatics, making a quick roux, and layering. Even a novice cook can follow along without feeling overwhelmed.
- Time Efficiency: With a prep time of just 15 minutes and a bake time of 30 minutes, you can have a restaurant‑quality side on the table in under an hour, perfect for busy weeknights or special occasions.
- Versatility: This dish pairs beautifully with roasted chicken, grilled steak, or a hearty vegetarian entrée. It also shines as a stand‑alone comfort food, making it a flexible addition to any menu.
- Nutrition Boost: Using a mix of milk and heavy cream provides calcium and protein, while the potatoes contribute potassium and fiber. The portion size can be adjusted to keep the dish balanced within a wholesome meal.
- Ingredient Quality: Fresh, high‑quality potatoes and real cheddar cheese elevate the flavor, proving that simple ingredients, when treated with care, can produce extraordinary results.
- Crowd‑Pleasing Factor: The golden, cheesy crust is universally appealing, making it a safe bet for both picky eaters and food enthusiasts alike.
🥗 Ingredients Breakdown
The Foundation: Potatoes & Dairy
Four large russet potatoes form the heart of this dish. Their starchy flesh holds up well during baking, creating a tender yet firm bite that absorbs the sauce without falling apart. I always recommend using potatoes that feel heavy for their size; they’re usually the freshest. If you can, choose potatoes with a smooth skin—no eyes or blemishes—so the slices look uniform and the presentation stays elegant. Tip: Soaking the sliced potatoes in cold water for 10 minutes removes excess starch and prevents them from turning gummy.
Aromatics & Spices: Building the Flavor Base
Two cloves of garlic, minced finely, and a small onion, diced, create the aromatic backbone. When sautéed in butter, they release a sweet, caramelized fragrance that sets the stage for the sauce. I love adding a pinch of smoked paprika here; it introduces a gentle smokiness that deepens the overall flavor. Salt and black pepper are essential, but a touch of dried thyme adds an herbaceous note that balances the richness of the cheese. Pro tip: Fresh thyme leaves can be substituted for a brighter, more floral hint.
The Secret Weapons: Flour, Cream, & Cheese
A simple roux—three tablespoons of butter whisked with three tablespoons of all‑purpose flour—creates the thickening foundation for the sauce. This prevents a watery result and gives the dish that coveted silkiness. Then comes the dairy duo: one cup of heavy cream and one cup of whole milk. The cream adds richness while the milk keeps the sauce from becoming overly heavy. Finally, two cups of shredded sharp cheddar cheese melt into the sauce, delivering that unmistakable cheesy pull that makes everyone smile. If you crave an extra sharp bite, swap half of the cheddar for Gruyère.
Finishing Touches: Garnish & Optional Extras
A sprinkle of fresh parsley just before serving adds a pop of color and a hint of freshness that cuts through the richness. For those who love a little crunch, a light dusting of breadcrumbs mixed with melted butter on the top layer creates an extra crispy crust. You can also experiment with a dash of nutmeg for a subtle warmth, especially during colder months. The beauty of this dish is that it invites personalization—feel free to add a handful of cooked bacon bits or a swirl of caramelized onions for a twist.
With your ingredients prepped and ready, let's get cooking. Here's where the fun really begins…
🍳 Step-by-Step Instructions
🔐 Expert Tips for Perfect Results
The Taste Test Trick
Before you assemble the final layer, spoon a small amount of the sauce onto a spoon and let it cool for a few seconds. If it coats the back of the spoon without running off, you’ve achieved the perfect consistency. I once served a batch where the sauce was too thin, and the potatoes ended up soggy—this quick test saved me from that disaster.
Why Resting Time Matters More Than You Think
Allowing the dish to sit for at least ten minutes after baking lets the starches re‑absorb the sauce, creating a firmer slice that holds together on the plate. Skipping this step often leads to a mushy mess that slides off the fork. Trust me on this one: patience is the secret ingredient.
The Seasoning Secret Pros Won’t Tell You
A pinch of nutmeg hidden in the cheese sauce adds a subtle warmth that balances the richness. It’s a trick many chefs use in gratins, yet it’s rarely mentioned in basic recipes. Add it sparingly—you’ll notice the difference without it overpowering the cheddar.
Crisp Top Without Burning
If you love a crusty top but fear burning, brush the final cheese layer with a tiny drizzle of melted butter before the last 10 minutes of baking. This creates a glossy, caramelized surface without the harsh char. I discovered this by accident when a neighbor’s dog knocked over a butter dish onto my casserole.
Layering for Even Cooking
Stagger the potato slices—don’t stack them too thickly. Overlapping them just enough ensures each slice receives sauce while allowing heat to circulate. This technique prevents the center from staying raw while the edges over‑cook.
🌈 Delicious Variations to Try
One of my favorite things about this recipe is how versatile it is. Here are some twists I’ve tried and loved:
Smoky Bacon & Cheddar
Crumble cooked bacon into the sauce and sprinkle extra bacon bits on top before baking. The smoky, salty crunch pairs perfectly with the creamy cheese, turning the dish into a hearty brunch centerpiece.
Herb‑Infused Gruyère
Swap half of the cheddar for Gruyère and add fresh rosemary to the sauce. The nutty, slightly sweet flavor of Gruyère elevates the dish, making it suitable for a sophisticated dinner party.
Spicy Jalapeño Kick
Finely dice a jalapeño and stir it into the sauce, then top with a dash of pepper jack cheese. This adds a gentle heat that awakens the palate without overwhelming the creamy base.
Root Vegetable Medley
Replace half of the potatoes with thinly sliced sweet potatoes or parsnips. The natural sweetness of these vegetables creates a beautiful contrast to the savory cheese, perfect for autumn gatherings.
Vegan Creamy Version
Use coconut milk and a plant‑based cheese blend, and substitute butter with olive oil. The result is a dairy‑free scalloped dish that still delivers that luscious mouthfeel.
📦 Storage & Reheating Tips
Refrigerator Storage
Allow the scalloped potatoes to cool completely, then cover tightly with foil or a reusable lid. Store in the fridge for up to 3 days. When reheating, keep the dish covered for the first 15 minutes to retain moisture, then uncover to restore the crust.
Freezing Instructions
Portion the uncooked, layered dish into a freezer‑safe container, then wrap tightly with plastic wrap and foil. It freezes well for up to 2 months. To bake from frozen, add an extra 15 minutes to the cooking time and cover with foil for the first half of baking.
Reheating Methods
The trick to reheating without drying it out? A splash of milk or cream mixed into the sauce before warming. Use a low oven temperature (300°F) and heat for 20‑25 minutes, or microwave in short bursts, stirring gently between intervals.
❓ Frequently Asked Questions
Can I use Yukon Gold potatoes instead of russet?
Do I need to pre‑cook the potatoes before layering?
What cheese works best for the topping?
How do I prevent the sauce from curdling?
Can I make this dish gluten‑free?
Is it okay to add vegetables like broccoli or cauliflower?
What’s the best way to reheat leftovers without losing the crust?
Can I prepare this dish ahead of time?
Cover the dish with foil and bake for 25 minutes. After this time, remove the foil and continue baking for another 15‑20 minutes, or until the edges are bubbling and the top turns a deep golden brown. You’ll hear a faint crackle as the cheese caramelizes, a sound that tells you the dish is reaching perfection.
Allow the scalloped potatoes to rest for 10 minutes before serving. This resting period lets the sauce settle and the potatoes finish cooking through gentle steam. Sprinkle fresh parsley on top for a splash of color, and if you’re feeling adventurous, add a light drizzle of melted butter for extra shine. Go ahead, take a taste — you’ll know exactly when it’s right.
Similar Recipes
 Dinner
Perfectly Crispy Honey Garlic Salmon: A Deliciously Simple Recipe
Delicious Perfectly Crispy Honey Garlic Salmon: A Deliciously Simple Recipe
 Dinner
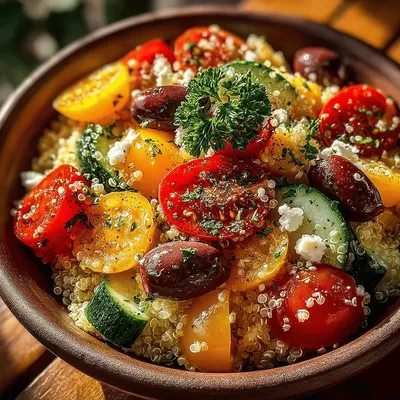
Refreshing Mediterranean Quinoa Salad Bowl: A Detailed Recipe Guide
Delicious Refreshing Mediterranean Quinoa Salad Bowl: A Detailed Recipe Guide
 Dinner
Rustic Cowboy Soup Recipe: A Hearty and Comforting Dish
Delicious Rustic Cowboy Soup Recipe: A Hearty and Comforting Dish
 Dinner
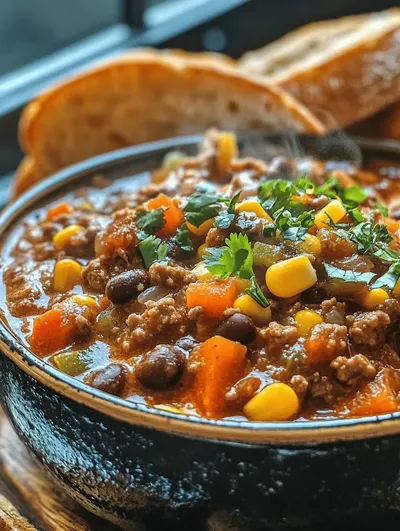
Robust Comfort: Hearty Beef Chili with Beans
Delicious Robust Comfort: Hearty Beef Chili with Beans
 Dinner
Quick Honey Mustard Chicken & Veggies Sheet Pan
Delicious Quick Honey Mustard Chicken & Veggies Sheet Pan
 Dinner
Spicy Cajun Shrimp Tacos: A Flavorful Culinary Adventure
Delicious Spicy Cajun Shrimp Tacos: A Flavorful Culinary Adventure
 Dinner
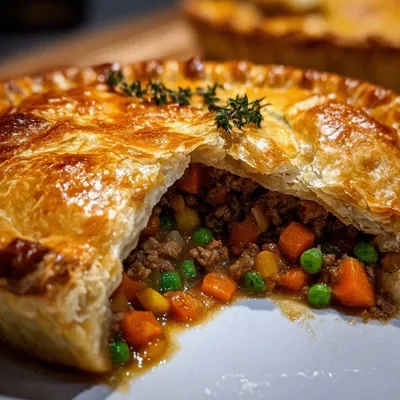
Hearty Beef & Veggie Meat Pie: Irresistibly Flaky & Comforting!
Learn how to make delicious Hearty Beef & Veggie Meat Pie: Irresistibly Flaky & Comforting!. Easy…
 Dinner
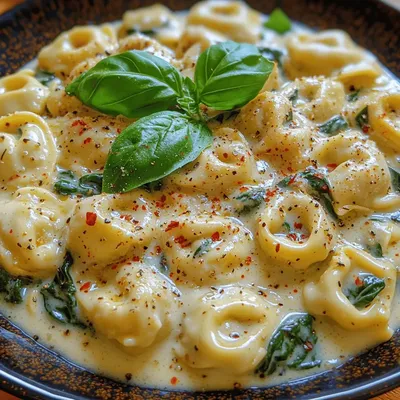
Creamy Garlic Spinach Tortellini: A Culinary Delight
Delicious Creamy Garlic Spinach Tortellini: A Culinary Delight

Caroline
I cook these recipes at home before they ever land here — simple ingredients, clear steps.