Easter Egg Cheesecake Recipe: A Festive Delight for Your Easter Celebrations
 Save
Save
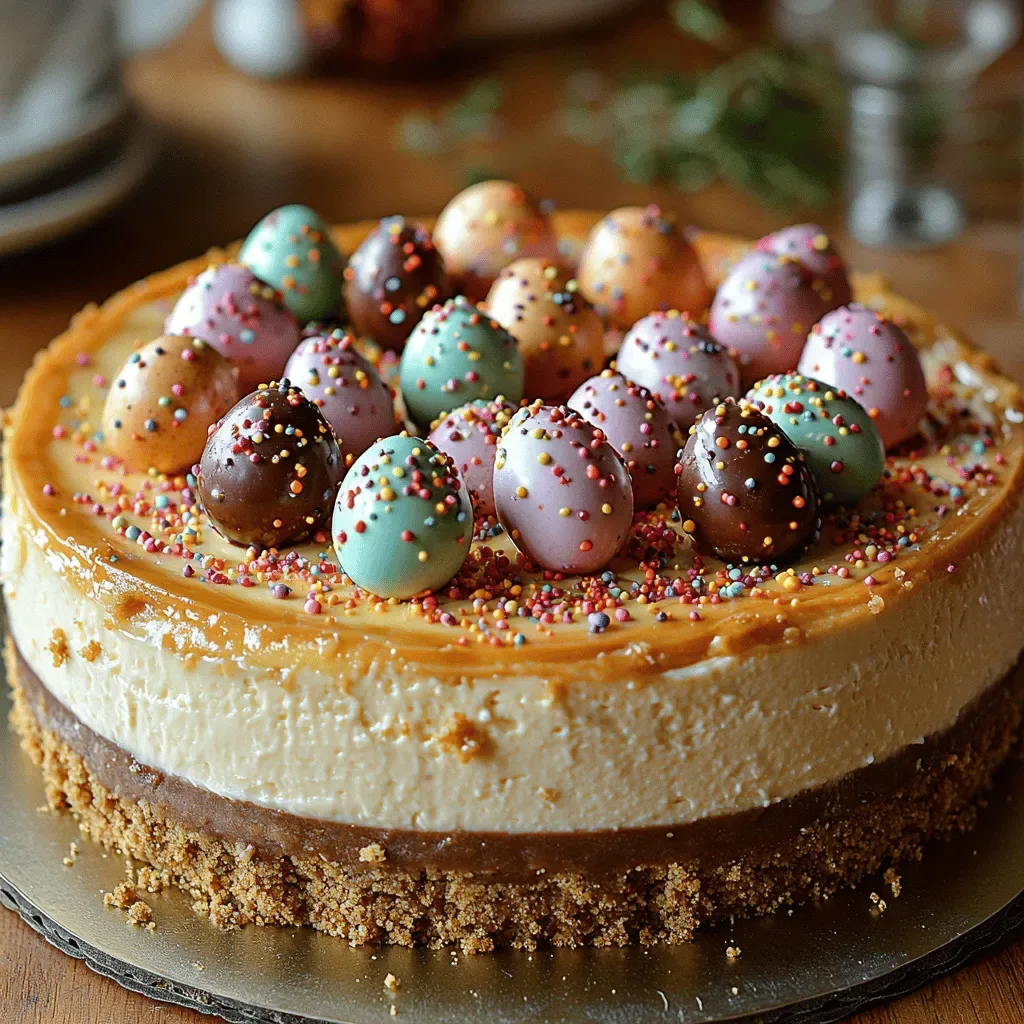
Spring has arrived, the baskets are filling, and the Easter table is waiting for a centerpiece that dazzles both the eyes and the palate. This Easter Egg Cheesecake blends the classic richness of a New York‑style cheesecake with whimsical, pastel “egg” decorations that capture the spirit of the holiday.
What makes this cheesecake truly special is the light, velvety filling infused with vanilla and a hint of lemon, perched on a buttery graham‑crust, and crowned with colorful, candy‑coated chocolate eggs that melt just slightly into the creamy surface.
It’s perfect for families with kids, brunch lovers, and anyone who enjoys a festive dessert that can double as a show‑stopping breakfast treat. Serve it at Easter brunch, a spring gathering, or as a delightful finish to a holiday dinner.
The process is straightforward: prepare a crisp crust, whisk a silky filling, bake gently in a water bath, and finish with a cascade of pastel chocolate eggs that set just enough to sparkle on the plate.
Why You'll Love This Recipe
Festive Presentation: The pastel chocolate eggs create a playful, Easter‑themed look that makes the cheesecake the star of any brunch spread.
Velvety Texture: A gentle water‑bath bake keeps the filling ultra‑smooth and prevents cracks, delivering a melt‑in‑your‑mouth experience.
Easy to Customize: Swap citrus zest, add a swirl of fruit puree, or change the egg colors to match any spring palette you desire.
Make‑Ahead Friendly: This cheesecake can be prepared a day ahead, allowing flavors to develop fully while you enjoy a stress‑free holiday morning.
Tips & Tricks
Perfecting the Recipe
Room‑Temperature Dairy: Soften cream cheese and bring eggs to room temperature before mixing. This prevents lumps and ensures a uniformly smooth batter.
Water‑Bath Seal: Ensure the foil wrap is tight and the water level does not rise above the crust. A proper water bath keeps the filling moist and eliminates cracks.
Don’t Over‑Bake: The center should still wobble slightly when you tap the pan. Residual heat will finish the cooking as the cheesecake cools.
Flavor Enhancements
Add a tablespoon of raspberry puree to the filling for a subtle pink hue and fruity note. A pinch of sea‑salt on the finished topping amplifies the chocolate’s depth. For extra spring freshness, fold in finely chopped candied orange peel into the batter before baking.
Common Mistakes to Avoid
Skipping the cooling period inside the oven often leads to cracks. Also, avoid stirring the batter once the eggs are added; over‑mixing incorporates air that expands during baking, causing fissures. Finally, do not place the cheesecake on a cold surface immediately after baking—it needs a gradual temperature drop.
Pro Tips
Use a Kitchen Scale: Weighing the cream cheese and crust ingredients yields consistent results every time.
Chill the Springform Ring: A cold ring helps the cheesecake release cleanly after chilling, preserving the decorative egg topping.
Layer the Eggs Strategically: Place larger eggs at the center and surround them with smaller ones for visual balance and easier slicing.
Variations
Ingredient Swaps
Substitute the graham‑cracker crust with a vanilla wafer or almond‑flour base for a nuttier flavor. For a dairy‑free version, use a plant‑based cream cheese and coconut oil in the crust. Swap milk chocolate for white chocolate if you prefer a sweeter, pastel‑friendly coating on the eggs.
Dietary Adjustments
To keep it low‑carb, replace sugar with a granulated erythritol blend and use a sugar‑free chocolate for the topping. For a gluten‑free version, ensure the crackers are certified gluten‑free and double‑check any packaged toppings for hidden wheat. A vegan adaptation can be achieved with cashew‑based cream cheese and coconut cream.
Serving Suggestions
Slice the cheesecake and serve with a dollop of lightly sweetened whipped cream or a drizzle of raspberry coulis for color contrast. Pair it with a glass of chilled mimosas or a floral herbal tea to complement the spring flavors. For a brunch buffet, cut the cake into bite‑size squares and garnish each with a single chocolate egg for easy finger food.
Storage Info
Leftover Storage
Allow the cheesecake to come to room temperature, then cover it loosely with plastic wrap or a dome lid. Store in the refrigerator for up to 4 days. For longer keeping, slice and wrap individual portions in parchment before placing them in a freezer‑safe bag; they’ll hold for up to 3 months without losing texture.
Reheating Instructions
Reheat slices in a preheated 300°F (150°C) oven for 10‑12 minutes, covering loosely with foil to prevent the topping from melting too quickly. If you prefer a microwave, heat a single slice on medium power for 30‑45 seconds, adding a splash of milk or cream to restore creaminess. Warmed portions taste just as decadent as fresh.
Frequently Asked Questions
Can I make this cheesecake ahead of time?
What if I don’t have a springform pan?
Can I use white chocolate instead of milk chocolate for the eggs?
How do I prevent cracks on the surface?
This Easter Egg Cheesecake brings together buttery crust, silky vanilla‑lemon filling, and playful chocolate‑egg décor for a truly festive brunch centerpiece. By following the step‑by‑step guide, using the tips provided, and experimenting with the suggested variations, you’ll create a dessert that’s as beautiful as it is delicious. Let your creativity shine—swap flavors, adjust the toppings, and make it your own. Enjoy the celebration and the sweet moments that come with every bite!
Easter Egg Cheesecake Recipe: A Festive Delight for Your Easter Celebrations
Delicious Easter Egg Cheesecake Recipe: A Festive Delight for Your Easter Celebrations
Ingredients
Crust
- 1½ cups graham‑cracker crumbs
- ⅓ cup unsalted butter, melted
- 2 tablespoons granulated sugar
Filling
- 32 oz (4 cups) full‑fat cream cheese, softened
- 1 cup granulated sugar
- 4 large eggs, room temperature
- ¼ cup sour cream
- 2 teaspoons pure vanilla extract
- Zest of 1 lemon (optional, for bright note)
Easter Egg Topping
- 8 oz milk chocolate, chopped
- ½ cup pastel-colored non‑pareils or candy-coated chocolate eggs
- 1 tablespoon light corn syrup (for shine)
Instructions
Mixing the Filling
- Blend Cream Cheese. In a large stand‑mixing bowl, beat the softened cream cheese on medium speed until smooth and free of lumps, about 2 minutes. This step creates a silky base that prevents grainy texture later.
- Incorporate Sugar. Add the granulated sugar gradually, continuing to beat for another 2 minutes. The mixture should become light and fluffy, indicating that the sugar has dissolved properly.
- Combine Eggs. Add the room‑temperature eggs one at a time, beating on low speed after each addition. Over‑mixing can incorporate too much air, which leads to cracks; low speed ensures a smooth, dense batter.
- Finish with Flavorings. Stir in the sour cream, vanilla extract, and lemon zest (if using) until just combined. Scrape the sides of the bowl to guarantee an even mixture.
Similar Recipes
 Desserts
Indulge in Raspberry Swirl Cookies Delight: A Perfect Treat for Every Occasion
Delicious Indulge in Raspberry Swirl Cookies Delight: A Perfect Treat for Every Occasion
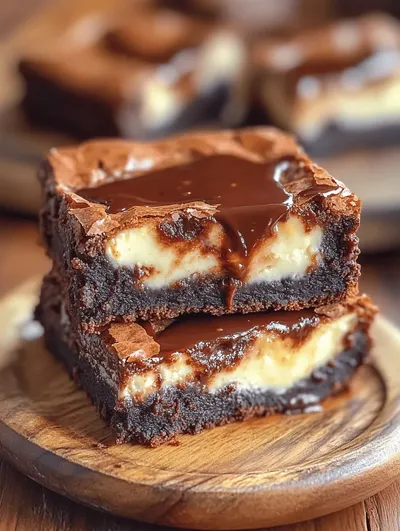 Desserts
Creamy Bliss Cheesecake Brownies: A Decadent Dessert Delight
Delicious Creamy Bliss Cheesecake Brownies: A Decadent Dessert Delight
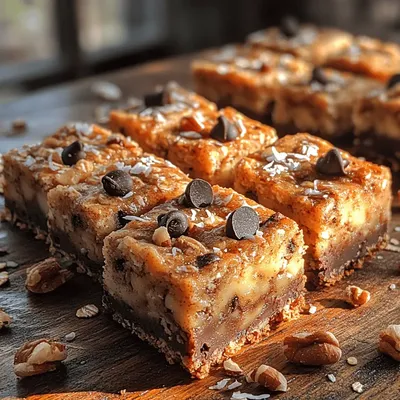 Desserts
Sweet Banana Oat Snack Bars
Delicious Sweet Banana Oat Snack Bars
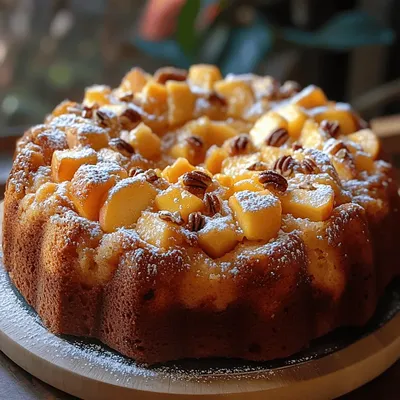 Desserts
Peach Cobbler Bundt Cake Recipe: A Deliciously Unique Dessert
Delicious Peach Cobbler Bundt Cake Recipe: A Deliciously Unique Dessert
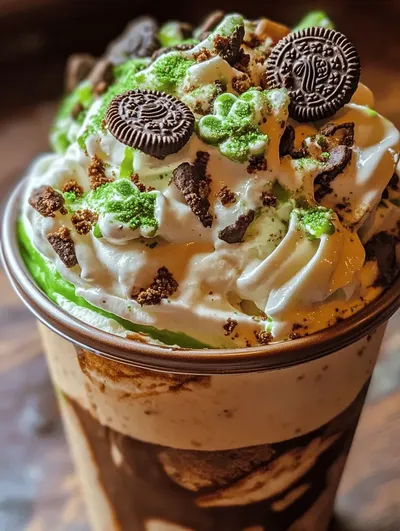 Desserts
Oreo Shamrock McFlurry – Copycat Recipe: A Festive Delight for Every Occasion
Delicious Oreo Shamrock McFlurry – Copycat Recipe: A Festive Delight for Every Occasion
 Desserts
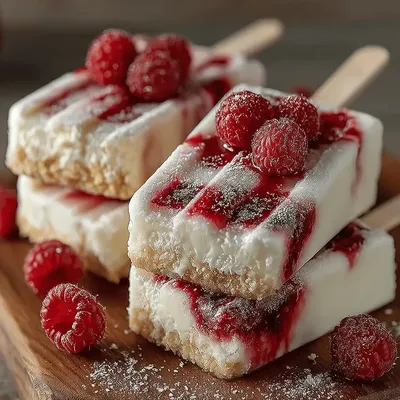
Raspberry Bliss Frozen Yogurt Pops: A Refreshing Treat
Delicious Raspberry Bliss Frozen Yogurt Pops: A Refreshing Treat
 Desserts
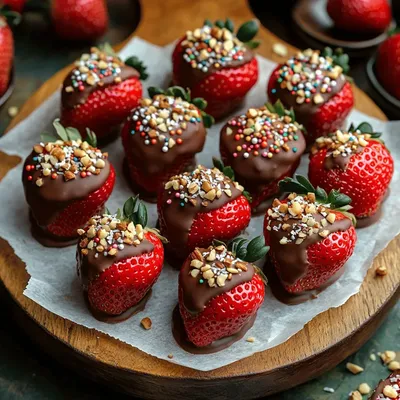
Sweet Indulgence: Easy Chocolate Dipped Strawberries
Delicious Sweet Indulgence: Easy Chocolate Dipped Strawberries
 Desserts
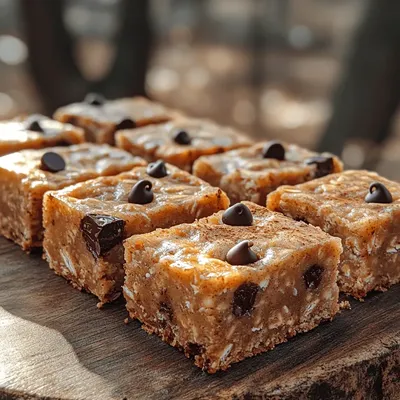
Decadent Healthy Chocolate Chip Oatmeal Bars: A Nutritious Treat
Delicious Decadent Healthy Chocolate Chip Oatmeal Bars: A Nutritious Treat

Caroline
I cook these recipes at home before they ever land here — simple ingredients, clear steps.