It was a chilly Saturday afternoon in late November, the kind of day when the house smells like cinnamon and the wind whistles through the cracked windows. I was standing in my kitchen, the oven humming softly, and I remembered the first time my grandma made me a slice of classic red velvet cake for my birthday. The moment the lid lifted, a cloud of sweet, cocoa‑kissed steam rose like a rosy veil, and the deep crimson hue of the frosting caught the light in a way that felt almost magical. That memory stayed with me, and years later I asked myself, “What if I could combine that velvety indulgence with the fudgy, chocolatey goodness of brownies, and then swirl in a silky cheesecake center?” The answer was a recipe that has become a family favorite, a dessert that feels both familiar and thrillingly new.
When you bite into these Red Velvet Cheesecake Brownies, the first thing you notice is the striking color—an inviting, deep ruby that hints at the richness inside. The top crust is slightly crisp, giving way to a tender, melt‑in‑your‑mouth crumb that’s both chocolatey and subtly buttery. As you cut through the center, a ribbon of creamy cheesecake unfurls, its tangy sweetness balancing the cocoa and the faint hint of vanilla. The texture is a delightful dance: the outer edges are a little chewy, the middle stays soft, and the cheesecake swirl adds a luxurious, almost airy contrast. Imagine the comfort of a brownie meeting the elegance of a cheesecake—each bite feels like a small celebration.
But that’s not all. This recipe is built on a few secret tricks that elevate it from “good” to “wow, I need this for every special occasion.” I’ll reveal the exact technique for getting that perfect swirl without mixing the layers, the best way to achieve that vivid red color without artificial taste, and the timing that guarantees a glossy, crack‑free top. Have you ever wondered why restaurant versions of red velvet desserts taste so much richer? The answer lies in a combination of high‑quality cocoa, a splash of buttermilk, and a careful balance of acidity—details I’ll walk you through step by step.
Ready to dive in? Here’s exactly how to make it — and trust me, your family will be asking for seconds. The journey from mixing bowls to the moment you pull the pan out of the oven is filled with aromatic cues, tactile sensations, and a few little surprises that keep you engaged. So, preheat your oven, gather your ingredients, and let’s embark on this decadent adventure together.
🌟 Why This Recipe Works
- Flavor Depth: The combination of cocoa powder, red food coloring, and a touch of espresso powder (optional) creates a layered chocolate flavor that’s both deep and nuanced, while the cream cheese adds a tangy richness that cuts through the sweetness.
- Texture Harmony: By using melted butter and a careful ratio of flour to cocoa, the brownies stay fudgy yet hold their shape, and the cheesecake swirl remains silky without becoming runny.
- Ease of Execution: The recipe uses a single pan and a simple swirl technique, so even beginners can achieve a professional‑looking finish without a pastry bag.
- Time Efficiency: With a total prep and bake time under an hour, you can whip up a show‑stopping dessert even on a busy weeknight.
- Versatility: The base can be dressed up with chocolate chips, white chocolate drizzles, or even a sprinkle of sea salt for a sweet‑and‑salty twist.
- Ingredient Quality: Using real cocoa, high‑quality cream cheese, and natural food coloring ensures the flavor shines without any off‑notes.
- Crowd‑Pleasing Factor: The striking red color and the familiar brownie‑cheesecake combo make it a hit at parties, potlucks, and holiday gatherings.
- Nutrition Balance: While indulgent, the recipe incorporates a modest amount of sugar and includes protein from the cream cheese, offering a slightly more balanced treat.
🥗 Ingredients Breakdown
The Foundation: Brownie Base
The brownie base starts with melted butter, which lends a glossy sheen and a buttery mouthfeel that’s essential for that fudgy texture. Sugar not only sweetens but also helps create a slight caramelization on the crust, giving you that satisfying crack when you break a piece. Eggs act as a binding agent, providing structure while keeping the crumb tender; using room‑temperature eggs ensures they incorporate smoothly without curdling.
All‑purpose flour is kept to a minimum to preserve the dense, chewy quality that distinguishes brownies from cakes. A pinch of baking powder adds a tiny lift, preventing the brownies from becoming overly dense, while salt amplifies the chocolate flavor, balancing the sweetness.
Aromatics & Spices: The Velvet Touch
Cocoa powder is the heart of the chocolate flavor, but I recommend using a Dutch‑process cocoa for a richer, smoother taste that doesn’t taste bitter. Red food coloring is what gives the brownies their iconic hue; choose a gel version for stronger color with less liquid, which helps keep the batter’s consistency just right.
A splash of vanilla extract adds warmth, while a teaspoon of espresso powder (optional) intensifies the chocolate without making the brownies taste like coffee. The subtle acidity from the buttermilk (or a splash of milk mixed with a teaspoon of lemon juice) reacts with the baking powder to create a tender crumb and a slight rise.
The Secret Weapons: Cheesecake Swirl
Cream cheese is the star of the swirl, delivering a tangy creaminess that cuts through the richness of the brownie. Using full‑fat cream cheese ensures a smooth, velvety texture; low‑fat versions can become grainy when baked. A small amount of sugar sweetens the cheesecake without overpowering it, and an extra egg yolk adds silkiness while helping the swirl set.
A dash of lemon zest can be added to the cheesecake mixture for a bright note that lifts the overall flavor profile. If you’re feeling adventurous, a spoonful of melted white chocolate folded into the cheesecake adds an extra layer of decadence.
Finishing Touches: Optional Enhancements
Chocolate chips sprinkled on top before baking melt into pockets of gooey goodness, while a light dusting of sea salt after the brownies come out of the oven creates a sweet‑and‑salty contrast that’s irresistible. For an extra glossy finish, brush the top with a thin layer of melted butter mixed with a touch of honey right after they cool.
When selecting ingredients, always opt for unsalted butter so you can control the salt level, and choose a high‑quality cream cheese that’s free from additives. Fresh eggs, a good cocoa, and natural food coloring will make a noticeable difference in both flavor and appearance.
With your ingredients prepped and ready, let's get cooking. Here's where the fun really begins…

🍳 Step-by-Step Instructions
Preheat your oven to 350°F (175°C). While the oven warms up, lightly grease a 9×13‑inch baking pan with butter or line it with parchment paper, leaving an overhang for easy removal later. This step is crucial because a well‑greased pan prevents sticking and ensures clean, intact squares when you cut the brownies.
The aroma of butter melting in the pan already hints at the richness to come. Let the pan sit while you work on the batter; the heat from the melted butter will keep the batter at the perfect temperature for a smooth mix.
In a medium saucepan, melt ½ cup (115 g) unsalted butter over low heat. Once melted, remove from heat and stir in 1 cup (200 g) granulated sugar until the mixture is glossy and slightly cooled. Adding the sugar while the butter is still warm helps dissolve it, creating a silky base.
Now whisk in 2 large eggs one at a time, making sure each egg is fully incorporated before adding the next. The mixture should become thick and slightly glossy—this is a good sign that the batter will hold its shape during baking.
Stir in 1 teaspoon vanilla extract and 1 tablespoon red food coloring (gel works best). To avoid streaks, whisk the coloring into a tablespoon of hot water first, then pour it into the batter. The color should spread evenly, turning the mixture a deep, velvety pink.
Next, sift together 2 tablespoons cocoa powder, ½ cup (65 g) all‑purpose flour, ¼ teaspoon baking powder, and ¼ teaspoon salt. Sifting prevents lumps and ensures the dry ingredients are evenly distributed.
Combine the dry and wet mixtures, folding until just incorporated. The batter should be thick but spreadable; if it feels too stiff, add a tablespoon of milk or buttermilk to loosen it slightly.
Spread the batter evenly in the prepared pan, using the back of a spoon or an offset spatula to smooth the top. The surface should be uniform, creating a clean canvas for the cheesecake swirl.
While the brownie base rests, prepare the cheesecake swirl. In a separate bowl, beat 4 oz (115 g) softened cream cheese until smooth, then add ¼ cup (50 g) granulated sugar and 1 egg yolk. Beat until the mixture is light, creamy, and free of lumps.
Add ½ teaspoon vanilla extract and, if you like, a pinch of lemon zest for brightness. The swirl should be thick enough to hold its shape when dolloped, but still fluid enough to spread gently.
Drop spoonfuls of the cheesecake mixture over the brownie batter—about 8 to 10 dollops spaced evenly. Using the back of a knife or a skewer, gently swirl the cheesecake into the brownie by drawing a figure‑eight pattern. This creates those beautiful marbled ribbons that will surprise your guests.
If you prefer a more pronounced cheesecake layer, you can pour the entire mixture over the batter and then use a knife to create a single, dramatic swirl. The choice is yours, and both methods yield a gorgeous visual effect.
Place the pan in the preheated oven and bake for 30 minutes, or until the edges are set and a toothpick inserted into the center comes out with just a few moist crumbs attached. The top should be slightly cracked and glossy, signaling that the brownies are perfectly baked.
Mid‑bake, you’ll notice a faint aroma of cocoa and vanilla mingling with a buttery, slightly caramelized scent—this is the moment to trust your senses. If the top begins to brown too quickly, loosely cover it with foil to prevent over‑browning.
After cooling, use the parchment overhang to lift the entire slab onto a cutting board. Slice into 12‑16 squares, depending on your preferred size. Each piece should showcase a swirl of pink cheesecake against the dark, fudgy brownie.
Serve warm with a scoop of vanilla ice cream, or at room temperature with a dusting of powdered sugar. The contrast of temperatures adds another layer of enjoyment, and the ice cream melts into the brownie, creating a luscious sauce.
And there you have it! But before you dig in, let me share some tips that will take this from great to absolutely unforgettable…
🔐 Expert Tips for Perfect Results
The Taste Test Trick
Before you bake, taste a tiny spoonful of the brownie batter. It should taste sweet but not overly sugary, and you’ll notice the subtle cocoa bitterness. If the flavor feels flat, add a pinch more salt or a splash of espresso powder; this amplifies the chocolate without making the brownies taste like coffee.
Why Resting Time Matters More Than You Think
Allow the baked brownies to rest for at least 30 minutes at room temperature. This resting period lets the moisture redistribute, resulting in a fudgier interior. I once cut into a brownie straight out of the oven and found it crumbly; a short rest solved that problem instantly.
The Seasoning Secret Pros Won’t Tell You
A pinch of flaky sea salt sprinkled on top just after baking can transform the flavor profile, adding a subtle crunch and enhancing the chocolate’s depth. Professionals often finish desserts with a light dusting of salt to balance sweetness—a tiny detail that makes a huge impact.
Swirl Mastery: No Streaks, No Mess
When swirling the cheesecake, keep the knife or skewer at a shallow angle and move it in smooth, continuous circles. If you see streaks, gently tap the pan on the counter to settle the batter, then swirl again. Practice makes perfect, and the result is a beautiful marbled effect.
Choosing the Right Cocoa
Opt for Dutch‑process cocoa if you want a smoother, less acidic chocolate flavor. Natural cocoa can add a slight tang that some people love, but it may also affect the final color, making it a bit darker. Experiment with both to discover your personal preference.
Storage Savvy: Keeping Freshness
Store the brownies in an airtight container at room temperature for up to three days. If you need to keep them longer, wrap tightly in plastic wrap and freeze for up to two months. When reheating, a quick 10‑second burst in the microwave restores that warm, gooey texture without drying them out.
🌈 Delicious Variations to Try
One of my favorite things about this recipe is how versatile it is. Here are some twists I've tried and loved:
White Chocolate Raspberry Swirl
Replace the classic cheesecake swirl with a mixture of softened cream cheese, white chocolate chips, and a spoonful of raspberry jam. The tangy jam pairs beautifully with the sweet white chocolate, creating a pink‑and‑white marble that looks as stunning as it tastes.
Mocha Espresso Infusion
Add a tablespoon of finely ground espresso to the brownie batter and a dash of coffee liqueur to the cheesecake mixture. The coffee notes deepen the chocolate flavor and give the brownies an adult‑only edge—perfect for after‑dinner coffee time.
Nutty Crunch Delight
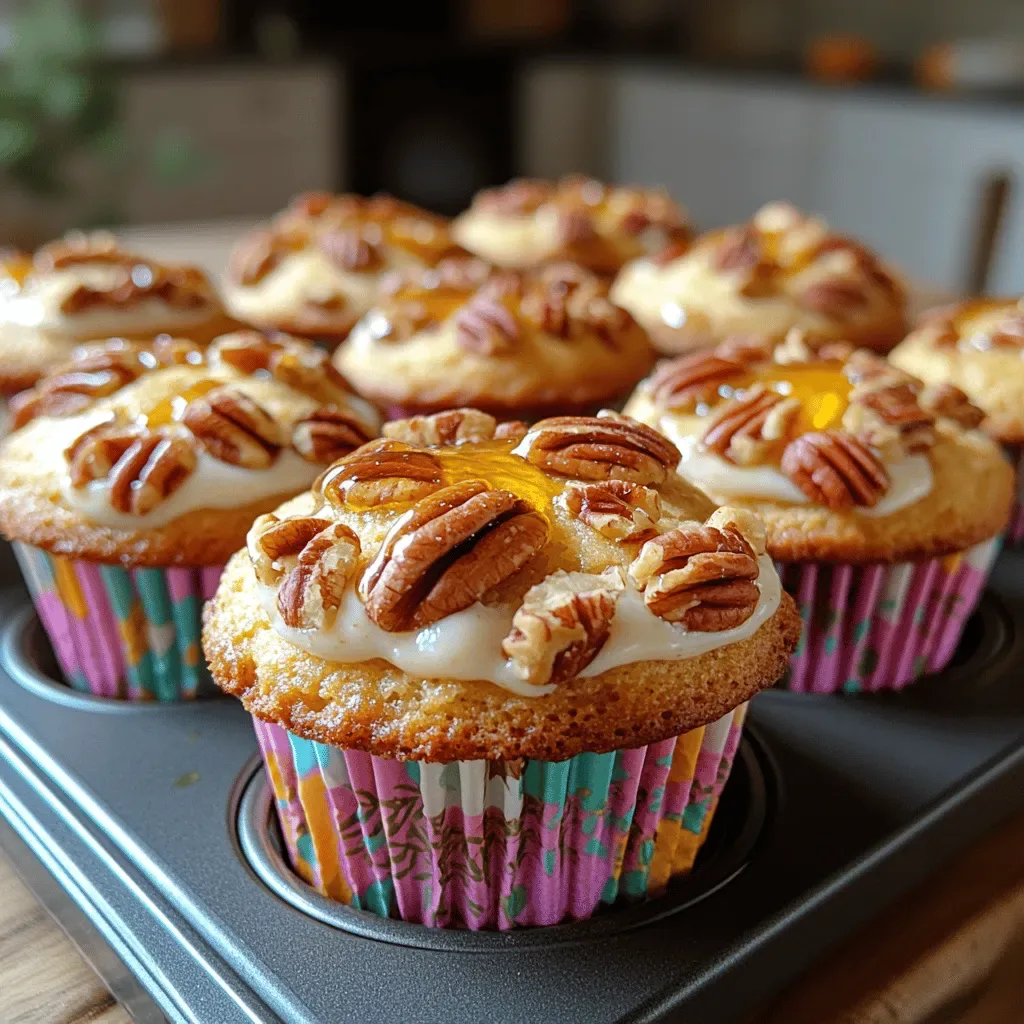
Stir in a half‑cup of toasted chopped pecans or walnuts into the brownie batter before baking. The nuts add a pleasant crunch and a buttery flavor that complements the creamy cheesecake swirl.
Salted Caramel Drizzle
After the brownies have cooled, drizzle a homemade salted caramel sauce over the top and sprinkle with flaky sea salt. The salty‑sweet combination elevates the dessert to a gourmet level, making it ideal for special occasions.
Vegan Friendly Version
Swap the butter for coconut oil, use a plant‑based cream cheese, and replace the eggs with a flax‑egg mixture (1 tablespoon ground flaxseed + 3 tablespoons water per egg). The texture remains rich, and the flavor stays true to the original, proving that indulgence can be inclusive.
Gluten‑Free Adaptation
Use a 1:1 gluten‑free flour blend in place of all‑purpose flour. Ensure the blend contains xanthan gum for structure. The brownies will be just as tender, and the gluten‑free crowd will be thrilled.
📦 Storage & Reheating Tips
Refrigerator Storage
Place the cooled brownies in an airtight container or wrap tightly with plastic wrap. They will stay moist and flavorful for up to five days. For extra freshness, add a slice of fresh bread on top of the container; the bread will absorb excess moisture and keep the brownies from drying out.
Freezing Instructions
Wrap individual squares in parchment paper, then place them in a freezer‑safe zip‑top bag. Label with the date and freeze for up to two months. When you’re ready to enjoy, let them thaw at room temperature for 30 minutes, then warm briefly in the microwave.
Reheating Methods
To revive that warm, fudgy texture, microwave a single square on high for 10‑12 seconds. For a more even heat, preheat the oven to 300°F (150°C) and warm the brownies for 8‑10 minutes, covering loosely with foil to prevent the top from over‑browning. The trick to reheating without drying it out? A splash of milk or a dab of butter placed on top before heating creates steam that keeps the crumb moist.