Frozen Yogurt Granola Cups: A Healthy Delight
 Save
Save
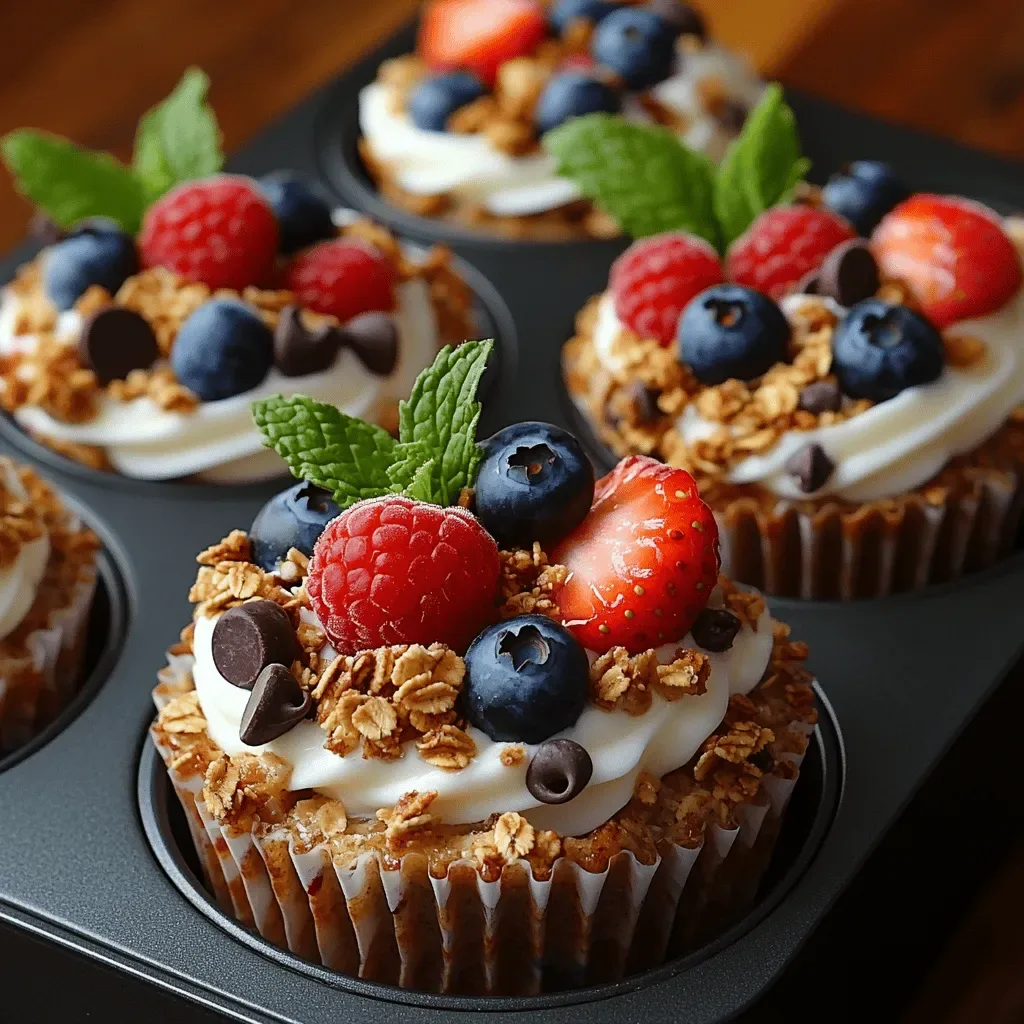
Imagine the crisp snap of granola, the creamy tang of Greek yogurt, and a burst of fresh fruit—all tucked into a bite‑size cup you can grab on the go. Frozen Yogurt Granola Cups deliver that perfect marriage of texture and flavor while staying light enough for a brunch table or a post‑workout snack.
What sets this recipe apart is the clever use of frozen yogurt as a binding agent, turning ordinary granola into a portable, protein‑packed treat without the added sugars of traditional ice cream.
Busy parents, fitness enthusiasts, and anyone craving a guilt‑free indulgence will love these cups. They shine at weekend brunches, as a midday pick‑me‑up, or even as a playful dessert for kids.
The process is straightforward: blend yogurt with a hint of honey, press a layer of granola into muffin tins, swirl in the yogurt mixture, freeze until firm, then finish with fresh fruit and a drizzle of nut butter. In under half an hour you’ll have a freezer‑ready delight.
Why You'll Love This Recipe
Protein‑Rich Breakfast: Greek yogurt adds a creamy boost of protein, keeping you satisfied until lunch while supporting muscle recovery.
Crunchy Meets Creamy: The granola base provides a satisfying crunch that perfectly contrasts the smooth, tangy yogurt center.
Customizable Flavors: Swap berries for tropical fruit, drizzle with chocolate, or sprinkle spices—each cup can be tailored to your mood.
Make‑Ahead Friendly: Once frozen, the cups keep for weeks, making them an ideal grab‑and‑go option for hectic mornings.
Tips & Tricks
Perfecting the Recipe
Press Granola Firmly. Use the back of a spoon or a small glass to compact the granola base; this prevents it from crumbling when you lift the cup.
Freeze in One Layer. Spread the cups on a baking sheet before freezing to ensure they freeze evenly and maintain shape.
Use Full‑Fat Yogurt. Higher fat content yields a richer, smoother texture that freezes without becoming icy.
Adjust Sweetness Early. Taste the yogurt mixture before freezing; once frozen, flavors mute slightly.
Flavor Enhancements
Add a pinch of cinnamon or ground cardamom to the yogurt for warm spice notes. Swirl in a spoonful of fruit preserves for a ribbon of extra fruit flavor, or sprinkle toasted coconut flakes on top for tropical flair.
Common Mistakes to Avoid
Avoid over‑filling the cups—yogurt expands slightly as it freezes, which can cause overflow. Also, don’t use granola with large chunks of chocolate that can melt and become soggy during the freeze.
Pro Tips
Pre‑portion Toppings. Keep berries, nuts, and nut butter in separate small containers so you can assemble each cup quickly, especially when making large batches.
Use a Silicone Muffin Tray. Silicone releases the cups effortlessly, even when fully frozen, reducing the risk of cracks.
Layer Flavors. Sprinkle a thin layer of chopped dried fruit between granola and yogurt for hidden bursts of sweetness.
Quick Thaw for Soft Bite. If you prefer a softer texture, let the cup sit at room temperature for 5 minutes before eating.
Variations
Ingredient Swaps
Replace Greek yogurt with dairy‑free coconut or almond yogurt for a vegan version. Swap honey for agave nectar or a sugar‑free sweetener if you need a lower‑glycemic option. Try quinoa‑based granola or toasted oats for a gluten‑free base, and experiment with mango, kiwi, or pomegranate seeds as alternative toppings.
Dietary Adjustments
For a keto-friendly cup, use a low‑carb granola made from nuts and seeds, and sweeten the yogurt with erythritol or monk fruit. To keep it dairy‑free, choose a plant‑based yogurt with at least 5 g protein per serving. Gluten‑intolerant eaters should verify that the granola is certified gluten‑free.
Serving Suggestions
Serve these cups alongside a fresh green smoothie for a balanced brunch, or pair them with a small bowl of overnight oats for an extra‑hearty morning. For a dessert twist, drizzle dark chocolate and sprinkle sea salt just before serving.
Storage Info
Leftover Storage
Allow the cups to cool completely, then transfer them to an airtight container or zip‑top freezer bag. Store in the freezer for up to 3 months. If you plan to eat them within a week, keep them in a sealed container in the refrigerator; they’ll stay fresh for 5‑7 days.
Reheating Instructions
For a softer texture, place a frozen cup in the microwave on the defrost setting for 30‑45 seconds, then let it sit for a minute. Alternatively, let the cup sit at room temperature for 5‑10 minutes before eating. Avoid high heat, which can cause the yogurt to separate.
Frequently Asked Questions
Can I make these cups ahead of time?
Can I use frozen fruit instead of fresh?
How do I keep the granola from getting soggy?
What’s the best way to serve them for a brunch buffet?
This Frozen Yogurt Granola Cup recipe blends wholesome ingredients, satisfying crunch, and effortless make‑ahead convenience into a single, portable treat. By following the detailed steps, using the tips for texture, and experimenting with the suggested variations, you’ll create a breakfast or brunch staple that stays fresh in the freezer and delights every palate. Feel free to swap fruits, nuts, or sweeteners to match your personal cravings, and enjoy the burst of flavor and nutrition in every bite!
Frozen Yogurt Granola Cups: A Healthy Delight
Delicious Frozen Yogurt Granola Cups: A Healthy Delight
Ingredients
Base & Yogurt Mixture
- 2 cups plain Greek yogurt (full‑fat or 2%)
- 2 tablespoons honey or maple syrup
- 1 teaspoon vanilla extract
Granola Layer
- 2 cups crunchy granola (preferably low‑sugar)
- 2 tablespoons melted coconut oil
- 1 tablespoon brown sugar (optional for extra caramel)
Toppings & Finishing Touches
- 1 cup mixed fresh berries (strawberries, blueberries, raspberries)
- ¼ cup chopped nuts (almonds, pistachios, or walnuts)
- 2 tablespoons almond or peanut butter, melted
Instructions
Assembling the Cups
- Fill the Cups. Spoon the yogurt mixture over the pressed granola, filling each cup about three‑quarters full. Smooth the tops with the back of a spoon for an even surface. This layering ensures each bite gets a balanced ratio of crunch to cream.
- Freeze. Place the muffin tin on a baking sheet and transfer to the freezer. Freeze for at least 2 hours, or until the yogurt is solid. A solid center prevents the cups from collapsing when you add toppings later.
- Add Toppings. Once frozen, remove the cups briefly and top each with a handful of fresh berries, a sprinkle of chopped nuts, and a drizzle of melted nut butter. The cold yogurt acts as a “glue” that holds the toppings in place.
- Final Freeze. Return the topped cups to the freezer for an additional 30 minutes to set the nut‑butter drizzle. This final step ensures everything stays together when you lift the cups out of the tin.
Similar Recipes
 Breakfast
Healthy Pumpkin Oat Waffles Recipe
Delicious Healthy Pumpkin Oat Waffles Recipe
 Breakfast
10-Minute Avocado Toast Bliss: A Quick Guide to a Nutritious Delight
Delicious 10-Minute Avocado Toast Bliss: A Quick Guide to a Nutritious Delight
 Breakfast
Blueberry Bliss Oat Muffins: A Wholesome Delight
Delicious Blueberry Bliss Oat Muffins: A Wholesome Delight
 Breakfast
5-Minute Magic: Overnight Oats with Chia Seeds
Learn how to make delicious 5-Minute Magic: Overnight Oats with Chia Seeds. Easy recipe with step-by-step…
 Breakfast
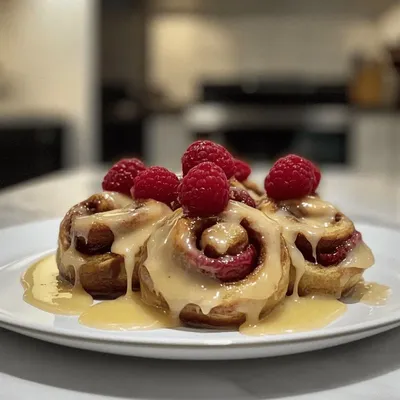
Raspberry Cinnamon Rolls with Lemon Glaze for a Sweet Morning Treat
Learn how to make delicious Raspberry Cinnamon Rolls with Lemon Glaze for a Sweet Morning Treat.…
 Breakfast
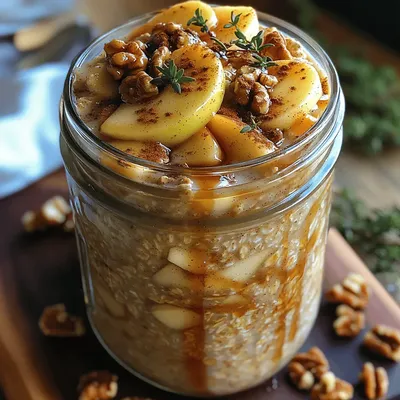
Apple Pie Overnight Oats: A Delicious and Nutritious Breakfast Choice
Delicious Apple Pie Overnight Oats: A Delicious and Nutritious Breakfast Choice
 Breakfast
Classic Savory Quiche Lorraine Recipe
Delicious Classic Savory Quiche Lorraine Recipe
 Breakfast
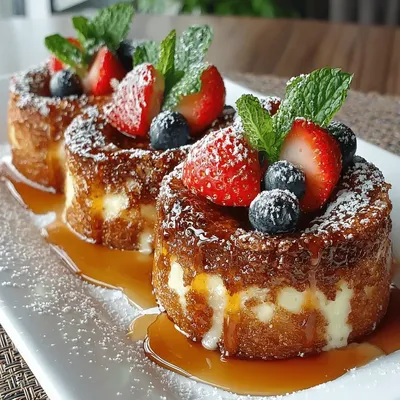
Baked French Toast Muffin Tins Recipe
Delicious Baked French Toast Muffin Tins Recipe

Caroline
I cook these recipes at home before they ever land here — simple ingredients, clear steps.