Garlic Parmesan Crusted Chicken Thighs
 Save
Save
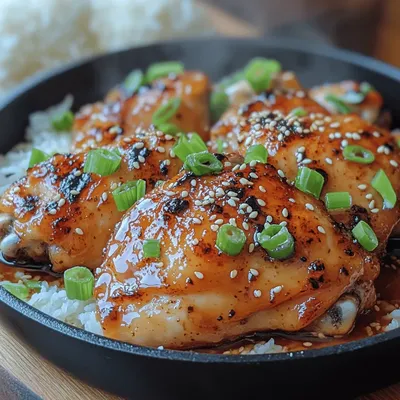
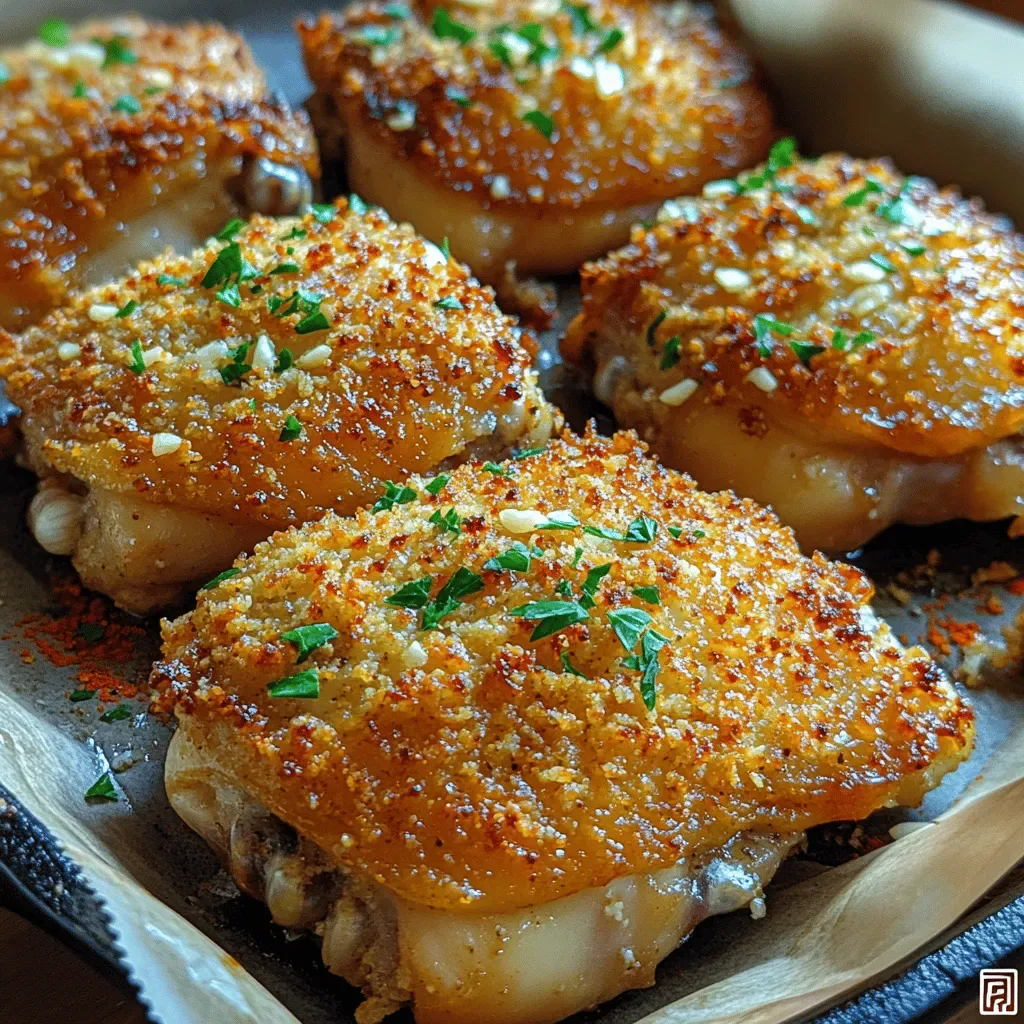
Imagine the aroma of fresh garlic mingling with a golden, cheesy crust as you slice into a juicy chicken thigh. That moment of pure comfort is exactly what this Garlic Parmesan Crusted Chicken Thighs recipe delivers, making it an instant brunch favorite.
What sets this dish apart is the crisp Parmesan coating that creates a satisfying crunch while keeping the meat tender and succulent. A touch of lemon zest brightens the flavor, and a light drizzle of honey adds a subtle sweetness that balances the savory notes.
This recipe is perfect for families who crave a hearty breakfast, brunch gatherings with friends, or a weekend treat that feels indulgent without demanding hours in the kitchen.
The process is straightforward: season the thighs, coat them in a garlic‑Parmesan mixture, sear for a caramelized crust, then finish in the oven so the interior stays moist. The result is a dish that looks as impressive as it tastes.
Why You'll Love This Recipe
Irresistible Crunch: The Parmesan crust turns golden and crisp, giving each bite a satisfying texture that elevates ordinary chicken thighs into a gourmet experience.
Balanced Flavors: Garlic, lemon zest, and a hint of honey create a harmony of savory, bright, and sweet notes that keep the palate intrigued.
Quick & Easy: From prep to plate in under an hour, the recipe fits perfectly into busy weekend mornings without sacrificing taste.
Versatile Presentation: Serve it with eggs, fresh fruit, or a light salad for a complete brunch that looks as good as it feels.
Tips & Tricks
Perfecting the Recipe
Dry the Skin. Pat the skin completely dry before oiling; this is the secret to a crisp, crackling surface.
Even Coating. Press the Parmesan mixture firmly onto the thigh so it adheres during the high‑heat sear.
Room‑Temp Meat. Let the thighs sit out for 10 minutes before cooking to avoid a cold center.
Use an Oven‑Safe Skillet. This eliminates the need to transfer the chicken, preserving all flavorful browned bits.
Flavor Enhancements
Add a squeeze of fresh lemon juice just before serving for a bright finish. A pinch of red‑pepper flakes gives a subtle heat without overwhelming the cheese. For extra richness, stir a tablespoon of cold butter into the pan juices after baking.
Common Mistakes to Avoid
Skipping the rest period causes juices to spill out, leaving the meat dry. Also, avoid moving the thighs during the initial sear; this prevents the crust from forming and can cause the cheese to stick to the pan.
Pro Tips
Fresh Parmesan. Grate the cheese yourself; pre‑grated varieties contain anti‑caking agents that can affect the crust texture.
Thermometer Check. Use an instant‑read thermometer to confirm 165°F (74°C) for perfectly safe and juicy meat.
Batch Prep. The crust mixture can be made up to 24 hours ahead; store covered in the fridge and bring to room temperature before coating.
Finish with Butter. Swirl a teaspoon of butter into the pan sauce right before serving for a glossy, velvety finish.
Variations
Ingredient Swaps
Replace chicken thighs with bone‑in chicken drumsticks for a similar juiciness, or try pork tenderloin medallions for a different protein profile. Swap Parmesan for Pecorino Romano for a sharper bite, and use orange zest instead of lemon for a sweeter citrus note.
Dietary Adjustments
For a gluten‑free version, ensure all seasonings are certified gluten‑free and use almond flour instead of breadcrumbs if you add a crumb layer. To keep it dairy‑free, substitute nutritional yeast for Parmesan and use olive oil in place of butter. Keto diners can reduce honey to a drizzle of sugar‑free maple substitute.
Serving Suggestions
Pair the thighs with fluffy ricotta‑stuffed pancakes, a citrus‑yogurt parfait, or a light arugula salad dressed with lemon vinaigrette. For a heartier brunch, serve alongside roasted baby potatoes and grilled asparagus. A side of fresh berries adds a sweet contrast that rounds out the meal.
Storage Info
Leftover Storage
Allow the chicken to cool to room temperature, then transfer each thigh to an airtight container. Store in the refrigerator for 3–4 days. For longer keeping, wrap portions tightly in plastic wrap followed by foil and freeze; they’ll maintain quality for up to 3 months.
Reheating Instructions
Reheat in a 350°F (175°C) oven for 12–15 minutes, covered with foil to prevent drying. For a crispier crust, uncover for the final 3 minutes. In a microwave, heat on medium power for 2 minutes, adding a splash of broth and covering loosely to retain moisture.
Frequently Asked Questions
Can I make this recipe ahead of time?
Can I use frozen chicken thighs?
What sides work best for brunch?
How do I keep the crust from falling off?
This Garlic Parmesan Crusted Chicken Thighs recipe brings together a crunchy, cheesy exterior with juicy, flavorful meat—perfect for a memorable brunch or a comforting weekend breakfast. We've covered every detail, from ingredient selection to storage, and offered plenty of variations to suit any palate. Feel free to experiment with herbs, spices, or side dishes to make it truly your own. Serve it hot, enjoy the compliments, and savor every bite of this deliciously satisfying creation.
Garlic Parmesan Crusted Chicken Thighs
Delicious Garlic Parmesan Crusted Chicken Thighs
Ingredients
Main Ingredients
- 4 bone‑in, skin‑on chicken thighs
- 2 tablespoons olive oil
Crust & Flavor Mix
- 1 cup finely grated Parmesan cheese
- 3 cloves garlic, minced
- 1 teaspoon lemon zest
- 1 tablespoon honey
Seasonings & Garnish
- 1 teaspoon smoked paprika
- ½ teaspoon kosher salt
- ¼ teaspoon freshly ground black pepper
- 2 tablespoons fresh parsley, chopped (for garnish)
Instructions
Searing the Thighs
- Preheat the Skillet. Place a large oven‑safe skillet over medium‑high heat for 3–4 minutes. Add a drizzle of olive oil; when it shimmers, the pan is ready for a perfect sear.
- Coat the Chicken. Press each thigh into the Parmesan mixture, ensuring an even layer on both sides. The mixture should stick without falling off—if it slides, add a touch more honey.
- Sear the Crust. Lay the coated thighs skin‑side down in the hot skillet. Cook undisturbed for 4–5 minutes until the cheese turns a deep golden brown and releases a nutty aroma. Flip carefully and sear the other side for another 3–4 minutes.
- Deglaze (Optional). If you notice browned bits stuck to the pan, splash a tablespoon of water or broth and scrape them up with a wooden spoon. This adds extra flavor to the finishing sauce.
Similar Recipes
 Dinner
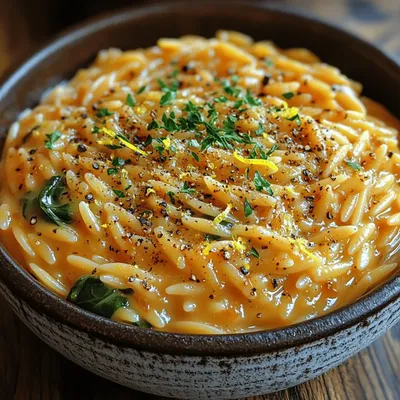
Zesty Creamy Lemon Orzo with Spinach
Delicious Zesty Creamy Lemon Orzo with Spinach
 Dinner
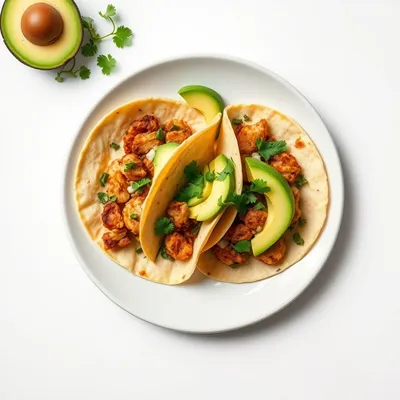
Crispy Sheet Pan Chicken Tacos with Avocado
Delicious Crispy Sheet Pan Chicken Tacos with Avocado
 Dinner
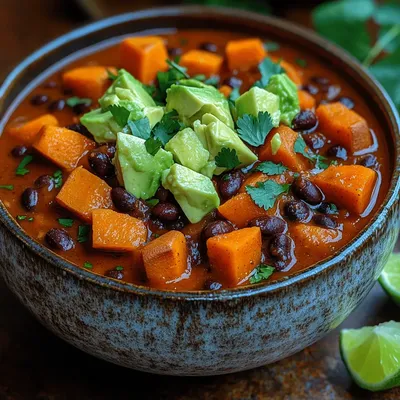
Discover the Comfort of Hearty Sweet Potato & Black Bean Chili
Delicious Discover the Comfort of Hearty Sweet Potato & Black Bean Chili
 Dinner
Easy Homemade Pizza Dough Recipe: A Step-by-Step Guide to Perfecting Your Pizza Base
Delicious Easy Homemade Pizza Dough Recipe: A Step-by-Step Guide to Perfecting Your Pizza Base
 Dinner
Crunchy Baked Chicken Fajitas Fiesta: The Ultimate Recipe Guide
Delicious Crunchy Baked Chicken Fajitas Fiesta: The Ultimate Recipe Guide
 Dinner
Keto Philly Cheesesteak Casserole: A Hearty Low-Carb Delight
Delicious Keto Philly Cheesesteak Casserole: A Hearty Low-Carb Delight
 Dinner
Mouthwatering Spicy Cajun Shrimp: An Exquisite Seafood Delight
Delicious Mouthwatering Spicy Cajun Shrimp: An Exquisite Seafood Delight
 Dinner
warm winter squash and potato gratin with garlic and fresh rosemary
Learn how to make delicious warm winter squash and potato gratin with garlic and fresh rosemary.…

Caroline
I cook these recipes at home before they ever land here — simple ingredients, clear steps.