Introduction
Almond Joy Bars are a beloved snack that combines the rich flavors of chocolate, coconut, and almonds into a delectable treat enjoyed by many. While the store-bought version is a classic favorite, making your own Almond Joy Bars at home allows you to control the ingredients, ensuring they are fresher and healthier. Not only can homemade bars be tailored to your taste preferences, but they also offer a wonderful opportunity to experiment with wholesome ingredients.
One of the most appealing aspects of creating your own Almond Joy Bars is the health benefits associated with the ingredients used. By utilizing almond flour and unsweetened shredded coconut, you can whip up a treat that not only satisfies your sweet tooth but also fuels your body with nutrients. These bars are perfect for various dietary preferences, being naturally gluten-free and dairy-free, which means you can enjoy them guilt-free.
Understanding the Ingredients
To craft the perfect Almond Joy Bars, it’s essential to understand the key ingredients that will bring this recipe to life. Each component contributes not only to the flavor but also to the overall health benefits of the bars.
Almond Flour
Almond flour is a cornerstone of this recipe, providing a nutty flavor and a moist texture while being gluten-free. This flour is made from finely ground almonds, which means it retains many of the nutrients found in almonds. Nutritionally, almond flour is rich in healthy fats, protein, fiber, and vitamin E. It has a lower carbohydrate content compared to traditional wheat flour, making it an excellent choice for those following low-carb or ketogenic diets. The use of almond flour in our Almond Joy Bars not only enhances the flavor but also offers a nutritious base for the treat.
Unsweetened Shredded Coconut
Unsweetened shredded coconut adds a delightful chewiness and tropical flavor to the bars. Beyond its delicious taste, coconut is a powerhouse of nutrition. It contains medium-chain triglycerides (MCTs), which are known to provide quick energy and may support weight management. Additionally, shredded coconut is high in dietary fiber, which aids in digestion and helps you feel full longer. The versatility of unsweetened shredded coconut also means it can be used in various recipes, making it a great staple to have on hand.
Maple Syrup
To sweeten our Almond Joy Bars naturally, we will use maple syrup. Unlike refined sugars, which can cause spikes in blood sugar and offer little nutritional value, maple syrup contains antioxidants and minerals like manganese and zinc. It provides a unique flavor that pairs beautifully with the almonds and coconut. When choosing maple syrup, opt for pure maple syrup rather than imitation varieties to ensure you get the full health benefits and rich taste.
Dark Chocolate
Dark chocolate is not only a delicious addition to our Almond Joy Bars but also boasts numerous health benefits. Rich in antioxidants, dark chocolate has been linked to improved heart health and better brain function. When selecting dark chocolate for this recipe, aim for a product with at least 70% cocoa content to maximize its health benefits while minimizing added sugars. Not only does dark chocolate complement the flavors of almond and coconut, but it also adds a satisfying richness to the bars that makes them truly indulgent.
Almonds
Lastly, we can’t forget about the almonds that serve as the perfect topping for our bars. Almonds are a nutritional powerhouse, packed with healthy fats, protein, and essential vitamins and minerals. They are known for promoting heart health, supporting weight management, and providing a good source of fiber. The crunch of toasted almonds on top of our Almond Joy Bars adds a delightful texture that enhances the overall eating experience.
Preparation Steps Explained
Creating your own Almond Joy Bars at home is not only rewarding but also straightforward. Below are the essential preparation steps that will set you up for success in crafting these delicious treats.
Preheating and Preparing the Baking Pan
Before diving into the mixing of ingredients, it’s crucial to preheat your oven to 350°F (175°C) and prepare your baking pan. Using an 8×8 inch square baking dish is ideal for this recipe. Line the bottom and sides of the pan with parchment paper, allowing some overhang for easy removal later. Proper preparation of the baking pan ensures that the bars do not stick, making it easier for you to cut and serve them once they are baked.
Mixing the Dry Ingredients
Once your pan is ready, the next step involves mixing the dry ingredients. In a large mixing bowl, combine the almond flour, unsweetened shredded coconut, and a pinch of salt. Mixing the dry ingredients together first is essential as it ensures that the flavors are evenly distributed throughout the mixture. The salt enhances the flavors, bringing out the natural sweetness of the other ingredients. Be sure to whisk the dry ingredients thoroughly to eliminate any lumps, creating a smooth, uniform base for your bars.
Adding the Wet Ingredients
After your dry ingredients are well combined, it’s time to add the wet ingredients. Pour in the maple syrup and melted dark chocolate, mixing them into the dry ingredient blend. The order of mixing matters because this ensures that the wet ingredients are evenly incorporated, preventing clumps of dry ingredients in the final mixture. Stir the mixture until it reaches a thick, cohesive texture. If the mixture seems too dry, you can add a tablespoon of coconut oil or a splash of almond milk to achieve the desired consistency.
Pressing the Mixture into the Pan
Now comes the fun part: pressing the mixture into the prepared baking pan. Use a spatula or your hands to pack the mixture tightly and evenly into the bottom of the pan. It’s important to press firmly to ensure the bars hold their shape once baked. A well-packed mixture will result in a denser, more satisfying bar that won’t crumble apart when cut. Aim for an even layer across the pan, smoothing out any bumps or uneven sections.
By following these initial steps, you set a solid foundation for your Almond Joy Bars, paving the way for a delicious and satisfying homemade treat. The combination of quality ingredients and careful preparation will lead to an indulgent dessert that you can enjoy with confidence, knowing that it is made with wholesome, nutritious components.
Baking Process
After preparing the base for your Almond Joy Bars, it’s time to bake them to perfection. Preheat your oven to 350°F (175°C) and line an 8×8-inch baking dish with parchment paper, allowing some overhang for easy removal later. This step ensures that your bars come out of the pan without sticking and makes cleanup a breeze.
Pour the coconut-almond mixture into the prepared dish, pressing it down firmly to create an even layer. It’s crucial to pack the mixture tightly; this will help the bars hold their shape after baking. Bake the bars in the preheated oven for about 20-25 minutes, or until the edges are golden brown and the center feels set.
How to Know When the Bars Are Perfectly Baked
Visual cues are essential for determining the perfect baking time. The edges should be slightly darker than the center, indicating that they are set but not overcooked. When you tap the center gently, it should feel firm, not jiggly. Additionally, look for a slight puffing of the coconut mixture as it bakes, which indicates that the moisture is cooking off and the mixture is solidifying.
Melting Chocolate
Once the almond coconut base is baked and cooled, it’s time to melt the chocolate for the top layer. Melting chocolate may seem intimidating, but with the right techniques, it can be done effortlessly without burning.
One of the best methods to melt chocolate is using a double boiler. Fill a saucepan with about an inch of water and bring it to a simmer. Place a heatproof bowl on top of the saucepan, ensuring the bottom of the bowl does not touch the water. Add your chopped chocolate or chocolate chips to the bowl. Stir occasionally until the chocolate is smooth and completely melted.
Alternatively, you can melt chocolate in the microwave. Place the chocolate in a microwave-safe bowl and heat it in 30-second intervals, stirring after each interval. This method requires attention, as chocolate can easily scorch if overheated.
Assembling the Bars
Once your chocolate is melted, it’s time to assemble the Almond Joy Bars. Pour the melted chocolate over the cooled coconut-almond base, ensuring an even coating. Use a spatula to gently spread the chocolate, making sure to cover every inch of the coconut layer.
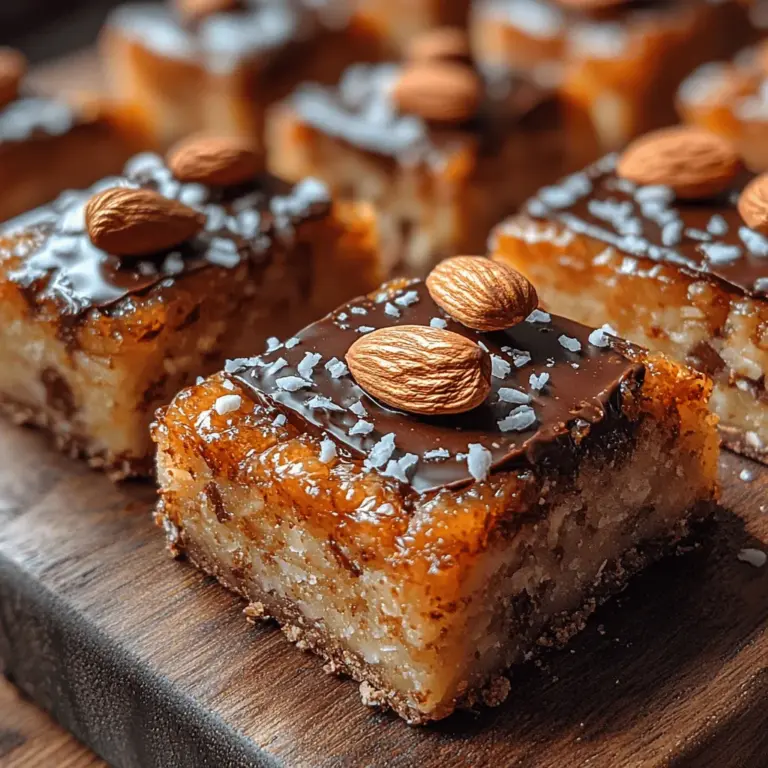
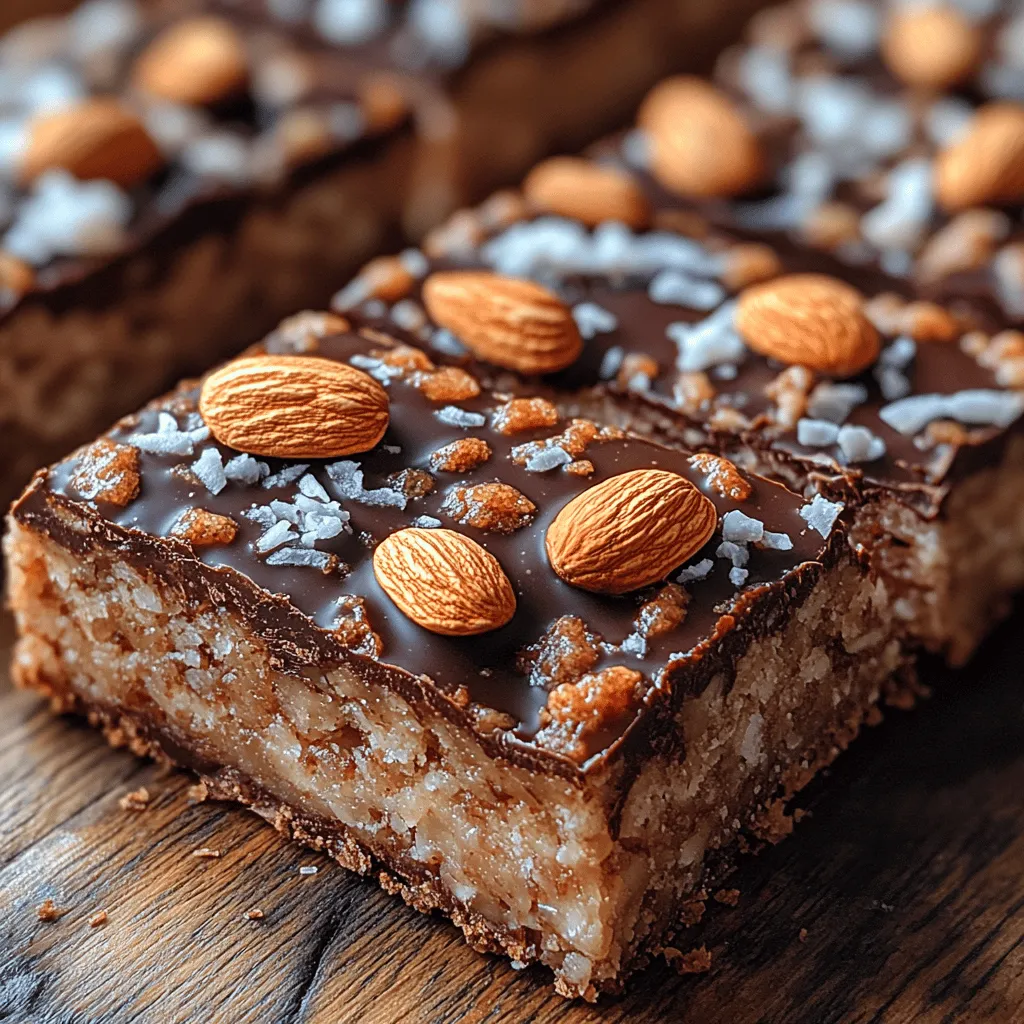
For aesthetic appeal, consider placing whole almonds on top of the melted chocolate before it sets. This not only looks beautiful but also adds an extra crunch with each bite. Allow the chocolate to cool slightly before transferring the assembled bars to the refrigerator to set completely.
Chilling and Cutting the Bars
Chilling the bars is a vital step that allows the chocolate to harden and the layers to bind together. Refrigerate the bars for at least 1-2 hours, or until the chocolate is firm to the touch. This cooling period helps ensure that when you cut the bars, they maintain their shape and don’t crumble.
To cut the bars, use a sharp knife and warm it under hot water for a few seconds before wiping it dry. This technique helps the knife glide through the chocolate smoothly, preventing cracks and ensuring a clean cut. Score the bars into even squares or rectangles, depending on your preference, and enjoy!
Serving Suggestions
Almond Joy Bars are versatile and can be served in various creative ways. For a casual afternoon snack, serve them on a platter with fresh fruit like strawberries or raspberries, which add a refreshing contrast to the rich bars. You can also drizzle some extra melted chocolate or a sprinkle of shredded coconut on top for an eye-catching presentation.
For a more indulgent dessert, pair these bars with a scoop of vanilla ice cream or whipped cream. The creamy texture complements the chewy coconut and crunchy almonds beautifully.
When it comes to beverages, Almond Joy Bars are delightful when enjoyed with a steaming cup of coffee or a rich hot chocolate. Alternatively, a cup of herbal tea can provide a soothing balance to the sweetness of the bars, making it a perfect afternoon treat.
Storage Tips
To maximize the freshness of your Almond Joy Bars, it’s essential to store them properly. Keep the bars in an airtight container at room temperature for up to a week. If you live in a warm climate or prefer them chilled, store them in the refrigerator.
For longer storage, you can freeze the bars. Cut them into squares and place them in a single layer on a baking sheet to freeze for about an hour. Once frozen, transfer them to a sealable freezer bag or an airtight container, separating layers with parchment paper to prevent sticking. Properly stored, frozen Almond Joy Bars can last for up to three months. When you’re ready to enjoy them, simply thaw them in the refrigerator overnight.
Nutritional Information
Understanding the nutritional content of your treats can help you enjoy them as part of a balanced diet. Each serving of Almond Joy Bars (approximately one square) contains around 150-200 calories, depending on the specific ingredients used and portion size. They are a good source of healthy fats from the almonds and coconut, providing energy and satisfaction.
These bars contain protein and fiber, especially if you use unsweetened coconut and natural almond butter. While they are a treat, they can fit into a balanced diet when enjoyed in moderation. They are perfect for satisfying a sweet tooth without the guilt associated with traditional sugary snacks.
Conclusion
Almond Joy Bars are not only easy to prepare but also offer a delicious way to enjoy the flavors of chocolate, coconut, and almonds in a healthier format. With their rich taste and satisfying texture, they make for a delightful homemade treat that can bring joy to any occasion. Whether you’re serving them at a gathering, as a midday snack, or as an after-dinner dessert, they are sure to impress.
Trying your hand at making these bars at home is a rewarding experience, allowing you to control the ingredients and create a treat that aligns with your dietary preferences. So gather your ingredients, roll up your sleeves, and get ready to indulge in the blissful satisfaction of homemade Almond Joy Bars. They’re more than just a snack; they’re a testament to the joy of making treats with love and care.
