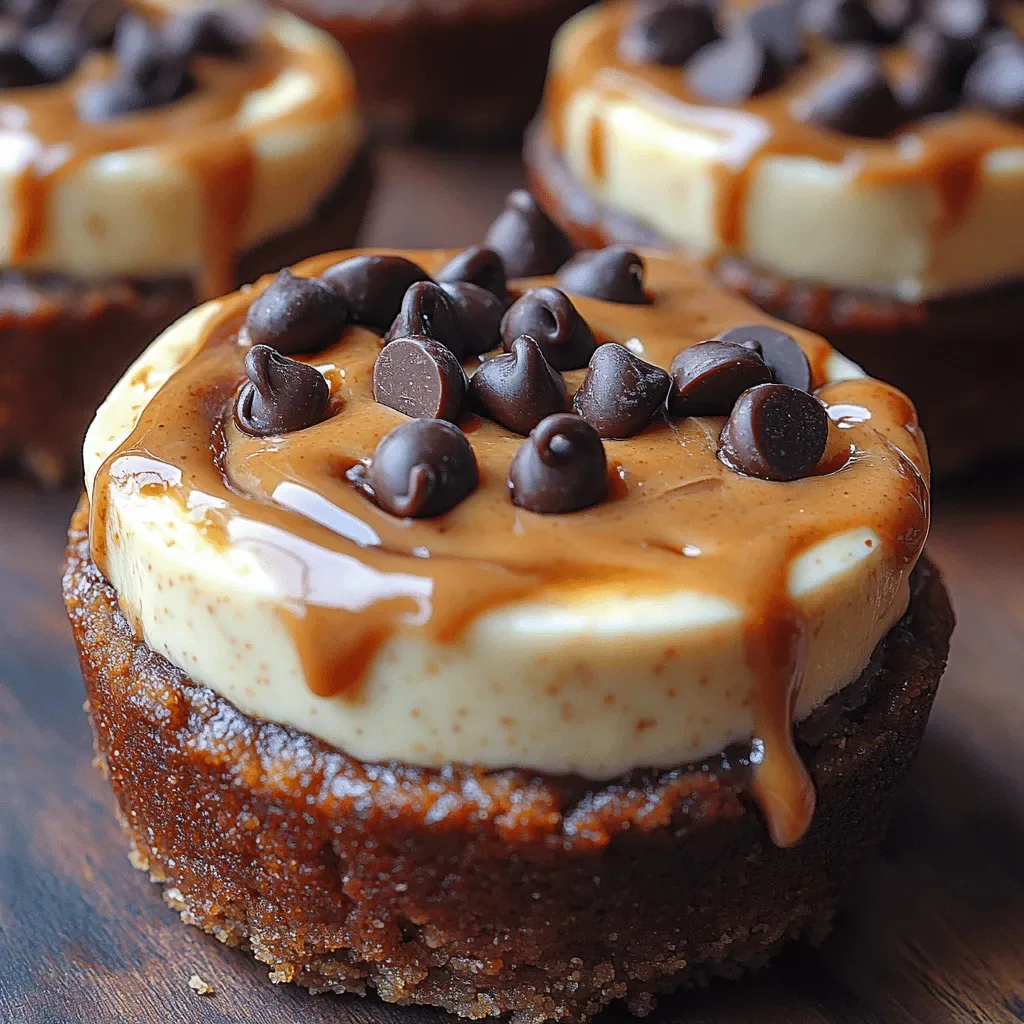
Protein Peanut Butter Cheesecake Cups: A Deliciously Healthy Dessert
 Save
Save
Imagine a bite‑size dessert that satisfies your sweet tooth, fuels your morning, and keeps you feeling full until lunch. Protein Peanut Butter Cheesecake Cups deliver exactly that—creamy, tangy cheesecake swirled with rich peanut butter, all boosted by a scoop of whey protein.
What makes this treat special is the perfect marriage of classic cheesecake richness with the natural, nutty goodness of peanut butter, while Greek yogurt adds a light, fluffy texture that won’t weigh you down.
Breakfast lovers, brunch hosts, and fitness enthusiasts alike will adore these cups. They’re ideal for a weekend brunch spread, a post‑workout refuel, or a quick grab‑and‑go snack on busy mornings.
The process is straightforward: blend a silky filling, pour it into silicone muffin liners, bake just enough to set, then chill until firm. In under forty minutes you’ll have a batch of portable, protein‑packed indulgence.
Why You'll Love This Recipe
Protein‑Packed Power: Each cup delivers 12‑15 g of high‑quality protein, keeping you satisfied and supporting muscle recovery after a workout.
Low‑Sugar Sweetness: Natural sweeteners and the tang of Greek yogurt provide a sweet flavor without the crash of refined sugar.
Quick & Convenient: The recipe requires only a mixer and a 25‑minute bake, making it perfect for busy mornings or last‑minute brunches.
Customizable Canvas: Swap flavors, add toppings, or adjust protein type—this base adapts to every palate and dietary need.
Tips & Tricks
Perfecting the Recipe
Room‑temperature dairy. Let cream cheese and yogurt sit out for 10‑15 minutes before mixing; this yields a smoother batter and prevents lumps.
Measure protein powder. Spoon and level the powder rather than scooping directly; this avoids adding extra moisture that can thin the filling.
Don’t over‑bake. The cheesecake should still have a slight jiggle in the center; it will firm up as it cools.
Flavor Enhancements
Add a teaspoon of espresso powder for a subtle mocha twist, or swirl in a spoonful of almond butter for extra nuttiness. A pinch of cinnamon or cardamom can give a warm spice note that pairs beautifully with peanut butter.
Common Mistakes to Avoid
Skipping the cooling step often leads to cracks on the surface. Also, using low‑fat cream cheese makes the texture grainy; full‑fat varieties keep the mouthfeel luxurious. Finally, avoid adding too much liquid sweetener—it can prevent the cups from setting properly.
Pro Tips
Use a silicone pan. It releases the cupcakes cleanly and eliminates the need for greasing, preserving the delicate crust.
Chill on a tray. Place the filled silicone pan on a baking sheet while refrigerating; this stabilizes the cups and prevents spills.
Freeze for later. After the initial chill, wrap each cup in parchment and freeze. Thaw in the fridge overnight for a ready‑to‑eat snack.
Variations
Ingredient Swaps
Swap whey protein for plant‑based pea or soy protein for a vegan‑friendly version. Replace peanut butter with almond or cashew butter for a different nut profile. If you prefer chocolate, stir in 2 tbsp cocoa powder directly into the batter before baking.
Dietary Adjustments
For a dairy‑free option, use coconut cream cheese and coconut‑based yogurt. Sweeten with a low‑glycemic sweetener such as stevia or erythritol. To keep it keto, omit honey and substitute with a sugar‑free syrup while maintaining the same volume.
Serving Suggestions
Pair the cups with fresh berries or a drizzle of raspberry coulis for a burst of acidity. Serve alongside a tall glass of cold brew coffee for a brunch vibe, or alongside a protein‑rich smoothie for a post‑gym power meal.
Storage Info
Leftover Storage
Once the cups have chilled, transfer them to an airtight container. They keep well in the refrigerator for 4‑5 days. For longer preservation, wrap each cup individually in plastic wrap and place them in a freezer‑safe bag; they will maintain quality for up to 2 months.
Reheating Instructions
These cups are best enjoyed cold, but if you prefer a warm treat, microwave a single cup on medium power for 20‑30 seconds, then let stand for a minute. Avoid overheating, which can cause the filling to separate. For a gentle warm‑up, place the cup in a 300°F (150°C) oven for 5‑7 minutes, covered with foil.
Frequently Asked Questions
Can I make these cups ahead of time?
What if I don’t have whey protein powder?
How do I keep the cups from cracking?
Can I add fruit to the batter?
This Protein Peanut Butter Cheesecake Cup recipe blends indulgent flavor with smart nutrition, giving you a breakfast‑worthy dessert that fuels your day. The step‑by‑step guide, storage tips, and creative variations ensure you can adapt it to any lifestyle or palate. Feel free to experiment with toppings, protein types, or sweeteners—your kitchen, your rules. Serve them chilled, enjoy the creamy bite, and start your morning with a smile.
Protein Peanut Butter Cheesecake Cups: A Deliciously Healthy Dessert
Delicious Protein Peanut Butter Cheesecake Cups: A Deliciously Healthy Dessert
Ingredients
Main Ingredients
- 8 oz (225 g) cream cheese, softened
- ½ cup (120 g) plain Greek yogurt
- ¼ cup (60 ml) natural peanut butter
Cheesecake Filling
- ½ cup (120 ml) honey or maple syrup
- 1 tsp pure vanilla extract
- ¼ tsp sea salt
- ½ cup (60 g) vanilla whey protein powder
Topping & Garnish
- 2 tbsp cocoa powder (optional)
- ¼ cup chopped roasted peanuts
Instructions
Incorporating Sweeteners & Protein
- Add honey, vanilla, and salt. Drizzle the honey (or maple syrup) over the blended base, then pour in the vanilla extract and sprinkle sea salt. Beat for another 30 seconds until the sweetener fully integrates, giving the mixture a glossy sheen.
- Fold in protein powder. Reduce the mixer speed to low and gradually add the vanilla whey protein powder. Stir just until incorporated; over‑mixing can cause the batter to become dense. The batter should be thick but still pourable.
- Check consistency. The batter should coat the back of a spoon lightly. If it feels too thick, whisk in a tablespoon of milk or water. If too runny, add a teaspoon more protein powder.
Similar Recipes
 Desserts
Indulge in Decadence: The Ultimate Hot Fudge Brownie Bread Recipe
Delicious Indulge in Decadence: The Ultimate Hot Fudge Brownie Bread Recipe
 Desserts
Dreamy Peach Cobbler Cookies Recipe
Delicious Dreamy Peach Cobbler Cookies Recipe
 Desserts
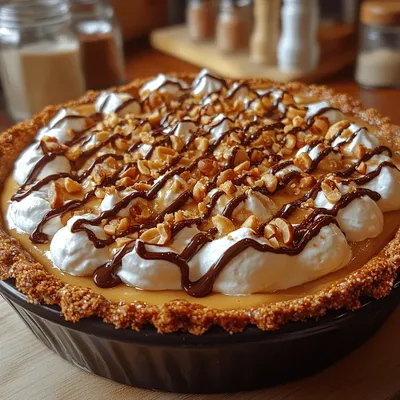
Peanut Butter Bliss Pie with Pretzel Crunch: A Delicious Dessert to Satisfy Your Sweet Tooth
Delicious Peanut Butter Bliss Pie with Pretzel Crunch: A Delicious Dessert to Satisfy Your Sweet Tooth
 Desserts
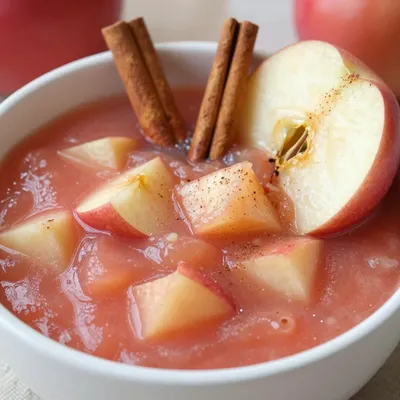
Kid-Friendly Slow Cooker Applesauce with Cinnamon Sticks
Learn how to make delicious Kid-Friendly Slow Cooker Applesauce with Cinnamon Sticks. Easy recipe with step-by-step…
 Desserts
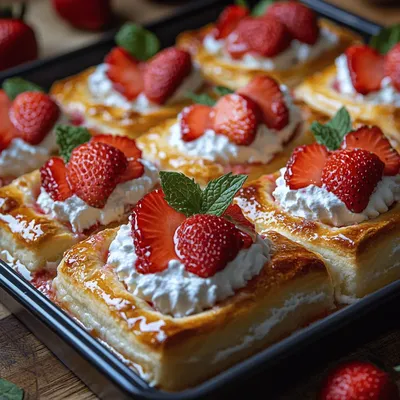
Strawberry Shortcake Cheesecake Rolls Recipe Article
Delicious Strawberry Shortcake Cheesecake Rolls Recipe Article
 Desserts
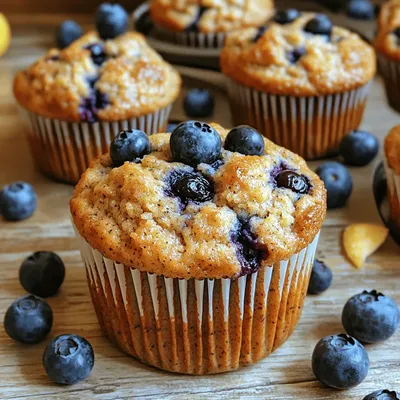
Guilt-Free Blueberry Muffins: The Healthier Treat You’ll Love
Delicious Guilt-Free Blueberry Muffins: The Healthier Treat You’ll Love
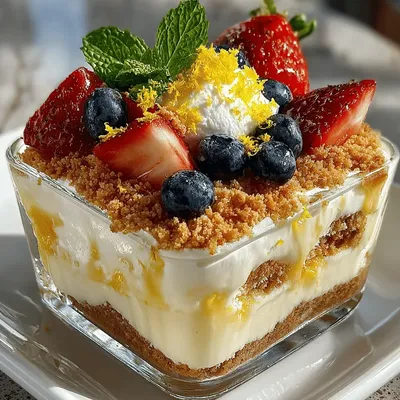 Desserts
Zesty Lemon Delight Icebox Cake Recipe
Delicious Zesty Lemon Delight Icebox Cake Recipe
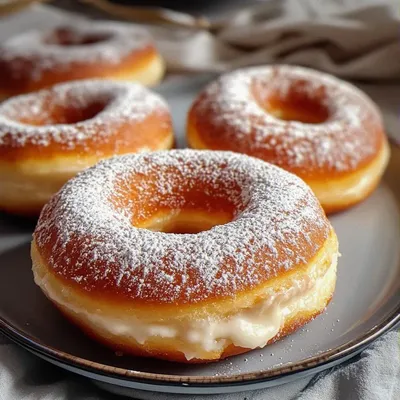 Desserts
Heavenly Korean Milk Cream Donuts You’ll Crave Everyday
Learn how to make delicious Heavenly Korean Milk Cream Donuts You’ll Crave Everyday. Easy recipe with…

Caroline
I cook these recipes at home before they ever land here — simple ingredients, clear steps.