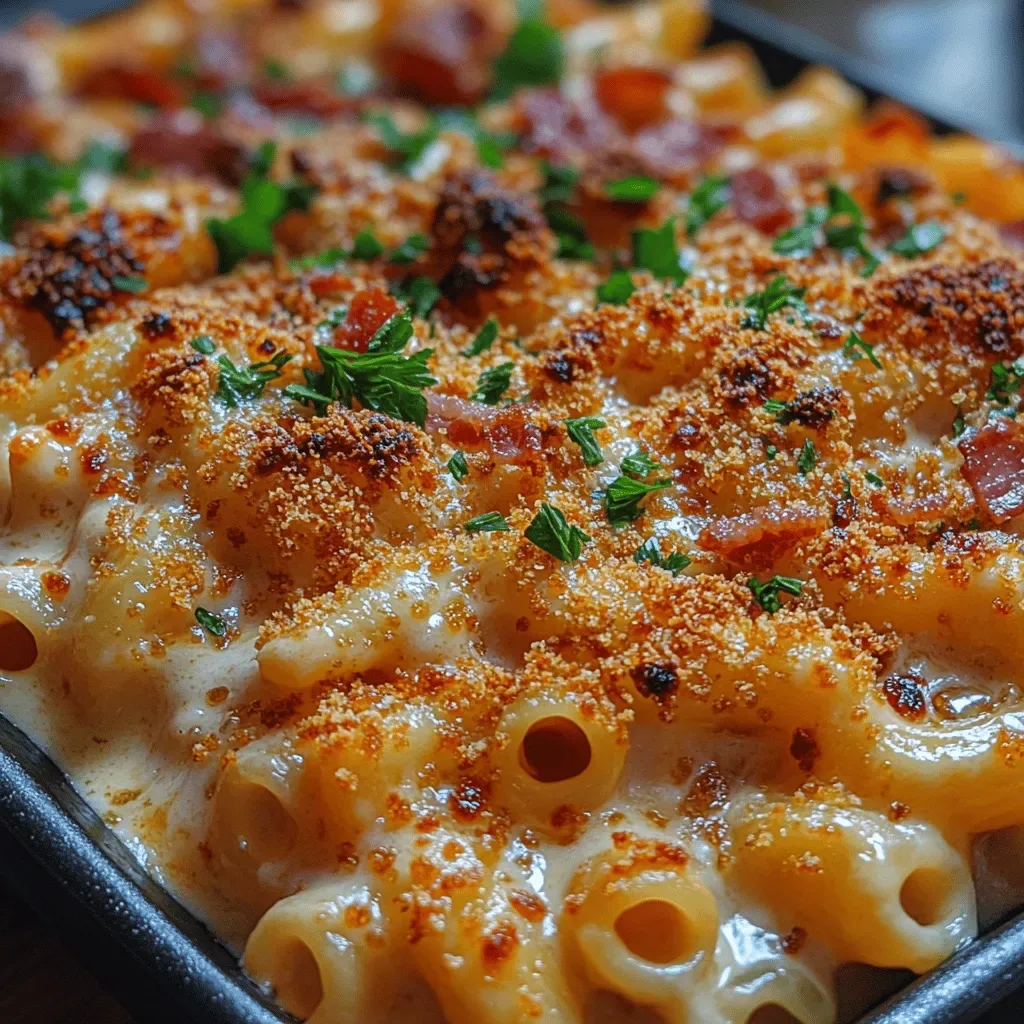
Creamy Bliss Mac & Cheese with Savory Bacon
 Save
Save
Imagine the comfort of a classic mac & cheese, elevated with a luxurious, velvety sauce and the smoky crunch of crisp bacon. That’s the magic behind Creamy Bliss Mac & Cheese with Savory Bacon—a dish that turns an everyday favorite into a brunch‑worthy showstopper.
What makes this recipe truly special is the balance between creamy, cheesy decadence and the salty, caramelized bite of bacon, all tied together with a whisper of nutmeg and a dash of sharp cheddar.
Breakfast lovers, brunch crowds, and even dinner guests will adore this comforting casserole. It shines on lazy weekend mornings, festive holiday brunches, or anytime you crave a hearty, indulgent start to the day.
The process is straightforward: cook the pasta, render the bacon, whisk together a silky cheese sauce, combine everything, and finish with a golden bake. In under an hour you’ll have a bubbling, golden‑topped masterpiece ready to serve.
Why You'll Love This Recipe
Ultimate Comfort: The creamy cheese sauce hugs every noodle, delivering that nostalgic comfort food feeling while the bacon adds a satisfying crunch.
Quick & Easy: With just a handful of steps and common pantry items, you can whip up this brunch masterpiece in under an hour.
Crowd‑Pleaser: The blend of sharp cheddar, buttery gouda, and smoky bacon appeals to both kids and adults, making it perfect for gatherings.
Customizable: Swap cheeses, add veggies, or adjust the bacon level—this recipe invites creativity without sacrificing its core deliciousness.
Tips & Tricks
Perfecting the Recipe
Use a heavy‑bottom skillet. A thick pan distributes heat evenly, preventing scorching of the roux and ensuring a smooth sauce.
Don’t overcook the pasta. Al‑dente noodles finish cooking in the oven, avoiding a mushy texture.
Reserve some bacon fat. It adds extra flavor to the roux; if you prefer less richness, skim half off before adding butter.
Cover the dish for the first 10 minutes. This traps steam, keeping the interior moist before the top crisps.
Flavor Enhancements
Finish the baked mac with a squeeze of fresh lemon juice for brightness, or stir in a tablespoon of hot sauce for a gentle kick. A handful of toasted breadcrumbs mixed with melted butter adds a crunchy topping if you love extra texture.
Common Mistakes to Avoid
Avoid letting the sauce boil vigorously; high heat can cause it to separate and become grainy. Also, resist the urge to add too much extra cheese on top—excess can create a gummy crust rather than a crisp, golden finish.
Pro Tips
Grate cheese fresh. Freshly grated cheese melts more uniformly and releases better flavor than pre‑shredded varieties.
Season at every layer. Lightly salt the pasta water, the cheese sauce, and the final bake for balanced flavor throughout.
Use a kitchen torch. For an ultra‑crisp top, briefly torch the cheese after baking for a restaurant‑style finish.
Rest before serving. A 5‑minute rest lets the sauce thicken slightly, preventing a runny plate.
Variations
Ingredient Swaps
Swap the elbow macaroni for cavatappi or rotini to capture more sauce. Replace smoked bacon with pancetta, turkey bacon, or even crisped chorizo for a different flavor profile. For a richer sauce, use Gruyère or aged provolone in place of part of the cheddar.
Dietary Adjustments
To make it gluten‑free, use a 1‑cup gluten‑free flour blend for the roux and gluten‑free pasta. For a dairy‑free version, substitute butter with coconut oil, milk with oat milk, and use a vegan cheese blend. Keto lovers can replace the pasta with spiralized cauliflower or shirataki noodles and use a low‑carb sweetener instead of mustard if desired.
Serving Suggestions
Pair the mac with a simple arugula salad dressed in lemon vinaigrette for a peppery contrast. Serve alongside roasted cherry tomatoes or a side of sautéed spinach for added greens. A crisp glass of chilled sparkling apple cider complements the smoky bacon and creamy cheese beautifully.
Storage Info
Leftover Storage
Allow the casserole to cool to room temperature, then transfer to an airtight container. Refrigerate for up to 4 days. For longer keeping, portion into freezer‑safe bags or containers, seal tightly, and freeze for up to 3 months. Label with the date to track freshness.
Reheating Instructions
Reheat in a preheated 350°F oven, covered with foil, for 15‑20 minutes until warmed through. Remove the foil for the last 5 minutes to revive the crispy top. In a microwave, heat individual portions on medium power for 2‑3 minutes, stirring halfway, and add a splash of milk to restore creaminess.
Frequently Asked Questions
Can I make this recipe ahead of time?
Can I use frozen macaroni or bacon?
What side dishes pair best with this mac & cheese?
How do I make this dish gluten‑free?
Creamy Bliss Mac & Cheese with Savory Bacon brings together indulgent cheese, smoky bacon, and perfectly cooked pasta in a single, unforgettable brunch dish. By following the detailed steps, using quality ingredients, and applying the pro tips, you’ll achieve a restaurant‑level result at home. Feel free to experiment with cheeses, add veggies, or swap proteins to make it truly yours. Serve it hot, share it wide, and enjoy every comforting bite!
Creamy Bliss Mac & Cheese with Savory Bacon
Delicious Creamy Bliss Mac & Cheese with Savory Bacon
Ingredients
Pasta & Bacon
- 12 oz elbow macaroni
- 6 slices thick‑cut smoked bacon, diced
Cheese Sauce
- 2 cups whole milk
- 1 cup heavy cream
- 3 tablespoons unsalted butter
- 3 tablespoons all‑purpose flour
- 1 cup shredded sharp cheddar cheese
- 1 cup shredded smoked gouda cheese
- ½ cup shredded mozzarella cheese
Seasonings & Garnish
- 1 teaspoon Dijon mustard
- ¼ teaspoon freshly grated nutmeg
- ½ teaspoon smoked paprika
- Salt and freshly ground black pepper, to taste
- 2 tablespoons chopped fresh chives
Instructions
Making the Cheese Sauce
- Build the roux. Melt 3 tablespoons unsalted butter in the bacon‑fat‑laden skillet over medium heat. Sprinkle 3 tablespoons flour over the melted butter, whisking constantly for 2‑3 minutes until the mixture turns a light golden color. This cooks out the raw flour taste and forms the thickening base.
- Add liquids. Slowly whisk in 2 cups whole milk followed by 1 cup heavy cream. Continue whisking until the mixture is smooth and begins to thicken, about 4‑5 minutes. The gradual incorporation prevents lumps and creates a velvety texture.
- Season the sauce. Stir in 1 teaspoon Dijon mustard, ¼ teaspoon nutmeg, ½ teaspoon smoked paprika, and a pinch of salt and pepper. These spices add depth and a subtle smoky undertone that complements the bacon.
- Incorporate the cheese. Reduce heat to low and gradually fold in 1 cup shredded sharp cheddar, 1 cup shredded smoked gouda, and ½ cup shredded mozzarella. Stir until each cheese melts completely, creating a glossy, thick sauce that clings to the pasta.
Similar Recipes
 Dinner
hearty sweet potato and kale stew with garlic for cold winter nights
Learn how to make delicious hearty sweet potato and kale stew with garlic for cold winter…
 Dinner
Spicy Cajun Shrimp Tacos: A Flavorful Culinary Adventure
Delicious Spicy Cajun Shrimp Tacos: A Flavorful Culinary Adventure
 Dinner
Cozy Chicken Pot Pie Recipe: A Comforting Classic
Delicious Cozy Chicken Pot Pie Recipe: A Comforting Classic
 Dinner
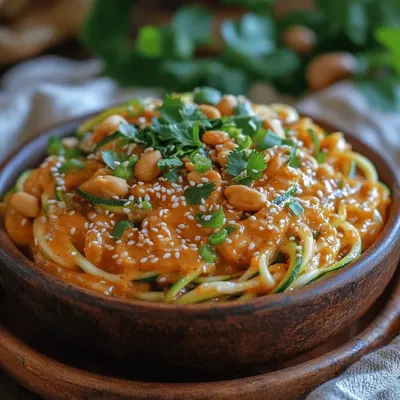
Spicy Peanut Zucchini Noodles: A Quick and Flavorful Delight
Delicious Spicy Peanut Zucchini Noodles: A Quick and Flavorful Delight
 Dinner
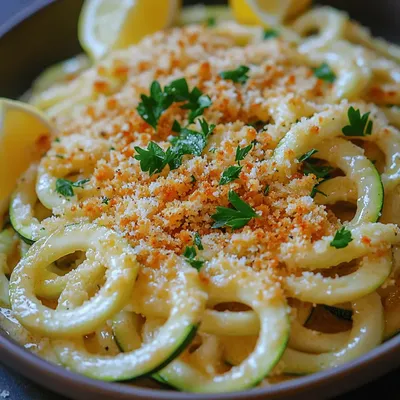
Baked Garlic Butter Zoodles: A Flavorful Low-Carb Delight
Delicious Baked Garlic Butter Zoodles: A Flavorful Low-Carb Delight
 Dinner
warm slow cooker chicken and root vegetable stew for cold nights
Learn how to make delicious warm slow cooker chicken and root vegetable stew for cold nights.…
 Dinner
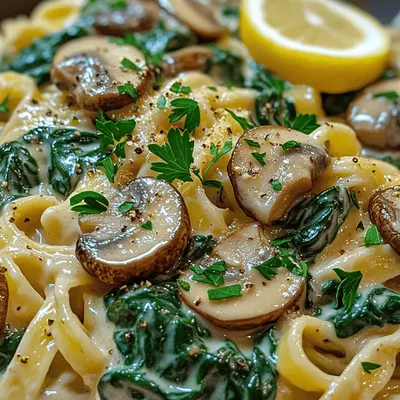
Spinach & Mushroom Velvet Pasta Recipe: A Creamy Delight for Any Occasion
Delicious Spinach & Mushroom Velvet Pasta Recipe: A Creamy Delight for Any Occasion
 Dinner
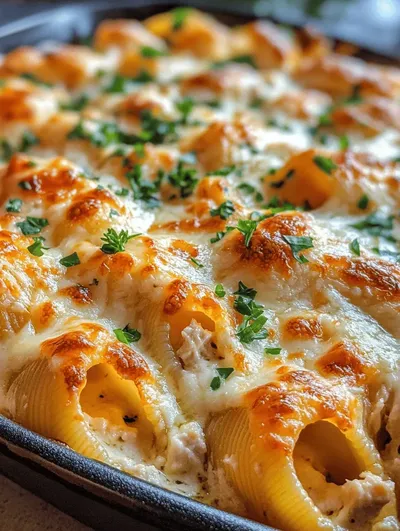
Garlic Butter Chicken Alfredo Stuffed Shells Recipe
Delicious Garlic Butter Chicken Alfredo Stuffed Shells Recipe

Caroline
I cook these recipes at home before they ever land here — simple ingredients, clear steps.