Creamy Dreamy Homemade Mayonnaise
 Save
Save
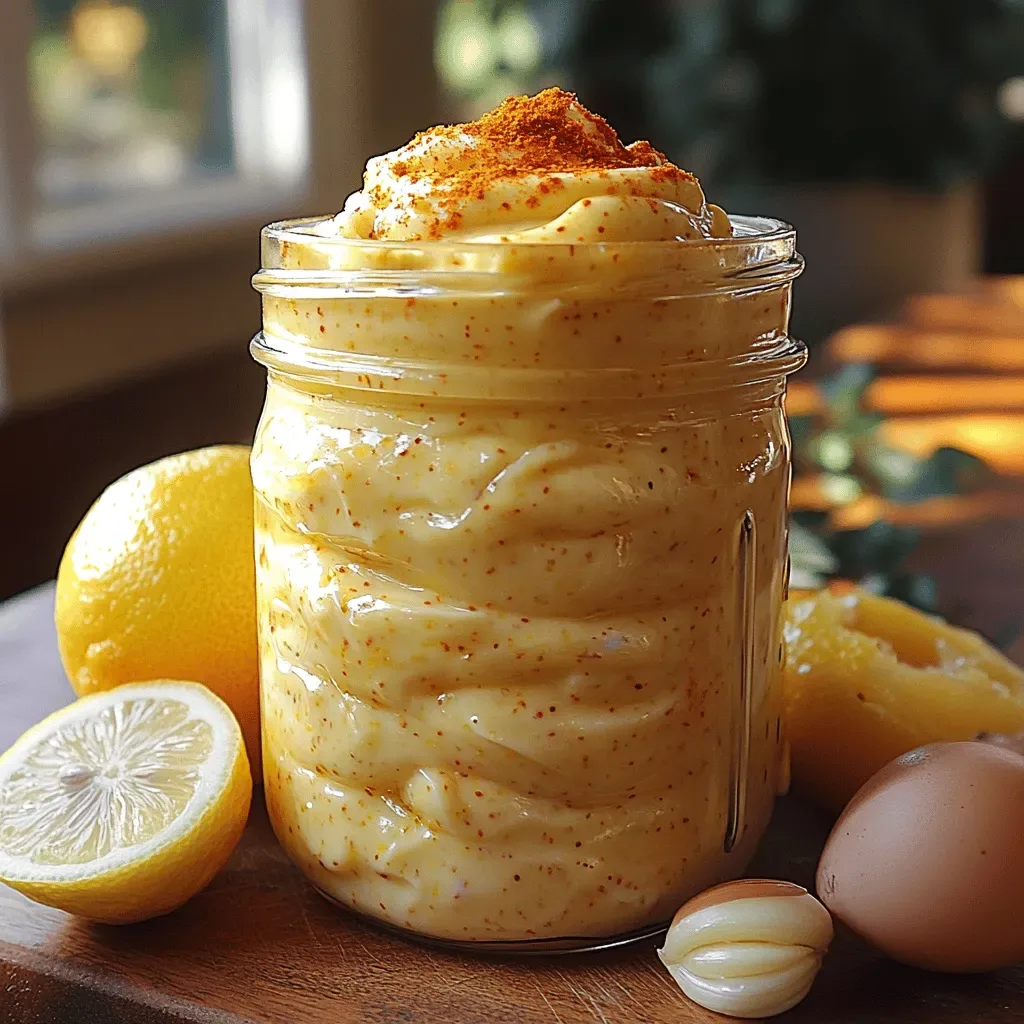
Imagine spreading a silky, buttery cloud on warm toast, drizzling it over a fresh garden salad, or using it as the perfect base for a brunch sandwich. That’s the magic of our Creamy Dreamy Homemade Mayonnaise – a classic condiment reborn with a few simple tricks that turn it from ordinary to unforgettable.
What sets this mayo apart is the balance of tangy acidity, luxurious oil, and a whisper of sweetness, all emulsified by a single egg yolk. The result is a velvety texture that clings to every bite without feeling heavy, delivering flavor that sings in every spoonful.
This recipe is a match made in heaven for breakfast lovers, brunch enthusiasts, and anyone who craves a homemade touch on their dishes. Serve it alongside eggs benedict, as a dip for crispy hash‑browns, or simply as a dip for fresh veggies.
The process is straightforward: whisk the yolk and acid, slowly drizzle in oil while constantly mixing, then finish with seasonings. No fancy equipment, just a bowl, a whisk, and a little patience, and you’ll have a mayo that rivals any deli‑counter offering.
Why You'll Love This Recipe
Fresh‑Taste Mastery: Using fresh lemon juice and a pinch of mustard creates a bright, tangy backbone that store‑bought versions can’t match.
Customizable Consistency: Adjust the oil amount or add a splash of water to achieve anything from a thick dip to a pourable sauce.
Ingredient Control: No hidden sugars or preservatives—just pure, wholesome components you choose yourself.
Brunch‑Ready Speed: With a 10‑minute prep, you’ll have a fresh condiment ready before the coffee even brews.
Tips & Tricks
Perfecting the Recipe
Room‑Temp Ingredients: Keep the egg yolk, mustard, and lemon juice at room temperature to encourage a smooth emulsion.
Slow Oil Addition: Start with a few drops; once the mixture thickens, you can increase the flow without risking separation.
Use a Whisk, Not a Fork: A whisk incorporates air and creates a tighter emulsion, giving a silkier texture.
Flavor Enhancements
Add a pinch of smoked paprika for subtle heat, or stir in a teaspoon of roasted garlic for depth. For a richer mouthfeel, finish with a small knob of softened butter, whisked in at the end.
Common Mistakes to Avoid
If the mayo looks watery, you likely added oil too quickly—stop, whisk vigorously, and add a bit more oil slowly. A split mayo can be rescued by whisking in a fresh egg yolk with a teaspoon of warm water, then slowly reincorporating the broken mixture.
Pro Tips
Blend for Ultra‑Smooth: For a perfectly uniform texture, finish the mayo in a hand blender for 10 seconds after the whisking stage.
Oil Choice Matters: A blend of ¾ canola and ¼ extra‑virgin olive oil gives a mild flavor while preserving the bright green hue of the olive oil.
Season at the End: Adding salt and pepper after the emulsion is complete prevents the salt from interfering with the oil‑water bonding.
Keep It Cool: Store the finished mayo in a chilled part of the refrigerator (the back of the shelf) to maintain consistency and prolong shelf life.
Variations
Ingredient Swaps
Replace the egg yolk with a tablespoon of aquafaba for a vegan version; the same emulsifying power holds. Swap lemon juice for white wine vinegar for a sharper tang, or use avocado oil for a buttery, nut‑free flavor profile.
Dietary Adjustments
For a low‑fat option, halve the oil and replace the missing volume with Greek yogurt, stirring gently to keep the texture smooth. Keto dieters can keep the oil ratio unchanged and omit any added sugar, relying on the natural richness of the yolk.
Serving Suggestions
Spread on toasted English muffins for a brunch classic, swirl into scrambled eggs for extra creaminess, or use as a dip for crispy breakfast potatoes. It also shines as a base for aioli‑style sauces when blended with roasted garlic or chipotle peppers.
Storage Info
Leftover Storage
Transfer the mayo to a clean glass jar with a tight‑fitting lid. Refrigerate promptly and use within 5‑7 days. The bright acidity helps preserve it, but always check for off‑odors before using older batches.
Reheating Instructions
Mayonnaise is typically served cold, but if you need it warmed (for a sauce), gently heat it over a double boiler, stirring constantly, and never exceed 120°F to avoid curdling. A quick stir into hot dishes at the end of cooking also works without direct reheating.
Frequently Asked Questions
Can I make this mayo ahead of time?
What if my mayo splits?
Can I use this mayo in hot dishes?
Our Creamy Dreamy Homemade Mayonnaise delivers restaurant‑quality flavor with just a handful of pantry staples. By mastering the slow‑oil technique, you’ll create a versatile spread that elevates everything from eggs to roasted vegetables. Feel free to experiment with herbs, spices, or alternative oils to make it truly your own. Serve it fresh, store it safely, and most importantly—enjoy the silky, tangy goodness you’ve crafted with your own hands.
Creamy Dreamy Homemade Mayonnaise
Delicious Creamy Dreamy Homemade Mayonnaise
Ingredients
Base & Emulsifier
- 1 large egg yolk, at room temperature
- 1 ½ tsp Dijon mustard
Oil & Acid
- 1 cup light‑taste oil (e.g., canola, grapeseed, or a blend of olive & vegetable oil)
- 2 tbsp freshly squeezed lemon juice
Seasonings & Optional Add‑Ins
- ½ tsp fine sea salt (adjust to taste)
- ¼ tsp freshly ground black pepper
- ½ tsp sugar or honey (optional, for a subtle sweet finish)
- 1 tsp finely chopped fresh herbs (chives, dill, or tarragon) – optional
Instructions
Building the Emulsion
- Combine yolk and mustard. Place the egg yolk and Dijon mustard into the bowl. Whisk vigorously until the mixture turns a pale, creamy color. The mustard adds both flavor and extra emulsifying power.
- Incorporate acid. Add the lemon juice while whisking. The acid brightens the flavor and further stabilizes the emulsion, preventing it from breaking later.
- Drizzle oil slowly. Begin adding the light‑taste oil drop‑by‑drop, whisking constantly. As the mixture thickens, you can increase to a thin, steady stream. Patience here is key; too fast and the emulsion may split.
- Season to taste. Once all the oil is incorporated and the mayo is thick and glossy, stir in the salt, black pepper, and optional sugar or honey. Taste and adjust seasoning as needed.
- Finish with herbs (optional). Fold in freshly chopped herbs for a pop of color and fresh flavor. This step is optional but adds a sophisticated twist perfect for brunch tables.
Similar Recipes
 Appetizers
Cheesy Fall Chili Mac Cups: The Perfect Comfort Food for Autumn
Delicious Cheesy Fall Chili Mac Cups: The Perfect Comfort Food for Autumn
 Appetizers
Crispy Air Fryer Sweet Potato Wedges: A Delicious and Nutritious Snack
Delicious Crispy Air Fryer Sweet Potato Wedges: A Delicious and Nutritious Snack
 Appetizers
creamy spinach and potato soup with garlic and lemon zest
Whip up this velvety spinach potato soup brightened with garlic and lemon zest. Quick, healthy, soul-warming—grab…
 Appetizers
classic cheesy spinach artichoke dip for holiday party pleasures
Get the ultimate classic cheesy spinach artichoke dip recipe for your holiday party, made with love…
 Appetizers
Kid-Friendly Beef Sliders with Cheese for New Year’s Day Party
Learn how to make delicious Kid-Friendly Beef Sliders with Cheese for New Year's Day Party. Easy…
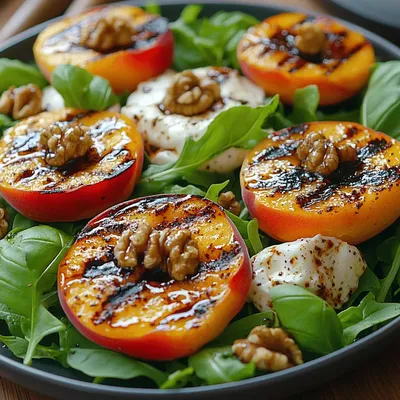 Appetizers
Grilled Peach & Burrata Salad – Sweet & Savory Perfection!
Delicious Grilled Peach & Burrata Salad – Sweet & Savory Perfection!
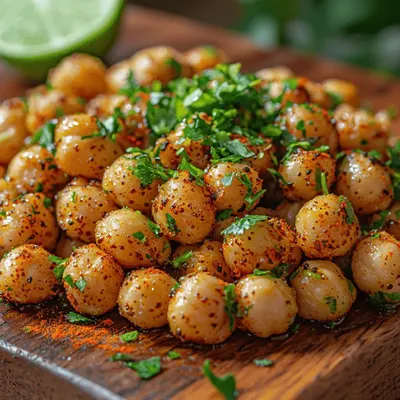 Appetizers
Zesty Chili Lime Roasted Chickpeas: A Flavorful Plant-Based Snack
Delicious Zesty Chili Lime Roasted Chickpeas: A Flavorful Plant-Based Snack
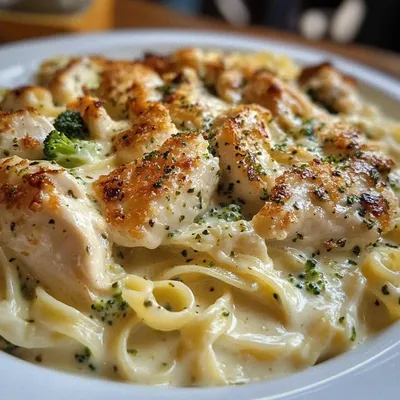 Appetizers
Chicken Broccoli Alfredo Casserole: A Comforting Delight!
Learn how to make delicious Chicken Broccoli Alfredo Casserole: A Comforting Delight!. Easy recipe with step-by-step…

Caroline
I cook these recipes at home before they ever land here — simple ingredients, clear steps.