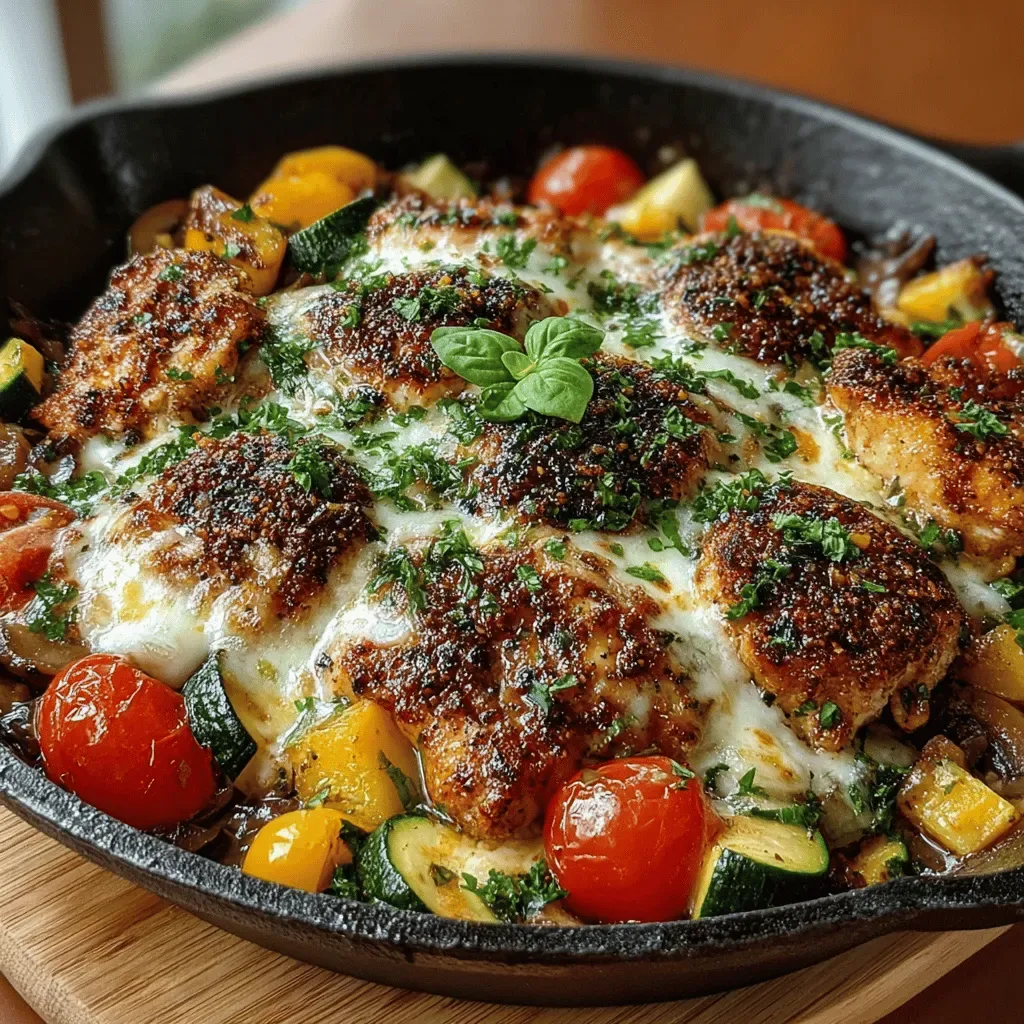
Back To School Chicken Skillet
 Save
Save
Morning rushes can feel relentless, but a hearty, one‑pan dish can turn the chaos into a moment of calm. The Back To School Chicken Skillet delivers exactly that—a quick, satisfying breakfast that fuels busy brains and growling stomachs alike.
What makes this skillet stand out is the marriage of sweet honey‑mustard glaze with crisp, sautéed veggies, all finished with a buttery, herb‑infused finish that stays glossy and flavorful.
Students, parents, and anyone who needs a solid start to the day will love it, especially when served on a bustling weekday or a relaxed weekend brunch.
The process is straightforward: season and sear chicken, toss in vegetables, deglaze with a quick sauce, then finish in the oven for a perfectly cooked, melt‑in‑your‑mouth result.
Why You'll Love This Recipe
Bright & Balanced Flavors: The sweet‑savory glaze paired with fresh vegetables creates a taste profile that feels both comforting and exciting for the palate.
One‑Pan Simplicity: Everything cooks in a single skillet, meaning fewer dishes, less cleanup, and more time to enjoy the meal with loved ones.
Protein‑Packed Energy: Tender chicken breasts supply lean protein, while the vegetables add fiber and vitamins for sustained morning energy.
Customizable & Kid‑Friendly: The mild spice level and familiar ingredients make it appealing to children, and the recipe adapts easily to personal preferences.
Tips & Tricks
Perfecting the Recipe
Pat Dry for a Crust. Moisture on the chicken surface prevents browning; drying it thoroughly yields a richer, caramelized exterior.
Use a Heavy Skillet. Cast‑iron retains heat better, giving a more even sear and preventing hot spots.
Don’t Rush the Sauce. Let the glaze simmer just long enough to thicken; over‑cooking can make it gummy.
Rest Before Cutting. A brief rest redistributes juices, ensuring every bite stays moist.
Flavor Enhancements
Add a splash of fresh lemon juice right before serving for bright acidity. Sprinkle a pinch of red‑pepper flakes if you enjoy a gentle heat. For extra richness, swirl in a tablespoon of cold butter into the sauce just as it finishes simmering.
Common Mistakes to Avoid
Avoid overcrowding the pan; it creates steam and prevents a true sear. Also, never skip the oven finish—removing the chicken too early leaves it undercooked inside, while over‑cooking can dry it out.
Pro Tips
Invest in a Thermometer. An instant‑read probe guarantees perfect doneness without guesswork.
Pre‑Slice Chicken. Cutting the breasts into thin cutlets reduces cooking time and promotes even browning.
Use Fresh Herbs. Fresh parsley or cilantro added at the end preserves their bright flavor, unlike dried herbs.
Save the Sauce. If you have extra glaze, drizzle it over leftover rice or quinoa for a quick lunch boost.
Variations
Ingredient Swaps
Swap the chicken for turkey cutlets, pork tenderloin, or firm tofu for a vegetarian twist. Replace bell pepper with snap peas or broccoli for a different crunch. If honey isn’t on hand, maple syrup or agave nectar will give a comparable sweetness.
Dietary Adjustments
For a gluten‑free version, ensure the soy sauce is certified gluten‑free or substitute tamari. To keep it dairy‑free, omit butter and use olive oil throughout. Keto diners can replace honey with a low‑carb sweetener like erythritol and serve the skillet over cauliflower rice.
Serving Suggestions
Pair the skillet with fluffy jasmine rice, quinoa, or a warm whole‑grain toast to soak up the glaze. A crisp cucumber‑tomato salad adds a refreshing contrast, while roasted sweet potatoes turn the meal into a hearty brunch.
Storage Info
Leftover Storage
Allow the skillet to cool to room temperature, then transfer the chicken and vegetables to an airtight container. Store in the refrigerator for 3–4 days. For longer keeping, portion into freezer‑safe bags, squeeze out excess air, and freeze up to 3 months.
Reheating Instructions
Reheat leftovers in a 350°F (175°C) oven, covered with foil, for 12–15 minutes until heated through. Alternatively, microwave on medium power, stirring halfway through, and add a splash of broth or extra glaze to revive moisture.
Frequently Asked Questions
Can I make this recipe ahead of time?
Can I use frozen chicken breasts?
What side dishes work best with this skillet?
How can I make this dish lower in sugar?
This Back To School Chicken Skillet blends bright flavors, lean protein, and effortless one‑pan cooking into a breakfast that truly fuels the day. The detailed steps, storage tips, and adaptable variations give you confidence to make it again and again. Feel free to tweak herbs, swap veggies, or adjust the glaze to match your family’s taste. Serve it hot, enjoy the compliments, and start every school morning with a smile.
Back To School Chicken Skillet
Delicious Back To School Chicken Skillet
Ingredients
Main Ingredients
- 4 boneless, skinless chicken breasts (about 1½ lbs)
- 1 cup baby spinach, loosely packed
- 1 cup diced red bell pepper
- ½ cup frozen corn, thawed
- 2 tablespoons olive oil
Sauce / Marinade
- 3 tablespoons Dijon mustard
- 2 tablespoons honey
- 1 tablespoon low‑sodium soy sauce
- 1 teaspoon apple cider vinegar
Seasonings & Garnish
- ½ teaspoon garlic powder
- ¼ teaspoon smoked paprika
- Salt and freshly cracked black pepper, to taste
- 2 tablespoons fresh parsley, chopped
Instructions
Cooking Process
- Heat the Skillet. Place a large cast‑iron or non‑stick skillet over medium‑high heat. Add the olive oil and allow it to shimmer, about 2 minutes. The oil should be hot but not smoking, which is ideal for searing.
- Sear the Chicken. Lay the chicken breasts in the hot pan, giving each piece space. Cook without moving for 4–5 minutes until a deep golden crust forms. Flip and sear the other side for another 4 minutes. This step locks in juices.
- Remove & Rest. Transfer the seared chicken to a plate and tent with foil. While it rests, lower the heat to medium and add the diced bell pepper, corn, and spinach. Sauté for 2–3 minutes until the veggies soften but retain color.
- Make the Glaze. Pour the mustard‑honey mixture over the vegetables, stirring to coat. Allow the sauce to bubble gently for 1 minute; this deglazes the pan and lifts the flavorful browned bits left from the chicken.
- Combine & Finish. Return the chicken to the skillet, spooning sauce over each piece. Transfer the entire pan to a pre‑heated 375°F (190°C) oven and bake for 12–15 minutes, or until the internal temperature hits 165°F (74°C). This finishes cooking the chicken gently while the sauce thickens.
Similar Recipes
 Dinner
Savory Spinach & Mushroom Delight: A Culinary Journey
Delicious Savory Spinach & Mushroom Delight: A Culinary Journey
 Dinner
Smoky BBQ Pulled Pork Sandwiches
Delicious Smoky BBQ Pulled Pork Sandwiches
 Dinner
Creamy Lemon Garlic Chicken with Zucchini Noodles
Delicious Creamy Lemon Garlic Chicken with Zucchini Noodles
 Dinner
Sizzling Savory Skillet Shrimp Fried Rice
Delicious Sizzling Savory Skillet Shrimp Fried Rice
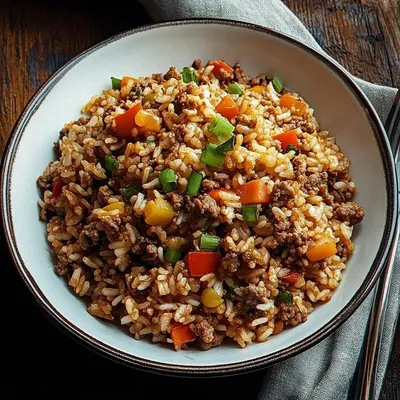 Dinner
Dirty Rice with Ground Beef: An Incredible Ultimate Recipe
Learn how to make delicious Dirty Rice with Ground Beef: An Incredible Ultimate Recipe. Easy recipe…
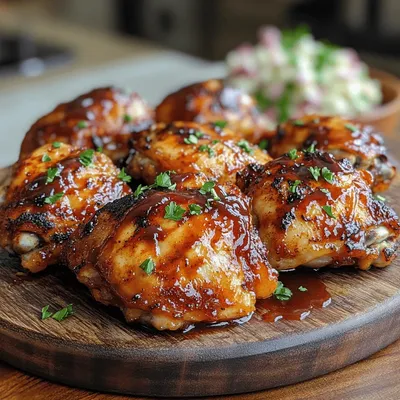 Dinner
Quick & Tasty Air Fryer BBQ Chicken
Delicious Quick & Tasty Air Fryer BBQ Chicken
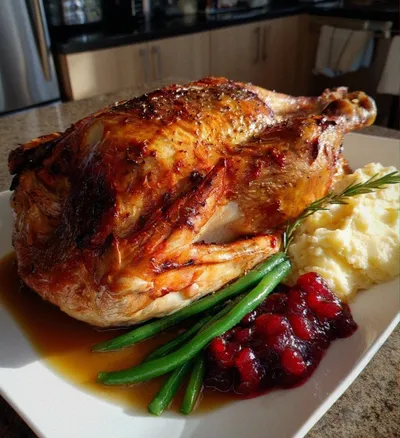 Dinner
Christmas Meal Ideas: 7 Festive Main Dishes to Savor
Learn how to make delicious Christmas Meal Ideas: 7 Festive Main Dishes to Savor. Easy recipe…
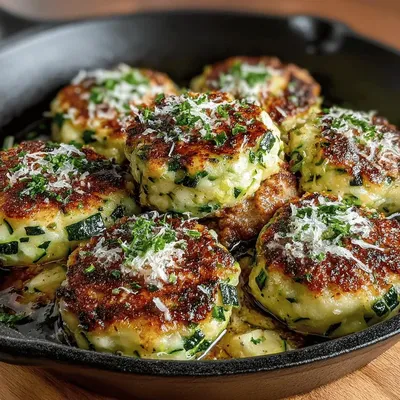 Dinner
Zucchini Cookies Chicken Skillet: A Flavorful Culinary Adventure
Delicious Zucchini Cookies Chicken Skillet: A Flavorful Culinary Adventure

Caroline
I cook these recipes at home before they ever land here — simple ingredients, clear steps.