Introduction
There’s something undeniably enchanting about homemade fudge. The rich, creamy texture combined with its melt-in-your-mouth quality makes it a beloved treat for chocolate lovers around the world. Whether it’s a special occasion, a holiday gathering, or simply a sweet indulgence just because, fudge has a way of bringing people together. The allure of a perfect fudge lies not only in its decadent flavor but also in the joy of crafting it in your own kitchen.
In today’s fast-paced world, simplicity is key, especially when it comes to cooking and baking. Home cooks often seek recipes that deliver great taste without the fuss of complicated ingredients or extensive preparation. This is where our 3-Ingredient Creamy Fudge recipe shines. With just three simple ingredients, you can create a luscious and satisfying treat that will impress your family and friends. The beauty of this recipe lies in its ease, making it accessible even for novice bakers.
Let’s explore the foundational components of this delightful fudge and discover how they come together to create a dessert that’s as simple as it is scrumptious.
Understanding the Ingredients
Chocolate Chips
At the heart of every great fudge recipe are chocolate chips, which serve as the primary flavor component. When it comes to choosing chocolate chips, you have a couple of popular options: semi-sweet chocolate chips and milk chocolate chips.
Semi-sweet chocolate chips are a classic choice for fudge. They provide a perfect balance of sweetness and rich chocolate flavor, making them ideal for a wide range of palates. On the other hand, milk chocolate chips offer a creamier, sweeter taste that can make your fudge feel indulgent and decadent. The choice between these two types often comes down to personal preference, but it’s essential to use quality chocolate for the best results. High-quality chocolate chips melt smoothly and lend a luxurious texture to your fudge, while lower-quality options may result in a gritty or overly waxy finish.
Sweetened Condensed Milk
Another key ingredient in our creamy fudge recipe is sweetened condensed milk. This thick, syrupy milk has a high sugar content, which not only adds sweetness but also contributes to the rich, creamy consistency that is characteristic of fudge. The role of sweetened condensed milk cannot be overstated; it acts as a binding agent that helps to meld the chocolate and butter together, creating a luscious texture that is simply irresistible.
For those with dietary restrictions, there are alternatives available. Dairy-free sweetened condensed milk can be found in stores, or you can easily make your own using coconut milk and sugar. This makes it possible for everyone to enjoy a piece of creamy fudge, regardless of dietary preferences.
Unsalted Butter
The third and final ingredient in our 3-Ingredient Creamy Fudge is unsalted butter. Using unsalted butter in baking is generally preferred, as it allows for better control over the salt content in your recipe. Salted butter can vary in saltiness, and this inconsistency might affect the overall flavor profile of your fudge.
Butter plays a crucial role in the fudge-making process. Not only does it add a rich flavor, but it also contributes to the smooth and creamy mouthfeel that makes fudge so delectable. The fat in the butter helps to emulsify the mixture during melting, ensuring that the chocolate and sweetened condensed milk combine seamlessly for that perfect fudgy texture.
Step-by-Step Guide to Making Creamy Fudge
Preparation of the Pan
Before diving into the actual fudge-making process, it’s essential to prepare your baking pan effectively. A properly lined pan not only helps in the easy removal of the fudge but also ensures that it retains its shape once cooled.
To prepare your pan, line an 8-inch square baking dish with parchment paper. Allow the paper to hang over the edges slightly; this will provide convenient handles for lifting the fudge out after it has set. Make sure to press the parchment paper firmly into the corners and sides of the dish to avoid any gaps. This small step will make all the difference when it comes to slicing and serving your beautiful fudge.
Melting the Mixture
Now that your pan is ready, it’s time to melt the chocolate chips and combine them with the sweetened condensed milk and butter. The key to achieving a smooth and creamy fudge is to melt the mixture gently and carefully.
Start by placing the chocolate chips, sweetened condensed milk, and cubed unsalted butter in a heavy-bottomed saucepan over low heat. It’s essential to stir continuously during this process to prevent the chocolate from burning. High heat can cause the chocolate to seize or become grainy, ruining the texture of your fudge.
As the mixture heats up, you’ll notice the chocolate chips begin to melt. Keep stirring until everything is fully incorporated and smooth. This should take about 5-7 minutes. Once you have a luscious, creamy mixture, you’re ready to move on to the next step.
Pouring and Spreading
With your fudge mixture perfectly melted and combined, it’s time to pour it into the prepared baking dish. Carefully transfer the warm fudge mixture into the lined pan, using a spatula to scrape every last bit from the saucepan.
To ensure an even spread, gently tap the pan against the counter. This will help settle the fudge and eliminate any air bubbles. If you notice air bubbles rising to the surface, you can gently pierce them with a toothpick or skewer to release the trapped air. Aim for a smooth finish, as this will enhance the overall appearance of your fudge once it’s set.
Cooling and Setting
Once your fudge is spread evenly in the pan, it’s time to let it cool. Allow it to sit at room temperature for about 30 minutes before transferring it to the refrigerator. Chilling the fudge in the fridge is crucial for achieving a firm texture. Let it cool in the refrigerator for at least 2-3 hours, or until it is completely set.
The refrigeration process will help the fudge firm up, allowing it to hold its shape when sliced. It’s important to avoid rushing this step; if the fudge isn’t fully chilled, it may be too soft when you try to cut it. A perfectly set fudge has a delightful chewiness that makes it all the more enjoyable.
Slicing and Serving
After the fudge has chilled and set, it’s time to slice and serve this delicious treat. Using the overhanging parchment paper, lift the fudge out of the pan and place it on a cutting board. A sharp knife is essential for cutting the fudge into neat squares; this will prevent it from crumbling.
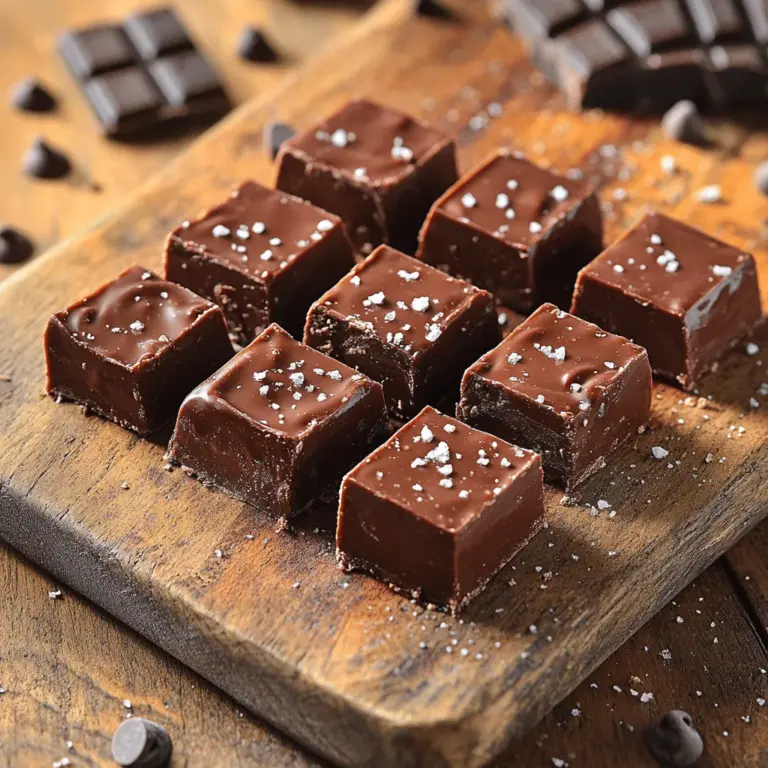
You can cut the fudge into any size pieces you prefer, but traditional squares or rectangles are always a hit. For an added touch, consider dusting the top with some sea salt or drizzling melted chocolate over the cut pieces for an elegant finish.
Now that you have your beautifully crafted fudge, it’s time to serve it up! This creamy, indulgent treat is perfect for sharing during gatherings, or you can keep it all to yourself for a delightful daily indulgence.
—
With these steps and insights, you’re well on your way to creating the most irresistible 3-Ingredient Creamy Fudge. The simplicity of the recipe combined with the quality of the ingredients will ensure that your fudge is a hit, regardless of the occasion. Stay tuned for more tips and tricks to elevate your fudge-making experience!
Tips for Cutting Fudge into Perfect Pieces
Cutting fudge can be a daunting task, especially when you want to maintain its beautiful, smooth appearance. Here are some essential tips for achieving perfectly uniform pieces:
1. Use a Sharp Knife: A sharp, non-serrated knife is crucial for clean cuts. Dull knives tend to squish the fudge rather than slice through it, resulting in uneven edges.
2. Temperature Control: Allow your fudge to cool completely before cutting. If it’s too warm, it can become sticky and difficult to manage. Conversely, if it’s too cold, it may crack. The ideal temperature for cutting is just below room temperature.
3. Grease the Knife: Lightly greasing the knife with a bit of butter or non-stick spray can help the knife glide through the fudge more smoothly, reducing sticking and tearing.
4. Score Before Cutting: For larger pieces of fudge, consider scoring the surface lightly with the knife before making full cuts. This gives you a guideline for even pieces.
5. Use a Ruler: For those who desire perfectly uniform squares, use a ruler to measure out your cuts. This is especially useful if you plan to package the fudge as gifts.
6. Chill Before Cutting: If your fudge is particularly soft, place it in the refrigerator for about 30 minutes before cutting. This will firm it up, making it easier to slice.
Suggestions for Serving Options and Accompaniments
Fudge is a delightful treat on its own, but it can also be enhanced with various serving options and accompaniments:
– Presentation: Serve fudge on a decorative platter or in a clear glass jar for a visually appealing display. Use parchment paper between layers to prevent sticking.
– With Coffee or Tea: Pair your creamy fudge with a cup of coffee or tea. The rich flavors of coffee complement the sweetness of fudge beautifully.
– Ice Cream Sundae: Crumble fudge over vanilla ice cream or create an indulgent sundae with fudge sauce as a topping.
– Fruit Pairings: Fresh fruits such as strawberries, raspberries, or banana slices can provide a refreshing contrast to the rich flavor of fudge.
– Gift Packaging: Fudge makes a wonderful homemade gift. Consider wrapping pieces in wax paper and tying them with twine for a rustic touch.
Flavor Variations and Customizations
While the classic 3-ingredient fudge is irresistibly delicious, experimenting with flavors and textures can elevate your fudge to new heights. Here are some creative ways to customize your fudge:
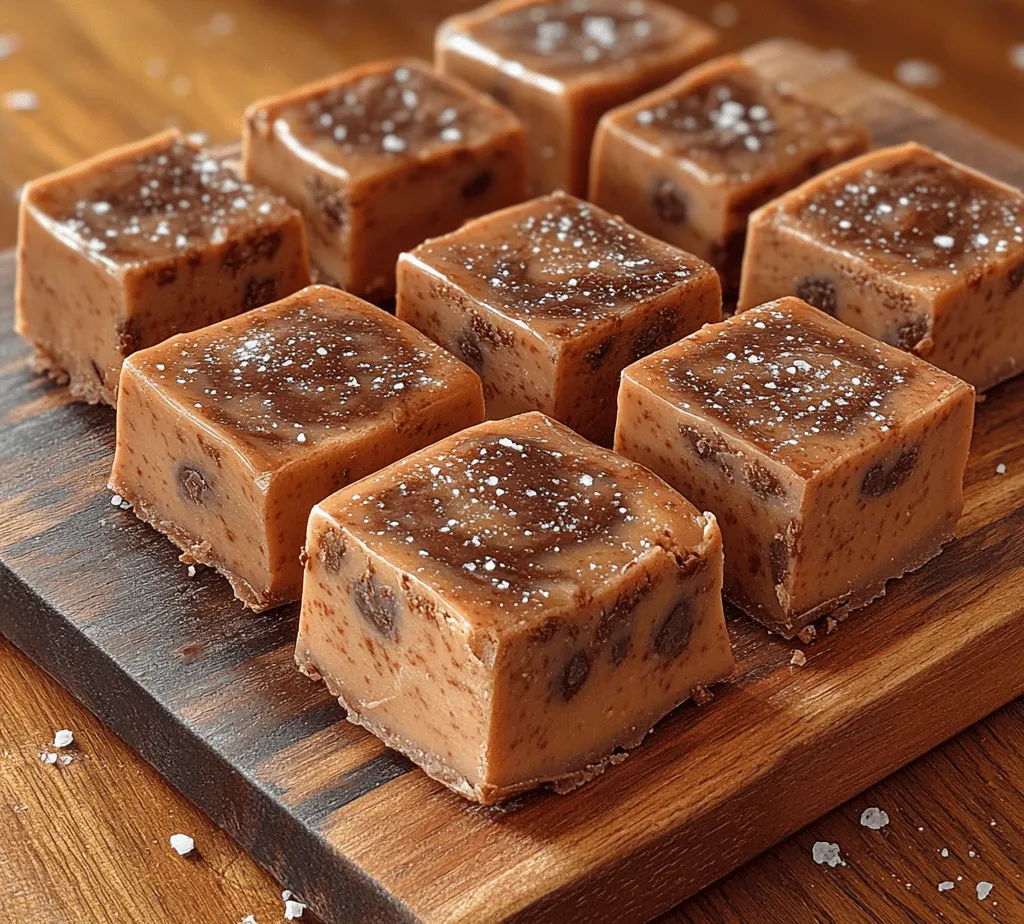
Adding Nuts and Mix-ins
Nuts add a delightful crunch and enhance the overall flavor profile of your fudge. Here are popular options:
– Walnuts: Their slightly bitter flavor contrasts beautifully with sweet fudge.
– Pecans: Buttery and sweet, pecans bring a rich texture to fudge.
– Almonds: Sliced or chopped almonds offer a mildly sweet crunch that complements chocolate nicely.
How to Incorporate Mix-ins Without Compromising Texture:
To avoid altering the smooth texture of your fudge, mix in nuts or other solid ingredients after you’ve combined your base ingredients but before pouring the mixture into the pan. Stir gently to evenly distribute without over-mixing, which could cause the fudge to become grainy.
Flavor Extracts
Adding flavor extracts can give your fudge a unique twist:
– Vanilla Extract: A classic choice that enhances the sweetness without overpowering the chocolate.
– Almond Extract: A little goes a long way; start with half the amount of vanilla extract in your recipe for a lovely nutty flavor.
– Peppermint Extract: Perfect for a refreshing touch, especially around the holidays. Use about 1/4 to 1/2 teaspoon, depending on your preference.
Ratios and Methods for Incorporating Extracts:
When incorporating extracts, add them to the melted chocolate mixture before mixing in the sweetened condensed milk. This ensures the flavor is evenly distributed throughout the fudge.
Swirls and Toppings
Creating swirls or adding toppings can transform your fudge into a gourmet treat:
– Peanut Butter Swirl: Drop dollops of peanut butter into the fudge mixture and use a knife to create a marbled effect.
– Caramel Swirl: Similar to peanut butter, you can drizzle melted caramel on top before swirling.
– Decorative Toppings: Consider sprinkling sea salt, crushed nuts, or a drizzle of melted chocolate on top for added texture and visual appeal.
Storing and Preserving Your Fudge
Proper storage is essential for maintaining the freshness and flavor of your fudge. Here’s how to do it:
Proper Storage Techniques
– Best Containers: Store fudge in an airtight container to keep it moist. Glass containers or plastic containers with a tight seal work well.
– Recommended Storage Times: Fudge can be kept at room temperature for up to one week. For longer shelf life, store it in the refrigerator for up to two weeks.
Freezing Fudge for Long-Term Storage
If you wish to keep your fudge for an extended period, freezing is a great option. Follow these steps:
1. Cut Fudge into Pieces: Before freezing, cut the fudge into individual pieces for easy serving.
2. Wrap Each Piece: Wrap each piece tightly in wax paper or plastic wrap to prevent freezer burn.
3. Store in an Airtight Container: Place the wrapped pieces in a freezer-safe container or bag. Label with the date for reference.
How to Thaw Fudge Properly for Optimal Texture:
To thaw frozen fudge, remove it from the freezer and let it sit at room temperature for about 30 minutes. This will help restore its creamy texture without becoming too soft.
Health and Nutritional Insights
Understanding the nutritional profile of your treats can help you enjoy them mindfully. Here’s a closer look:
Understanding the Nutritional Profile
While fudge is undoubtedly a sweet indulgence, keeping track of portion sizes can help manage caloric intake.
– Caloric Content: A standard piece of homemade fudge (approximately 1 inch square) typically contains around 100-150 calories, depending on ingredients.
– Serving Size: It’s easy to overindulge, so consider cutting smaller pieces to enjoy the flavor without consuming too many calories.
Adjusting for Dietary Needs
If you have dietary restrictions, fret not! Fudge can be easily adjusted:
– Gluten-Free Options: The basic recipe is naturally gluten-free, as it requires no flour. Always check labels on your chocolate and condensed milk.
– Vegan Alternatives: Replace sweetened condensed milk with full-fat coconut milk or a vegan sweetened condensed milk substitute for a dairy-free option.
– Nut Allergy Considerations: If nuts are a concern, simply omit them or replace them with seeds, such as sunflower or pumpkin seeds for added crunch without allergens.
Conclusion
Making irresistible 3-ingredient creamy fudge is not only rewarding but also incredibly straightforward. With just three simple ingredients, you can create a melt-in-your-mouth treat that is perfect for any occasion. The beauty of this fudge lies in its versatility; you can customize it with different flavors, mix-ins, or toppings, making it a canvas for your culinary creativity.
Don’t hesitate to experiment with various combinations and share the joy of this homemade delight with friends and family. Whether it’s for celebrations, gifts, or simply a sweet indulgence at home, your 3-ingredient creamy fudge is sure to impress. Embrace the fun of making desserts and enjoy every delicious bite!
