Crunchy Chicken Tender Delight: Frying, Dipping, and Serving
 Save
Save
Imagine biting into a perfectly golden chicken tender that crunches with every bite, while a silky, tangy dip adds a burst of flavor that makes you reach for more. That’s the magic of the Crunchy Chicken Tender Delight, a recipe that turns everyday chicken into a show‑stopping appetizer or main course.
What sets this dish apart is the double‑layer coating: a light flour‑based dredge followed by a seasoned panko crust, both fried to a crisp that stays crunchy even after a quick dip. The accompanying sauce blends honey, mustard, and a hint of smoked paprika for sweet‑spicy balance.
Family dinner, casual game night, or a quick lunch—anyone who loves a satisfying crunch will adore this recipe. Kids love the fun dip, while adults appreciate the depth of flavor.
The process is straightforward: marinate, coat, fry, whisk together a quick sauce, and serve immediately. With clear steps and helpful tips, you’ll achieve restaurant‑quality crunch without the fuss.
Why You'll Love This Recipe
Ultimate Crunch: Two‑step coating creates a light, airy crust that stays crisp even after a quick dip, delivering that addictive texture you crave.
Flavorful Dipping Sauce: The sweet‑spicy sauce balances honey, mustard, and smoked paprika, giving each bite a complex, lingering finish.
Fast Weeknight Solution: From prep to plate in under 45 minutes, this recipe fits perfectly into busy evenings without sacrificing taste.
Kid‑Friendly Appeal: The crunchy exterior and playful dip make it a hit with children, turning a simple protein into a fun, tasty experience.
Tips & Tricks
Perfecting the Recipe
Dry the chicken well. Moisture creates steam, which softens the coating. Patting the strips dry guarantees a crisp crust.
Use a thermometer. Maintaining oil at 350°F (175°C) ensures even browning without burning.
Rest after frying. A brief 2‑minute rest on a wire rack locks in juices and keeps the crust from getting soggy.
Flavor Enhancements
Add a splash of fresh lemon juice to the sauce right before serving for bright acidity. Stir in a teaspoon of finely chopped fresh thyme or rosemary into the panko for an herbaceous note. For extra richness, whisk a tablespoon of melted butter into the finished dip.
Common Mistakes to Avoid
Skipping the oil temperature check leads to greasy, soggy tenders. Overcrowding the pan traps steam, preventing the desired crunch. Finally, neglecting to drain on a rack causes the bottom side to steam, losing its crispness.
Pro Tips
Season the flour. Mix a pinch of paprika and onion powder into the flour for an extra layer of flavor that penetrates the meat.
Double‑coat for extra crunch. After the first panko layer, dip the strip again in egg and a second coat of panko for a thicker, crunchier crust.
Keep the sauce warm. Warm the dip in a small saucepan or microwave before serving; a warm dip keeps the coating from hardening too quickly.
Variations
Ingredient Swaps
Substitute chicken with turkey breast strips for a leaner option, or use firm tofu cubes for a vegetarian twist. Replace panko with crushed cornflakes for an even lighter crunch, and swap honey for maple syrup if you prefer a different sweet profile.
Dietary Adjustments
For gluten‑free diners, use rice flour and gluten‑free panko. To keep it dairy‑free, stick with vegetable oil and omit butter from the sauce. Keto lovers can replace honey with a low‑carb sweetener such as erythritol and serve the tenders over cauliflower rice.
Serving Suggestions
Pair the tenders with fluffy jasmine rice, a crisp coleslaw, or a simple cucumber‑mint salad. For a hearty meal, serve alongside roasted sweet potatoes or a buttery corn mash. A side of pickled vegetables adds a tangy contrast that cuts through the richness.
Storage Info
Leftover Storage
Let the chicken cool to room temperature, then place the tenders in an airtight container. Store in the refrigerator for up to 3 days. For longer keeping, freeze in a single layer on a baking sheet, then transfer to a freezer‑safe bag; they’ll last up to 2 months.
Reheating Instructions
Reheat in a preheated 375°F (190°C) oven on a wire rack for 10‑12 minutes, or until the coating regains its crunch. Microwaving will soften the crust, so use the oven or a hot skillet with a splash of oil for best results. Warm the dip gently before serving.
Frequently Asked Questions
Can I make this recipe ahead of time?
Can I use frozen chicken for this dish?
What side dishes work best with these tenders?
This Crunchy Chicken Tender Delight brings together a satisfying crunch, a sweet‑spicy dip, and a quick cooking timeline that fits any busy schedule. By following the detailed steps, using the suggested tips, and exploring the variations, you’ll create a dish that feels both special and approachable. Feel free to experiment with herbs, sauces, or alternative proteins—cooking is your playground. Enjoy the crispy goodness and share it with friends or family for a memorable meal!
Crunchy Chicken Tender Delight: Frying, Dipping, and Serving
Delicious Crunchy Chicken Tender Delight: Frying, Dipping, and Serving
Ingredients
Main Ingredients
- 1 lb boneless, skinless chicken breasts
- 1 cup all‑purpose flour
- 2 cups panko breadcrumbs
Seasoning & Marinade
- 1 tsp kosher salt
- ½ tsp freshly ground black pepper
- ½ tsp garlic powder
Dipping Sauce
- ¼ cup honey
- ¼ cup Dijon mustard
- 1 tsp smoked paprika
- 1 tbsp apple cider vinegar
- Pinch of cayenne pepper (optional)
Instructions
Breading & Frying
- Set up a breading station. Place flour in a shallow bowl, beaten eggs in a second bowl, and panko mixed with a pinch of salt in a third. This three‑step system creates an even coating that adheres perfectly.
- Dredge the strips. Lightly coat each chicken piece in flour, shaking off excess, then dip in the egg, and finally press into the panko mixture. Ensure every side is covered; a uniform crust yields consistent crunch.
- Heat the oil. In a large skillet, pour enough vegetable oil to reach ½‑inch depth. Heat over medium‑high until a breadcrumb dropped into the oil sizzles and turns golden within 30 seconds (≈ 350°F). Proper temperature prevents soggy coating.
- Fry in batches. Carefully add a handful of coated strips, avoiding crowding. Fry for 2‑3 minutes per side, watching for a deep golden hue. Use tongs to turn; the crust should be firm and release easily from the pan.
- Drain and rest. Transfer fried tenders to a wire rack set over a baking sheet to catch drips. This keeps the bottom from steaming and losing crispness. Lightly season with a pinch of salt while still hot.
Similar Recipes
 Appetizers
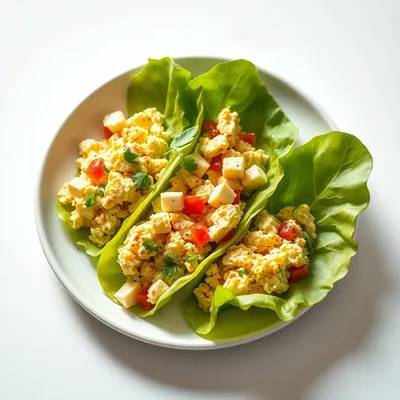
Crispy BLT Egg Salad Lettuce Wraps: A Fresh Take on a Classic Favorite
Delicious Crispy BLT Egg Salad Lettuce Wraps: A Fresh Take on a Classic Favorite
 Appetizers
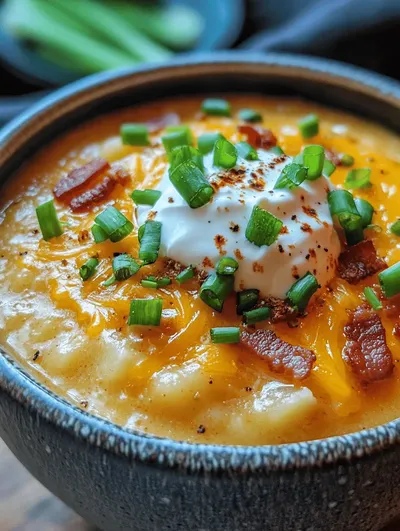
Outback-Style Loaded Potato Soup: A Comforting Recipe to Warm Your Soul
Delicious Outback-Style Loaded Potato Soup: A Comforting Recipe to Warm Your Soul
 Appetizers
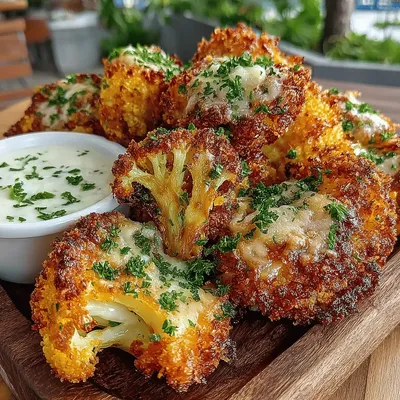
Crispy Air Fryer Cheddar Cauliflower Nuggets: Recipe Completion
Delicious Crispy Air Fryer Cheddar Cauliflower Nuggets: Recipe Completion
 Appetizers
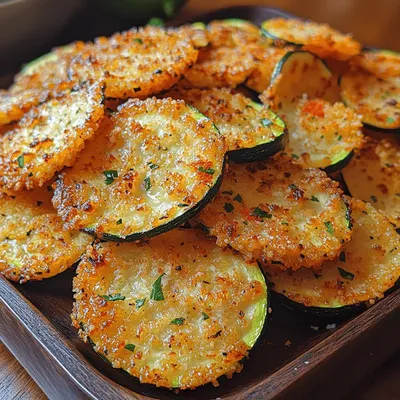
Golden Parmesan Zucchini Chips: A Delicious and Healthy Snack
Delicious Golden Parmesan Zucchini Chips: A Delicious and Healthy Snack
 Appetizers
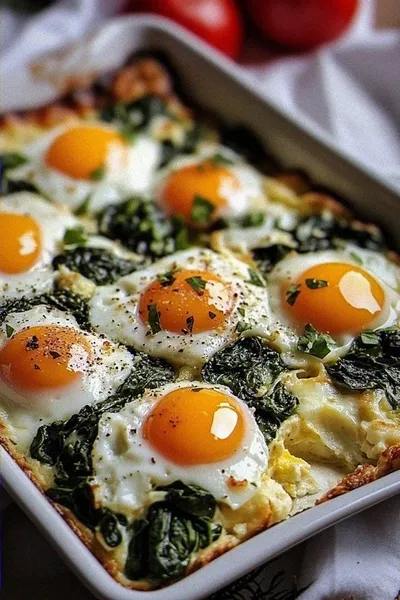
Savory Hard-Boiled Egg Spinach Breakfast Bake
Learn how to make delicious Savory Hard-Boiled Egg Spinach Breakfast Bake. Easy recipe with step-by-step instructions.
 Appetizers
Crunchy Keto Tortilla Chips: A Delicious Low-Carb Snack
Delicious Crunchy Keto Tortilla Chips: A Delicious Low-Carb Snack
 Appetizers
Fresh and Crunchy Spring Roll Salad Recipe
Delicious Fresh and Crunchy Spring Roll Salad Recipe
 Appetizers
Zesty Mango Tango Salsa: A Flavorful Journey into Freshness
Delicious Zesty Mango Tango Salsa: A Flavorful Journey into Freshness

Caroline
I cook these recipes at home before they ever land here — simple ingredients, clear steps.