Crunchy Fiesta Taco Shells: The Ultimate Guide to Flavorful and Crispy Tacos
 Save
Save
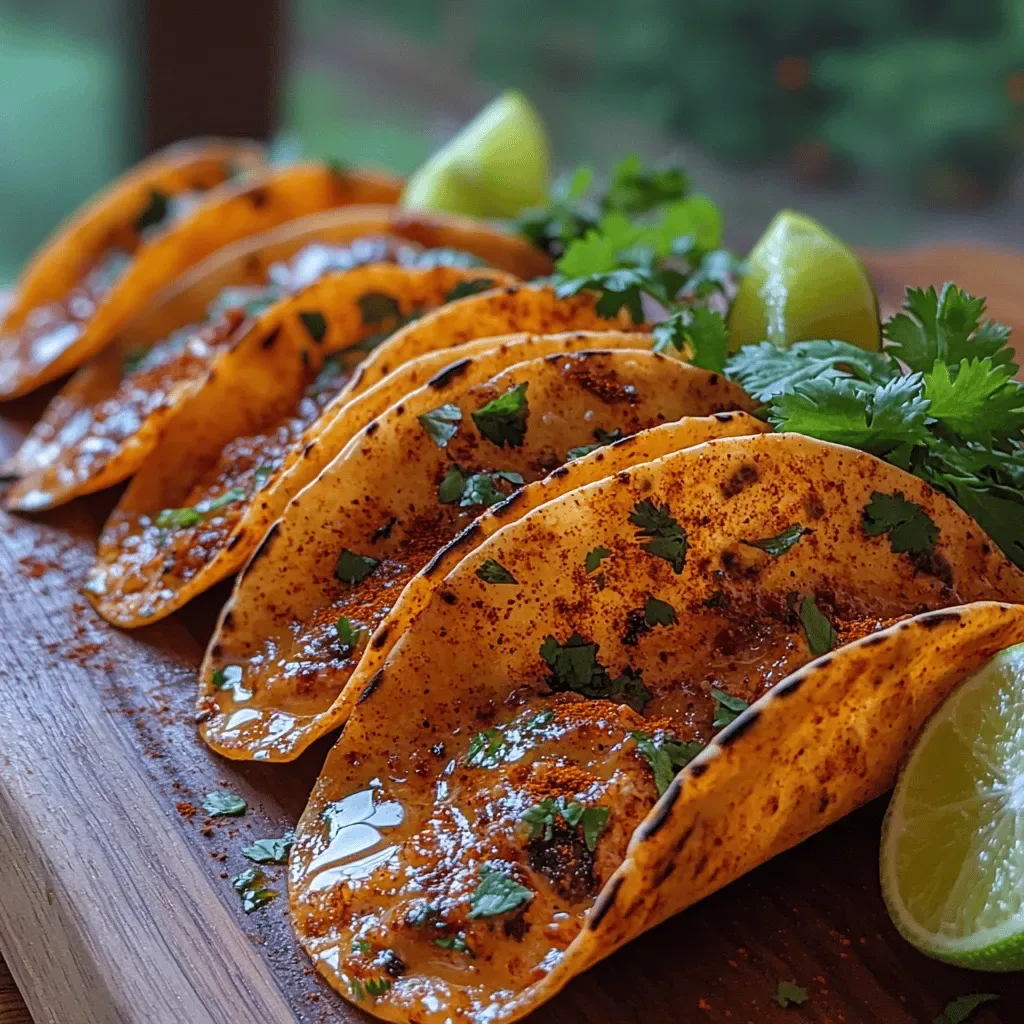
Imagine biting into a taco that crackles like fresh tortilla chips yet cradles a sunrise‑bright blend of flavors. Crunchy Fiesta Taco Shells turn an ordinary breakfast into a festive, handheld feast that’s impossible to ignore.
What sets this recipe apart is the double‑layered crunch: a lightly fried corn tortilla shell followed by a quick oven‑baked coating infused with lime, chili, and a hint of smoked paprika. The result is a shell that stays crispy even after being loaded with juicy fillings.
This dish is perfect for brunch lovers, weekend warriors, and anyone who craves a bold start to the day. Serve it at a lazy Sunday brunch, a festive birthday buffet, or a quick weekday pick‑me‑up.
The process begins with seasoning the tortillas, frying them to a golden hue, then finishing them in the oven with a spice‑dust blend. While the shells bake, you’ll prep a simple avocado‑lime crema and your favorite protein, then assemble for an instant fiesta.
Why You'll Love This Recipe
Bold, Layered Crunch: Two stages of cooking give each bite an irresistible snap that stays crisp even under moist toppings.
Brunch‑Ready Speed: From start to plate in under 45 minutes, making it ideal for lazy weekend mornings or rushed weekday brunches.
Customizable Fillings: Swap eggs, chorizo, tofu, or smoked salmon—each variation pairs perfectly with the zesty shell.
Vibrant Presentation: The golden‑brown shell paired with colorful toppings creates a visual feast that dazzles the eye before the palate.
Tips & Tricks
Perfecting the Recipe
Dry Tortillas First. Pat each tortilla with a paper towel before oiling; excess moisture prevents proper crisping.
Uniform Oil Layer. Use a pastry brush to apply a thin, even coat of oil—too much will make shells soggy.
Watch the Oven. The final bake is quick; set a timer to avoid over‑drying.
Flavor Enhancements
Add a pinch of cayenne to the spice dust for extra heat, or stir a teaspoon of chipotle adobo sauce into the avocado crema for smoky depth. A splash of orange juice in the crema brightens the palate and balances the richness of the egg and chorizo.
Common Mistakes to Avoid
Skipping the brief fry step results in a limp shell that never achieves true crunch. Also, avoid overcrowding the pan—crowded tortillas steam rather than fry, producing soggy results. Finally, don’t let the shells sit uncovered for more than 10 minutes, or they’ll lose their snap.
Pro Tips
Use a Cast‑Iron Skillet. Its heat retention ensures an even, rapid fry for that perfect golden edge.
Make Ahead Crema. Blend the avocado mixture up to 24 hours ahead; store covered with a thin layer of oil to prevent browning.
Temperature Check. A quick touch test—shell should feel hot and firm; if it’s still pliable, give it another 2‑3 minutes in the oven.
Variations
Ingredient Swaps
Replace the corn tortillas with flour tortillas for a milder flavor, or use mini naan rounds for an Indo‑Mexican twist. Swap chorizo for smoked salmon or sautéed mushrooms for a pescatarian or vegetarian version. For a sweeter note, drizzle a honey‑lime glaze over the finished taco.
Dietary Adjustments
Choose gluten‑free corn tortillas and ensure all packaged spices are certified gluten‑free for a safe option. For a dairy‑free version, keep the avocado‑lime crema as is and skip any butter‑based toppings. Keto diners can omit the tortilla entirely and serve the fillings in a crisp lettuce cup, or use low‑carb almond flour shells.
Serving Suggestions
Pair the tacos with a bright citrus quinoa salad, a side of black‑bean refried beans, or a simple fruit salsa for a sweet contrast. A glass of chilled margarita or freshly squeezed orange juice completes the brunch vibe.
Storage Info
Leftover Storage
Allow the taco shells to cool completely, then place them in an airtight container lined with a paper towel to absorb any excess moisture. Store in the refrigerator for up to 3 days. For longer keeping, freeze the shells in a zip‑top bag for up to 2 months; separate layers with parchment to prevent sticking.
Reheating Instructions
Reheat frozen shells in a preheated 350°F oven for 8‑10 minutes, or until crisp and heated through. For refrigerated shells, a quick 3‑minute blast in a toaster oven restores crunch. Avoid microwaving alone, as it will make the shell soggy; if you must, cover with a damp paper towel and heat in 30‑second bursts, then finish under a broiler for crispness.
Frequently Asked Questions
Can I make these taco shells ahead of time?
What if I don’t have a cast‑iron skillet?
Can I use a different protein for the filling?
How do I keep the shells from getting soggy after filling?
This guide gives you everything you need to master Crunchy Fiesta Taco Shells—from the perfect spice dust to foolproof cooking techniques. By following the step‑by‑step instructions, you’ll enjoy a brunch‑worthy taco that stays crispy, bursts with bright flavors, and invites endless customization. Feel free to experiment with proteins, spice levels, or toppings—making the recipe truly yours. Gather your loved ones, plate up the fiesta, and savor every satisfying crunch!
Crunchy Fiesta Taco Shells: The Ultimate Guide to Flavorful and Crispy Tacos
Delicious Crunchy Fiesta Taco Shells: The Ultimate Guide to Flavorful and Crispy Tacos
Ingredients
Shell Base
- 12 small corn tortillas (6‑inch)
- 2 tablespoons vegetable oil (for frying)
Spice Dust
- 1 tablespoon lime zest
- 1½ teaspoons chili powder
- ½ teaspoon smoked paprika
- ¼ teaspoon ground cumin
- ½ teaspoon sea salt
Fillings & Toppings
- 4 large eggs, scrambled
- ½ cup diced cooked chorizo or turkey sausage
- 1 ripe avocado, mashed
- 2 tablespoons fresh lime juice
- ¼ cup pico de gallo
- Fresh cilantro leaves, for garnish
Instructions
Seasoning & Baking
- Mix the Spice Dust. In a small bowl combine lime zest, chili powder, smoked paprika, cumin, and sea salt. Stir until evenly blended; this mixture will cling to the hot tortillas and infuse them with flavor.
- Coat the Shells. While the tortillas are still warm, lightly brush each with a thin layer of oil, then sprinkle the spice dust over the interior and exterior. The oil helps the spices adhere and creates a crispier finish.
- Oven Finish. Preheat your oven to 375°F (190°C). Arrange the seasoned shells on a baking sheet lined with parchment. Bake for 8‑10 minutes, turning once halfway through, until the shells are firm and a deep golden hue appears. Watch for a uniform crunch—over‑baking can make them brittle.
Similar Recipes
 Dinner
batch cooking friendly one pot lentil and carrot stew
Make this easy one-pot lentil and carrot stew for batch cooking success. Hearty, healthy, freezer-friendly—cook once,…
 Dinner
Hearty Meatball Stew Recipe
Delicious Hearty Meatball Stew Recipe
 Dinner
Irresistible Lemon Honey Glazed Salmon Recipe Delight
Learn how to make delicious Irresistible Lemon Honey Glazed Salmon Recipe Delight. Easy recipe with step-by-step…
 Dinner
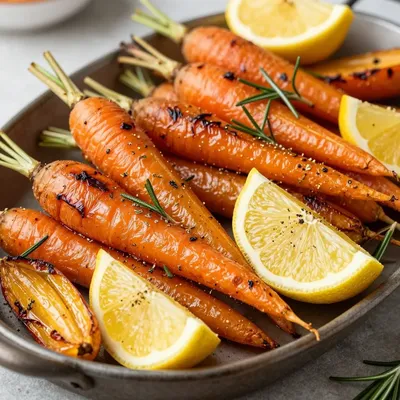
mediterranean lemon roasted winter vegetables for healthy family dinners
Learn how to make delicious mediterranean lemon roasted winter vegetables for healthy family dinners. Easy recipe…
 Dinner
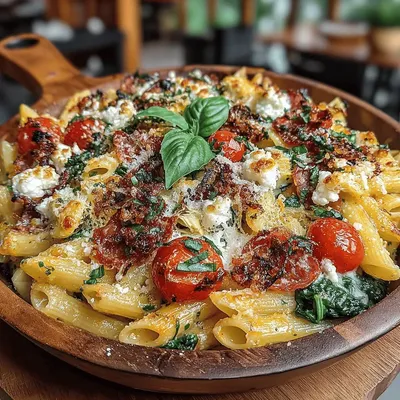
Charcuterie Board Pasta Bake: The Ultimate Comfort Dish
Delicious Charcuterie Board Pasta Bake: The Ultimate Comfort Dish
 Dinner
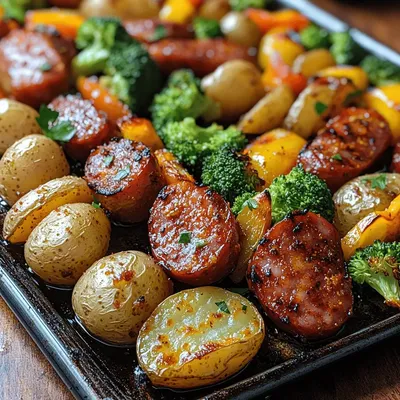
Sizzling Kielbasa & Veggie Sheet Pan Delight: A Flavorful One-Pan Meal
Delicious Sizzling Kielbasa & Veggie Sheet Pan Delight: A Flavorful One-Pan Meal
 Dinner
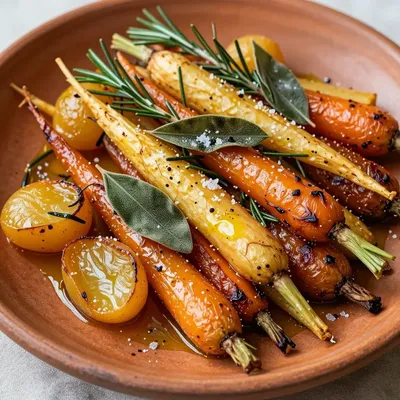
warm garlic roasted winter root vegetables with rosemary and sage
Learn how to make delicious warm garlic roasted winter root vegetables with rosemary and sage. Easy…
 Dinner
Sizzling Grilled Chicken Fajita Wraps: A Flavorful Fiesta on Your Plate
Delicious Sizzling Grilled Chicken Fajita Wraps: A Flavorful Fiesta on Your Plate

Caroline
I cook these recipes at home before they ever land here — simple ingredients, clear steps.