Crunchy Garlic Ranch Chickpeas Recipe
 Save
Save
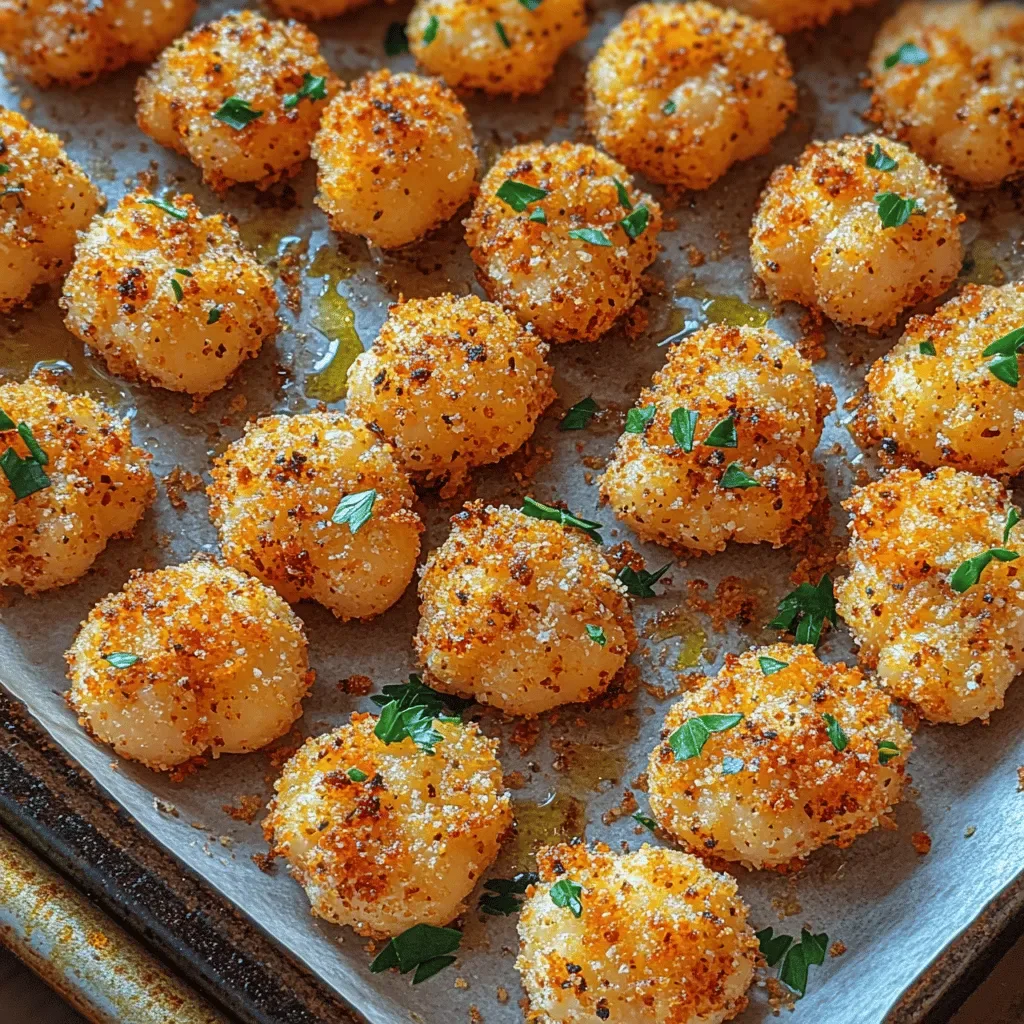
Imagine a breakfast bowl that crunches with every bite, bursts with garlic‑infused ranch flavor, and still feels light enough for a weekend brunch. That’s exactly what the Crunchy Garlic Ranch Chickpeas deliver—an effortless, plant‑based star that steals the spotlight at any morning table.
What makes this dish truly special is the triple‑layered texture: roasted chickpeas for a hearty bite, a toasted panko‑Parmesan coating for crispness, and a silky garlic‑ranch drizzle that ties everything together.
Busy parents, brunch‑loving friends, and anyone craving a protein‑packed start will adore this recipe. It works beautifully as a standalone bowl, a topping for avocado toast, or a side for eggs Benedict.
The cooking process is straightforward: coat the chickpeas, roast them to golden perfection, whisk together a quick ranch‑garlic sauce, then finish with a final broil for that irresistible crunch.
Why You'll Love This Recipe
Bold Flavor, Minimal Effort: The garlic‑ranch coating packs a punch while the roasting step is hands‑off, giving you maximum taste with minimal active time.
Protein‑Rich & Satisfying: One cup of chickpeas provides over 15 g of plant protein, keeping you full and energized through the morning.
Crunchy Texture Meets Creamy Drizzle: The toasted panko‑Parmesan creates a satisfying crunch that contrasts beautifully with the silky ranch sauce.
Versatile Breakfast Canvas: Serve it over toast, mixed greens, or a quinoa bowl for endless brunch possibilities.
Tips & Tricks
Perfecting the Recipe
Dry Chickpeas Thoroughly: Any residual water will steam the beans, preventing the desired crispness. Pat them dry for at least 2 minutes.
Even Coating: Toss the chickpeas gently; over‑mixing can break the beans, while under‑mixing leaves spots uncoated.
Preheat the Baking Sheet: Placing the chickpeas on a hot sheet jump‑starts the crisping process.
Flavor Enhancements
Add a splash of hot sauce to the ranch drizzle for a smoky kick, or stir in finely chopped fresh chives just before serving for an extra burst of herbaceous brightness.
Common Mistakes to Avoid
Skipping the broil step will leave the coating soft rather than crunchy. Also, avoid overcrowding the pan; crowding creates steam and results in soggy chickpeas.
Pro Tips
Use a Light Hand with Parmesan: Too much can burn quickly under the broiler. A thin dusting is sufficient.
Room‑Temperature Yogurt: Let the yogurt sit out for 10 minutes before mixing; it blends more smoothly with the seasonings.
Store the Crunch Separate: If you need to keep leftovers, store the sauce and chickpeas apart to preserve the texture.
Variations
Ingredient Swaps
Swap canned chickpeas for roasted edamame for a greener bite, or use cauliflower florets for a lower‑carb alternative. Replace Parmesan with nutritional yeast to keep the dish vegan while retaining a cheesy note. For a smoky flavor, add a pinch of chipotle powder to the breadcrumb mix.
Dietary Adjustments
To make the recipe gluten‑free, ensure the panko is labeled gluten‑free or substitute with crushed cornflakes. Use a dairy‑free yogurt (coconut or almond) and omit Parmesan for a vegan version. For a keto twist, replace the yogurt with full‑fat sour cream and use almond flour instead of panko.
Serving Suggestions
Serve the crunchy chickpeas atop a warm bowl of quinoa, alongside poached eggs, or as a topping for a loaded avocado toast. They also make a satisfying addition to a brunch charcuterie board, paired with fresh fruit and cheese.
Storage Info
Leftover Storage
Allow the chickpeas and sauce to cool completely, then transfer them to separate airtight containers. Store the chickpeas in the refrigerator for up to 3 days; the sauce stays fresh for 4 days. For longer keeping, freeze the chickpeas (no sauce) in a zip‑top bag for up to 2 months.
Reheating Instructions
Re‑crisp the chickpeas by spreading them on a baking sheet and heating in a preheated 375°F (190°C) oven for 8‑10 minutes, or until golden. Warm the ranch drizzle gently on the stovetop, adding a splash of plant milk if it thickens. Combine just before serving to retain crunch.
Frequently Asked Questions
Can I make this recipe ahead of time?
What if I don’t have ranch seasoning mix?
Can I use fresh chickpeas instead of canned?
How do I keep the chickpeas from getting soggy after adding the sauce?
This Crunchy Garlic Ranch Chickpeas recipe delivers bold flavor, satisfying texture, and a protein boost that makes any brunch feel special. We’ve walked through every step—from selecting the right chickpeas to mastering the perfect roast and finishing drizzle—plus storage tips, variations, and FAQs to ensure success. Feel free to experiment with herbs, spices, or alternative bases; the core technique stays the same. Enjoy the crunch, savor the ranch, and make this dish a regular star on your breakfast table!
Crunchy Garlic Ranch Chickpeas Recipe
Delicious Crunchy Garlic Ranch Chickpeas Recipe
Ingredients
Main Ingredients
- 2 (15‑ounce) cans chickpeas, drained & rinsed
- 2 tablespoons extra‑virgin olive oil
Ranch & Garlic Sauce
- 1 cup plain Greek yogurt (or dairy‑free alternative)
- 2 tablespoons ranch seasoning mix
- 2 cloves garlic, minced
- 1 teaspoon lemon juice
Crunch Coating
- ½ cup panko breadcrumbs
- ¼ cup grated Parmesan cheese (or nutritional yeast)
- ¼ teaspoon smoked paprika
Seasonings & Garnish
- ½ teaspoon sea salt
- ¼ teaspoon freshly ground black pepper
- Optional: pinch of red‑pepper flakes for heat
Instructions
Coating & Roasting
- Mix the Crunch Coating. In a shallow bowl combine ½ cup panko breadcrumbs, ¼ cup grated Parmesan, and ¼ teaspoon smoked paprika. The paprika adds a subtle depth without overpowering the ranch flavor.
- Apply the Coating. Sprinkle the breadcrumb mixture over the seasoned chickpeas, tossing gently to ensure each pea is lightly coated. A light dusting is enough; too much will burn during the high‑heat roast.
- Roast to Perfection. Spread the coated chickpeas on a parchment‑lined baking sheet in a single layer. Roast in a preheated 425°F (220°C) oven for 20‑22 minutes, shaking the pan halfway through. Look for a deep golden color and a fragrant aroma as visual cues of doneness.
- Broil for Extra Crunch. Switch the oven to broil for the final 2‑3 minutes. Keep a close eye; the panko should turn crisp and lightly toasted, not burnt. This step locks in the crunch that defines the dish.
Similar Recipes
 Appetizers
festive citrus and herb quinoa salad with pomegranate seeds
Learn how to make delicious festive citrus and herb quinoa salad with pomegranate seeds. Easy recipe…
 Appetizers
Roasted Red Pepper and Corn Salad: A Flavorful Seasonal Delight
Delicious Roasted Red Pepper and Corn Salad: A Flavorful Seasonal Delight
 Appetizers
Fiery Buffalo Tofu Bites: The Ultimate Plant-Based Snack
Delicious Fiery Buffalo Tofu Bites: The Ultimate Plant-Based Snack
 Appetizers
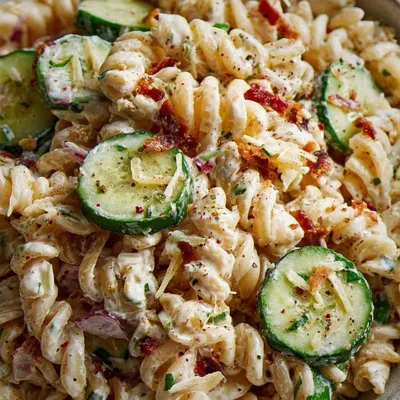
Dill Pickle Pasta Salad – Tangy & Addictive
Learn how to make delicious Dill Pickle Pasta Salad – Tangy & Addictive. Easy recipe with…
 Appetizers
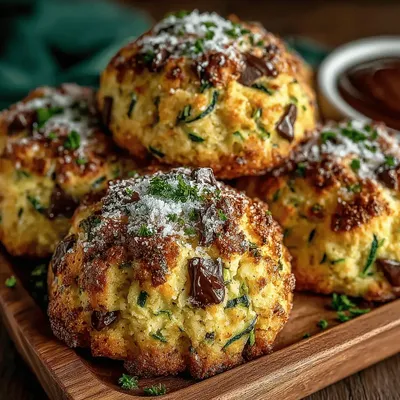
Zesty Baked Zucchini Cookies Recipe
Delicious Zesty Baked Zucchini Cookies Recipe
 Appetizers
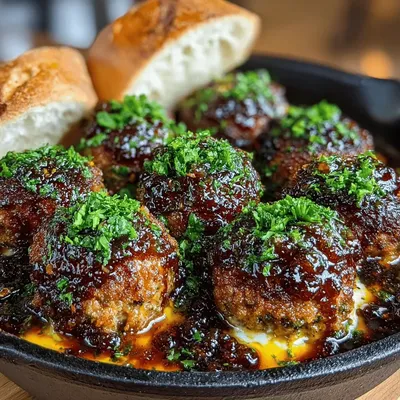
Baked Fig Jam Meatballs
Delicious Baked Fig Jam Meatballs
 Appetizers
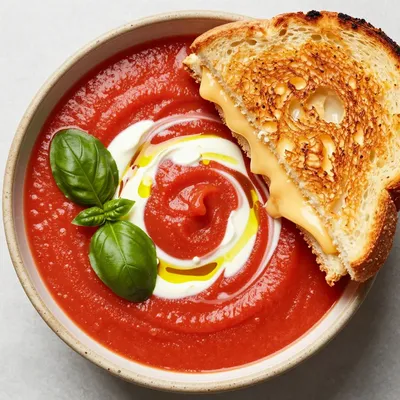
Creamy Tomato Soup with Grilled Cheese for Nostalgia
Learn how to make delicious Creamy Tomato Soup with Grilled Cheese for Nostalgia. Easy recipe with…
 Appetizers
Heavenly Creamy Roasted Cauliflower Soup
Delicious Heavenly Creamy Roasted Cauliflower Soup

Caroline
I cook these recipes at home before they ever land here — simple ingredients, clear steps.