Introduction
Crispy Cheddar Chicken is not just a meal; it’s an experience that delights the senses and satisfies the appetite. This dish has gained immense popularity among food enthusiasts for its irresistible combination of crunchy texture and cheesy goodness. Whether you’re cooking for a family dinner, meal prepping for the week, or impressing guests at a gathering, Crispy Cheddar Chicken fits the bill perfectly. Its appeal extends to both kids and adults, making it a versatile choice that can easily become a staple in your culinary repertoire.
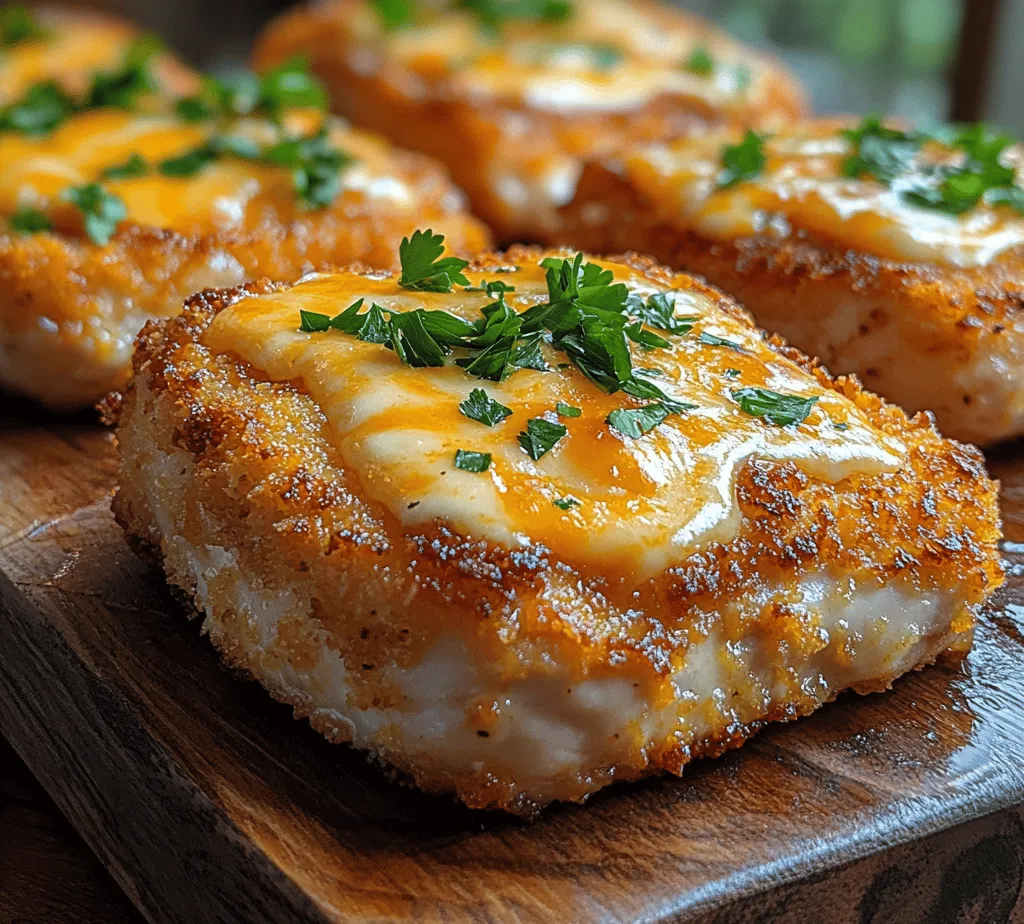
The standout feature of this dish is undoubtedly its crispy exterior, achieved through a simple yet effective breading process that locks in moisture while providing a satisfying crunch. Coupled with the robust flavor of sharp cheddar cheese, this chicken dish offers a rich taste experience that leaves diners craving more. It’s the perfect comfort food that can be served with a side of vegetables, a fresh salad, or even on a bed of rice, allowing for endless variations and creativity in the kitchen.
Understanding the Ingredients
Boneless, Skinless Chicken Breasts
When it comes to preparing Crispy Cheddar Chicken, the choice of chicken is paramount. Boneless, skinless chicken breasts are the ideal cut of meat for this recipe. Not only do they provide a lean source of protein, but they also cook quickly and evenly, making them perfect for those busy weeknights when time is of the essence. The absence of skin allows for a healthier dish without sacrificing flavor, as the breading and cheese will provide all the richness needed.
The Role of Sharp Cheddar Cheese
The star of the show in Crispy Cheddar Chicken is, of course, the cheese. Sharp cheddar is the preferred choice for this recipe due to its bold flavor profile, which adds depth and richness to the dish. Mild cheddar, while still tasty, lacks the same intensity that sharp cheddar brings to the table. The distinctive tanginess of sharp cheddar enhances the overall flavor, ensuring each bite is packed with cheesy goodness. Furthermore, its ability to melt beautifully during the cooking process creates a delightful contrast to the crispy coating.
Breadcrumbs: The Panko Advantage
Another essential ingredient in achieving that coveted crunch is the breadcrumbs. While traditional breadcrumbs can be used, panko breadcrumbs are highly recommended for this recipe. Originating from Japan, panko is made from crustless bread and has a unique texture that results in an extra crispy coating. The larger flakes of panko absorb less oil than regular breadcrumbs, allowing for a lighter, crunchier finish. This is crucial for creating the perfect balance of textures in Crispy Cheddar Chicken.
Other Essential Ingredients
In addition to chicken, cheddar cheese, and panko breadcrumbs, a few other key ingredients are necessary to elevate your dish:
– Flour: All-purpose flour serves as the first layer in the breading process. It helps the eggs adhere to the chicken, ensuring that the crispy coating sticks during cooking.
– Eggs: Beaten eggs create a wet layer that binds the breadcrumbs to the chicken, providing a cohesive crust that holds up during frying or baking.
– Seasonings: A mix of salt, pepper, and any additional spices you prefer (such as garlic powder or paprika) enhances the flavor of the chicken, ensuring it is not bland. Seasoning at every stage of the breading process is key to infusing the chicken with flavor.
Understanding these ingredients and their roles in the dish is essential for crafting the perfect Crispy Cheddar Chicken.
Preparation Steps for Crispy Cheddar Chicken
Preparing the Chicken
The first step in preparing your Crispy Cheddar Chicken is to properly handle the chicken breasts. Start by rinsing them under cold water and patting them dry with paper towels. It’s crucial to dry the chicken thoroughly, as excess moisture can hinder the breading process and prevent that desired crispiness. Once dried, you can proceed to season the chicken generously with salt and pepper. This step is vital in ensuring the chicken is flavorful throughout.
Setting Up the Dipping Stations
To create an efficient workflow, set up your dipping stations. You’ll need three shallow dishes: one for the flour, one for the beaten eggs, and one for the panko breadcrumbs. Organizing your ingredients in this manner not only makes the process smoother but also helps prevent a mess in your kitchen.
– First Dish: Place about a cup of all-purpose flour in the first dish.
– Second Dish: In the second dish, beat 2-3 eggs until well combined.
– Third Dish: Fill the final dish with about a cup of panko breadcrumbs. You can also mix in some grated sharp cheddar cheese into the panko for added flavor and texture.
Visualizing the Process
Visualizing the breading process can be incredibly helpful, especially if you’re new to cooking. You’ll be following a simple assembly line: first, coat the chicken in flour, then dip it in the egg mixture, and finally, press it into the panko breadcrumbs. This method ensures that each piece of chicken is evenly coated and ready for cooking.
The Breading Process: Step-by-Step Breakdown
1. Coat in Flour: Take one chicken breast and dredge it in the flour, ensuring it is completely covered. Shake off any excess flour, as too much can lead to a pasty texture rather than a crispy coating.
2. Dip in Egg: Next, dip the floured chicken into the beaten eggs, allowing any excess to drip off. This egg wash is crucial for helping the breadcrumbs adhere to the chicken.
3. Press into Panko: Finally, press the chicken into the panko breadcrumbs, making sure to coat it evenly on all sides. For an extra crunchy coating, you can double-dip the chicken by repeating the egg and breadcrumb steps.
4. Repeat: Continue this process for all chicken breasts, placing them on a baking sheet or plate lined with parchment paper as you go. This preparation stage not only ensures that your chicken is ready for cooking but also sets you up for a hassle-free cooking experience.
By understanding each ingredient’s significance and following these preparation steps, you’ll be well on your way to creating the perfect Crispy Cheddar Chicken that will become a favorite in your household. Stay tuned for the cooking instructions and additional tips to ensure your dish turns out perfectly every time.
Importance of Layering for a Crispy Finish
Achieving the perfect crispy finish on your Cheddar Chicken is all about the layering technique. Each layer adds to the crunch and flavor profile, creating a delightful texture that is both satisfying and delicious. Start with a solid base of seasoned flour, then dip the chicken pieces in a mixture of beaten eggs, which acts as a binding agent. Finally, coat the chicken in a crispy crumb mixture, ideally a blend of panko breadcrumbs and freshly grated cheddar cheese.
The layering process not only enhances the crunch but also locks in moisture, ensuring your chicken remains tender on the inside while achieving that golden, crispy exterior. Each step is crucial; neglecting any can lead to a less-than-satisfactory result.
Techniques to Ensure Even Coating
To ensure that each piece of chicken is evenly coated, follow these steps for perfect results:
1. Dry the Chicken: Pat your chicken pieces dry with paper towels. This helps the coating adhere better.
2. Use Separate Bowls: Set up a breading station with three shallow bowls – one for seasoned flour, one for the egg wash, and one for the breadcrumb mixture. This keeps the process organized and reduces the mess.
3. Coat Thoroughly: When breading, make sure each piece of chicken is evenly coated. Dredge the chicken in flour first, ensuring to shake off any excess. Dip it in the egg wash, allowing any extra to drip off, and finally coat it with the breadcrumb mixture, pressing gently to ensure it sticks.
4. Let it Rest: Once breaded, let the chicken rest on a wire rack for about 10-15 minutes before frying. This helps the coating set and adhere better during cooking.
Cooking Techniques for Perfectly Crispy Chicken
Frying the Chicken: Best Practices
Frying is a popular method for achieving that coveted crispy texture. Here are best practices to ensure your chicken turns out perfectly:
– Use the Right Oil: Choose an oil with a high smoke point, such as vegetable oil, canola oil, or peanut oil. These oils can withstand higher temperatures without burning.
– Monitor Oil Temperature: The ideal frying temperature is between 350°F and 375°F (175°C to 190°C). Use a deep-fry thermometer to maintain the temperature; too low, and the chicken will absorb too much oil, leading to greasiness, while too high can burn the coating before the chicken is cooked through.
Discussing the Importance of Frying in Batches
To achieve the best results, fry your chicken in batches. Overcrowding the frying pan can drastically lower the oil temperature, resulting in soggy chicken. Frying in batches ensures each piece has enough space to cook evenly and develop a crispy crust.
Baking for Ultimate Crispness
After frying, transferring your chicken to the oven is crucial for that extra crispy finish:
– Preheat your oven to 400°F (200°C) before frying. Once your chicken is golden brown, place it on a baking sheet lined with parchment paper.
– The oven will help finish cooking the chicken through while allowing the cheese to melt beautifully. Baking not only contributes to the crispness but also ensures the chicken remains juicy inside.
Importance of the Oven to Finish Cooking and Melt Cheese
Baking the chicken after frying allows the heat to circulate around the pieces, ensuring they cook evenly. This step is particularly important for melting the cheddar cheese, which not only adds flavor but also creates a delightful gooey texture that complements the crispy coating.
How Baking Contributes to the Juiciness of the Chicken
By finishing the chicken in the oven, you retain moisture. The high oven heat seals the outer coating, preventing the juices from escaping, ensuring that each bite is tender and succulent.
Serving Suggestions
Presentation is key when serving your Crispy Cheddar Chicken. Here are some ideas to make your dish visually appealing:
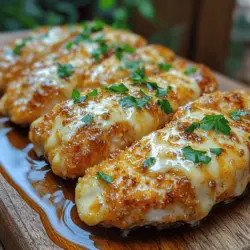
– Plating Ideas: Serve the chicken on a rustic wooden board or a large white plate to highlight the golden crust. Garnish with fresh herbs like parsley or chives for a pop of color.
– Suggested Pairings: Complement your chicken with a variety of dipping sauces. Honey mustard, ranch dressing, or a spicy sriracha mayo can enhance the flavor profile.
– Sides: Pair your crispy chicken with sides that balance the richness. Consider serving it with a fresh side salad featuring mixed greens, cherry tomatoes, and a light vinaigrette. Roasted vegetables such as asparagus or carrots can also add nutritional value and color to your plate.
Nutritional Information
Understanding the nutritional profile of your Crispy Cheddar Chicken can help you enjoy it as part of a balanced diet. Here’s an overview:
– Caloric Breakdown: Each serving of Crispy Cheddar Chicken contains approximately 450-500 calories, depending on portion size and specific ingredients used.
– Macronutrients: The dish typically includes around 25-30g of protein, making it a great option for those looking to increase their protein intake. The carbohydrate content comes primarily from the flour and breadcrumbs, while the fat content is influenced by the oil used for frying.
Potential Modifications for Dietary Preferences
If you are looking for gluten-free options, substitute the all-purpose flour with a gluten-free flour blend and use gluten-free breadcrumbs. Additionally, for a lighter version, you can bake the chicken without frying or use an air fryer to achieve a crispy finish with less oil.
Conclusion
Crispy Cheddar Chicken is not just a dish; it’s an experience that brings comfort and satisfaction to any meal. The layers of flavor, the crunch of the coating, and the juiciness of the chicken create a delightful combination that is sure to impress family and friends.
Encourage your readers to try this recipe for a comforting meal that is easy to prepare yet feels indulgent. The satisfaction that comes from making crispy chicken at home is unmatched, and it’s a dish that can easily become a family favorite. Enjoy the process of cooking and the delicious results that await!