Cheesy Chili Mac Mash-Up: Step-by-Step Cooking Instructions, Serving Suggestions, and Nutritional Information
 Save
Save
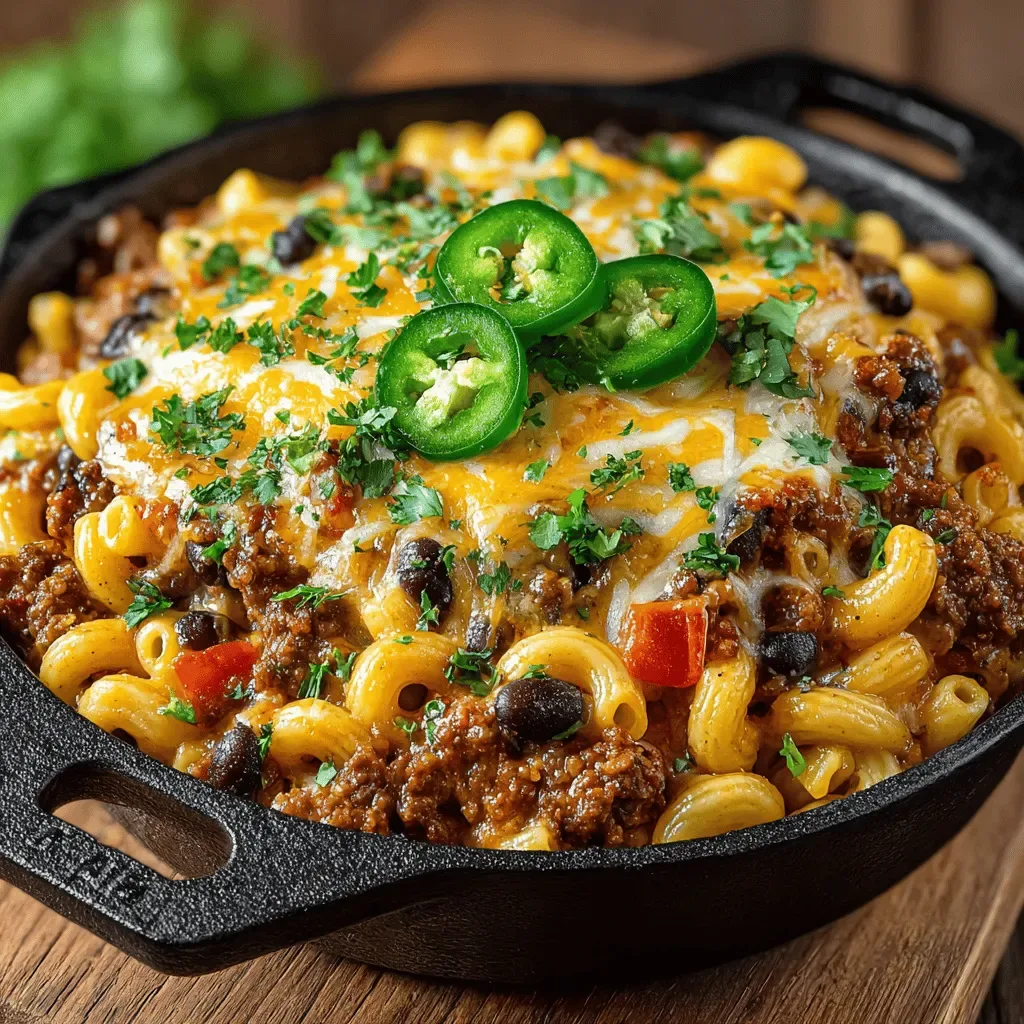
Imagine the comforting hug of mac and cheese, the bold kick of chili, and the melt‑in‑your‑mouth richness of a cheesy sauce—all in one breakfast‑friendly bowl. That’s the magic of the Cheesy Chili Mac Mash‑Up, a dish that turns ordinary brunch into a celebration of flavor.
What makes this mash‑up truly special is the perfect marriage of creamy cheddar, smoky ground beef, and al‑dente elbow macaroni, all bound together by a simmered tomato‑chili broth that adds depth without overwhelming the palate.
This hearty concoction is ideal for anyone who loves a savory start to the day—busy parents, college students, or weekend brunch hosts. Serve it on a lazy Saturday morning or as a satisfying late‑night brunch after a night out.
The cooking process is straightforward: you’ll brown the meat, whisk together a quick cheese‑chili sauce, combine everything with cooked pasta, and finish with a brief bake that creates a golden, bubbling crust. Follow each step and you’ll have a restaurant‑quality plate in under an hour.
Why You'll Love This Recipe
One‑Pan Wonder: All components come together in a single skillet and a short bake, meaning minimal cleanup and maximum flavor integration.
Comfort Meets Kick: The creamy cheese balances the heat from chili powder, giving you a comforting dish with just the right amount of spice.
Kid‑Approved: The familiar taste of mac and cheese wins over younger palates, while the subtle chili introduces them to bolder flavors.
Customizable Core: Swap proteins, adjust heat levels, or add extra veggies—this recipe adapts to any dietary need or pantry stock.
Tips & Tricks
Perfecting the Recipe
Use a Heavy‑Bottom Skillet: It distributes heat evenly, preventing hot spots that can scorch the cheese sauce.
Season in Layers: Add salt and spices at the beginning of browning and again after the sauce forms for depth.
Don’t Overcook Pasta: Al dente pasta continues cooking in the sauce, ensuring it stays firm and doesn’t turn mushy.
Low Heat for Cheese: Keep the sauce on low once the milk is added; high heat can cause the cheese to separate.
Flavor Enhancements
Stir in a tablespoon of chipotle in adobo for smoky heat, or finish with a splash of hot sauce for extra zing. A pinch of nutmeg in the cheese sauce adds subtle warmth that rounds out the flavors beautifully.
Common Mistakes to Avoid
Skipping the resting time can cause the sauce to run thin when served. Also, adding the cheese over high heat often results in a grainy texture—always melt cheese gently on low. Finally, be careful not to over‑bake; the crust should be golden, not burnt.
Pro Tips
Prep Ingredients First: Measure and chop everything before you start cooking to keep the process smooth.
Use Freshly Grated Cheese: Pre‑grated cheese contains anti‑caking agents that can affect meltability.
Finish with a Butter Swirl: A tablespoon of butter stirred in at the end adds silkiness and richness.
Serve Immediately: The dish is at its creamiest right after the 5‑minute rest; waiting too long can cause the sauce to thicken excessively.
Variations
Ingredient Swaps
Replace ground beef with ground turkey or chorizo for a different protein profile. Swap elbow macaroni for penne or rotini if you prefer a larger bite. For a vegetarian spin, use crumbled tempeh or a plant‑based “ground” meat and keep the cheese dairy‑free if needed.
Dietary Adjustments
For gluten‑free diners, choose certified gluten‑free pasta and ensure the tomato paste contains no hidden wheat. To make the dish dairy‑free, substitute cheddar with a sharp vegan cheese and use coconut milk or oat milk instead of dairy milk. Keto lovers can cut the pasta and serve the mixture over cauliflower rice, keeping the carb count low.
Serving Suggestions
Pair the mash‑up with a simple avocado‑lime salad for a fresh contrast, or serve alongside warm cornbread to soak up extra sauce. A side of pickled jalapeños adds a bright acidity that cuts through the richness, making the meal feel balanced.
Storage Info
Leftover Storage
Allow the dish to cool to room temperature (no more than 2 hours) before transferring it to an airtight container. It will keep in the refrigerator for 3‑4 days. For longer preservation, portion into freezer‑safe bags, lay flat, and freeze for up to 3 months. Label with the date to track freshness.
Reheating Instructions
Reheat in a pre‑heated 350°F (175°C) oven, covered with foil, for 15‑20 minutes until warmed through. Stir halfway and add a splash of milk or broth to revive the sauce’s creaminess. In a microwave, heat individual portions on medium power for 2‑3 minutes, pausing to stir, and top with a little extra cheese if desired.
Frequently Asked Questions
Can I make this recipe ahead of time?
Can I use frozen ground beef or pasta?
What side dishes work best with this mash‑up?
This Cheesy Chili Mac Mash‑Up delivers comforting mac and cheese vibes with a bold chili twist, all in a brunch‑ready package. The step‑by‑step guide, storage tips, and creative variations ensure you can master it today and adapt it tomorrow. Feel free to play with proteins, spices, or toppings—cooking is your canvas. Serve it hot, share it wide, and enjoy every cheesy, spicy bite!
Cheesy Chili Mac Mash-Up: Step-by-Step Cooking Instructions, Serving Suggestions, and Nutritional Information
Delicious Cheesy Chili Mac Mash-Up: Step-by-Step Cooking Instructions, Serving Suggestions, and Nutritional Information
Ingredients
Main Ingredients
- 12 oz elbow macaroni
- 1 lb ground beef (85 % lean)
Chili & Cheese Sauce
- 1 cup shredded sharp cheddar cheese
- ½ cup shredded mozzarella cheese
- 1 cup canned diced tomatoes (undrained)
- 2 tablespoons tomato paste
- 1 cup low‑fat milk
Seasonings & Aromatics
- 1 medium onion, diced
- 2 cloves garlic, minced
- 2 teaspoons chili powder
- 1 teaspoon smoked paprika
- ½ teaspoon cumin
- Salt and freshly ground black pepper, to taste
Toppings & Garnish
- ¼ cup chopped fresh cilantro
- Juice of ½ lime
- Optional: ¼ cup crushed tortilla chips for extra crunch
Instructions
Browning the Beef
- Heat the Skillet. Place a large, deep‑skillet over medium‑high heat and add a splash of olive oil. When the oil shimmers, you’ve reached the ideal temperature for searing.
- Sauté Aromatics. Add the diced onion and cook, stirring occasionally, until translucent, about 3 minutes. Then stir in the minced garlic and cook another 30 seconds—watch closely so it doesn’t burn.
- Cook the Ground Beef. Crumble the 1 lb ground beef into the pan. Season with salt, pepper, chili powder, smoked paprika, and cumin. Break the meat into small pieces and let it brown for 6‑7 minutes, stirring occasionally. The browning creates Maillard compounds that deepen flavor.
- Deglaze & Build Sauce. Stir in the tomato paste and cook for 1 minute to caramelize. Add the canned diced tomatoes with their juices, scraping the browned bits from the bottom of the pan. Let the mixture simmer for 4 minutes, allowing the flavors to meld.
Creating the Cheesy Chili Sauce
- Incorporate Milk. Reduce the heat to low and slowly whisk in the 1 cup low‑fat milk. The gentle heat prevents curdling and helps the cheese melt smoothly.
- Add the Cheeses. Sprinkle in the sharp cheddar and mozzarella a handful at a time, stirring continuously until each addition is fully melted. The sauce should become glossy and coat the back of a spoon.
- Combine Pasta & Beef. Fold the cooked macaroni into the skillet, ensuring every piece is enveloped by the sauce. Let everything simmer together for 2‑3 minutes so the pasta absorbs some of the chili‑cheese goodness.
Similar Recipes
 Dinner
Spicy Slow-Cooked Chili Chicken Sliders
Delicious Spicy Slow-Cooked Chili Chicken Sliders
 Dinner
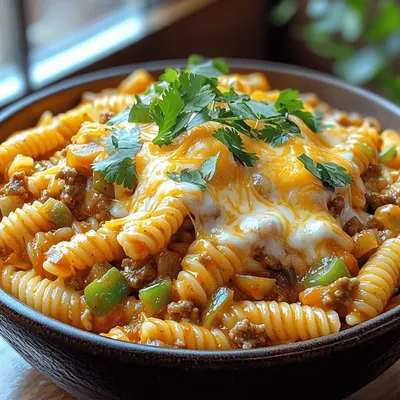
Cheesy Rotel Delight Pasta: A Comfort Food Classic
Delicious Cheesy Rotel Delight Pasta: A Comfort Food Classic
 Dinner
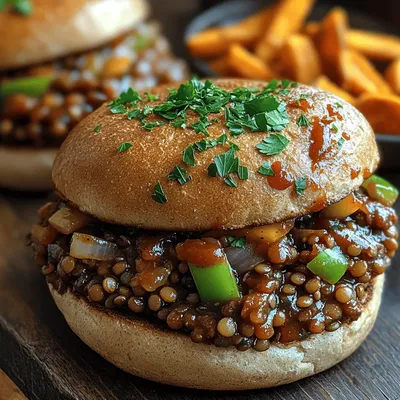
Hearty BBQ Lentil Sloppy Joes: A Delicious and Nutritious Treat
Delicious Hearty BBQ Lentil Sloppy Joes: A Delicious and Nutritious Treat
 Dinner
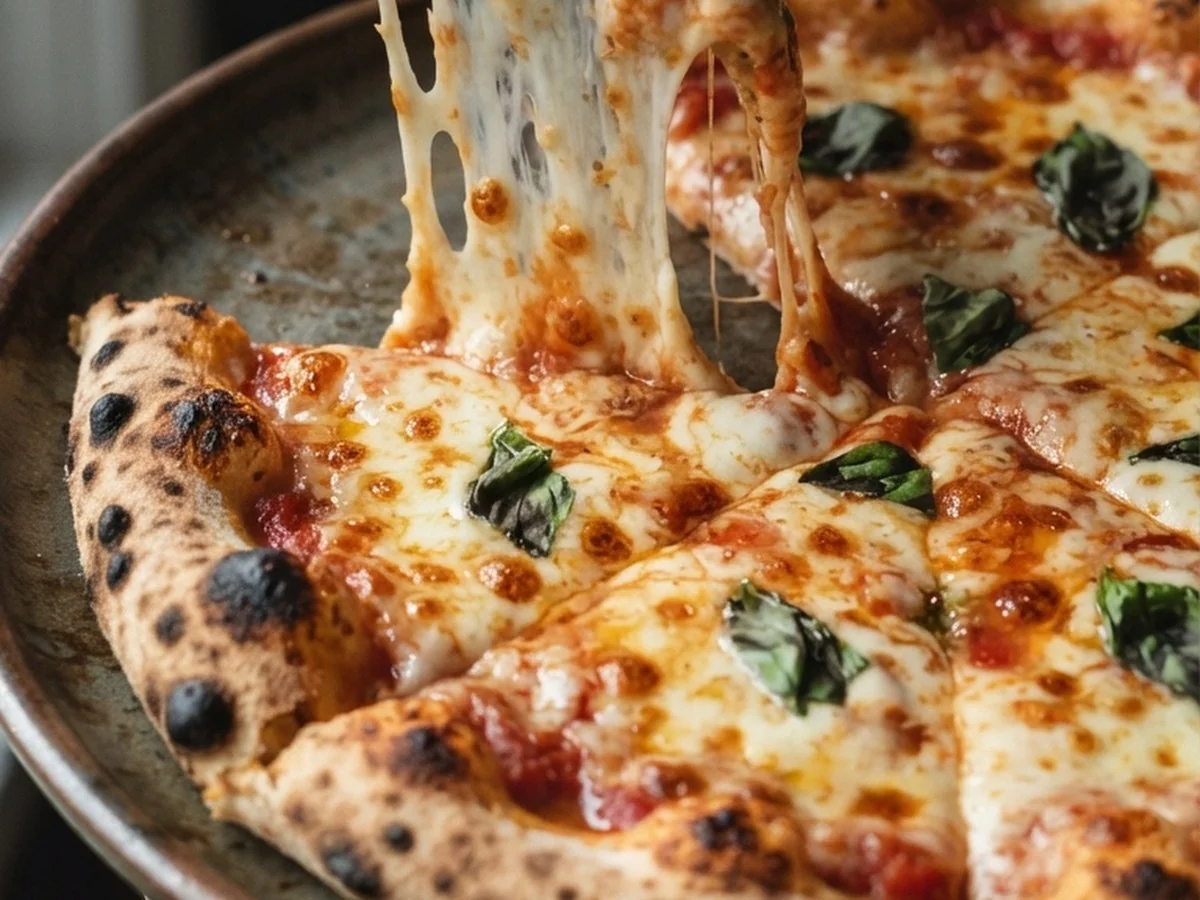
Crispy Tortilla Cheese Pizza
A quick, crunchy pizza on a tortilla topped with mozzarella, cheddar, pepperoni, and fresh basil.
 Dinner
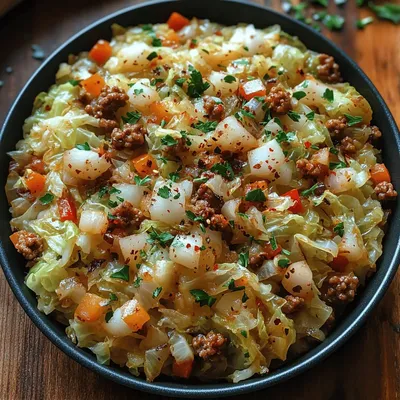
Crunchy Cabbage & Turkey Delight: A Wholesome Recipe for Balanced Meals
Delicious Crunchy Cabbage & Turkey Delight: A Wholesome Recipe for Balanced Meals
 Dinner
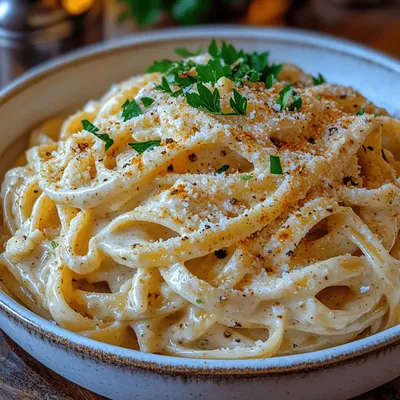
Creamy Cauliflower Alfredo: A Healthier Take on Comfort Food
Delicious Creamy Cauliflower Alfredo: A Healthier Take on Comfort Food
 Dinner
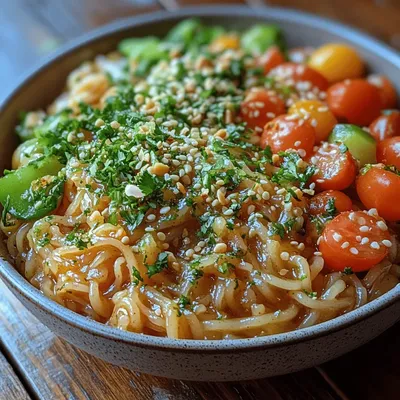
Zesty Cilantro Lime Noodles Recipe
Delicious Zesty Cilantro Lime Noodles Recipe
 Dinner
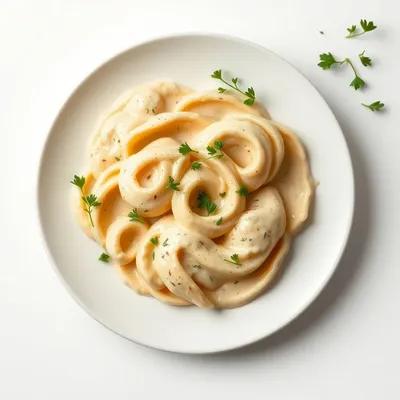
Creamy Lemon Butter Chicken Swirls Recipe
Delicious Creamy Lemon Butter Chicken Swirls Recipe

Caroline
I cook these recipes at home before they ever land here — simple ingredients, clear steps.