Cheesy Comfort Green Bean Casserole Cups
 Save
Save
Imagine a golden‑browned, bite‑sized casserole that captures the comfort of a classic green‑bean bake while feeling light enough for brunch. Cheesy Comfort Green Bean Casserole Cups do exactly that, delivering the familiar creamy, crunchy experience in a handheld form.
What makes this dish special is the layered texture: tender green beans, a silky cheese‑infused sauce, and a crisp fried‑onion topping, all baked inside muffin‑tin cups that keep each serving perfectly portioned.
Busy families, brunch‑loving friends, and anyone who craves a nostalgic side with a modern twist will adore these cups. They shine at weekend brunches, holiday breakfasts, or as a make‑ahead lunch.
The process is straightforward: blanch the beans, blend a rich cheese sauce, assemble the cups, and bake until bubbling and golden. Minimal hands‑on time means you can enjoy the dish fresh out of the oven without fuss.
Why You'll Love This Recipe
Hand‑Held Comfort: Each cup packs the classic casserole flavor into a convenient bite, making it easy to serve and eat without utensils.
Quick & Simple: With only a short blanch and a 30‑minute bake, you can have a crowd‑pleasing dish on the table in under an hour.
Beautiful Presentation: The muffin‑tin format creates a tidy, golden top that looks as good on a brunch buffet as it does on a family plate.
Customizable Crunch: The fried‑onion topping adds a satisfying crunch that can be swapped for breadcrumbs, nuts, or even panko for extra texture.
Tips & Tricks
Perfecting the Recipe
Dry the Beans Thoroughly. Excess moisture creates a soupy sauce. Pat the blanched beans completely dry before adding them to the cups.
Don’t Over‑Mix the Sauce. Stir just until the cheese melts; over‑mixing can cause the sauce to separate and become grainy.
Use a Hot Oven. A fully preheated oven guarantees a quick rise of the sauce and a crisp onion topping.
Flavor Enhancements
Add a teaspoon of Dijon mustard to the cheese sauce for subtle tang, or fold in a handful of cooked, crumbled bacon for smoky depth. A splash of white wine before simmering the sauce lifts the richness without adding heaviness.
Common Mistakes to Avoid
Skipping the ice‑water bath leaves beans over‑cooked and dull in color. Also, avoid using pre‑shredded cheese that contains anti‑caking agents; they can make the sauce gritty. Finally, don’t bake uncovered for too long, or the onions will burn.
Pro Tips
Grate Your Own Cheese. Freshly grated cheddar and mozzarella melt more evenly and produce a silkier sauce.
Season the Beans. Toss the blanched beans with a pinch of salt and a drizzle of olive oil before assembling for extra flavor.
Use a Thermometer. Ensure the internal temperature of the cups reaches 165°F (74°C) for food safety and perfect melt.
Re‑crisp the Topping. If the onions lose crunch after storage, broil the cups for 1–2 minutes before serving.
Variations
Ingredient Swaps
Replace green beans with asparagus spears or broccoli florets for a different vegetable base. Swap cheddar for Gruyère or smoked gouda for a richer, more complex flavor. Use crushed pork rinds instead of fried onions for a low‑carb crunch.
Dietary Adjustments
For a gluten‑free version, ensure the fried‑onion topping is certified gluten‑free. Make it dairy‑free by substituting butter with coconut oil and using dairy‑free cheese blends. To keep it keto, replace milk with unsweetened almond milk and omit any added sugars.
Serving Suggestions
Pair the cups with a light citrus salad, a dollop of Greek yogurt, or a side of roasted baby potatoes. For a brunch spread, serve alongside scrambled eggs, smoked salmon, and fresh fruit. A drizzle of hot sauce adds a pleasant kick for those who love spice.
Storage Info
Leftover Storage
Allow the cups to cool to room temperature, then transfer them to an airtight container. Refrigerate for up to 4 days. For longer keeping, freeze individual cups wrapped tightly in plastic wrap and a foil layer; they’ll hold for up to 3 months.
Reheating Instructions
Reheat refrigerated cups in a 350°F oven, covered with foil, for 12–15 minutes, then uncover for the final 3 minutes to restore crispness. From the freezer, bake at 375°F for 20–25 minutes, adding a splash of milk to the sauce if it looks dry.
Frequently Asked Questions
Can I make these cups ahead of time?
What if I only have frozen green beans?
Which side dishes complement these cups best?
Cheesy Comfort Green Bean Casserole Cups turn a beloved classic into a portable, brunch‑ready delight. With fresh beans, a creamy cheese sauce, and that unmistakable crunchy topping, they’re sure to become a family favorite. Feel free to experiment with swaps, seasonings, or toppings to make the recipe truly yours. Serve warm, enjoy the comforting flavors, and let each bite bring a smile to the table.
Cheesy Comfort Green Bean Casserole Cups
Delicious Cheesy Comfort Green Bean Casserole Cups
Ingredients
Main Ingredients
- 1 pound fresh green beans, trimmed
- 1 cup whole‑milk milk
Cheese Blend
- 1 cup shredded sharp cheddar cheese
- ½ cup shredded mozzarella cheese
Sauce Components
- ½ cup heavy cream
- ¼ cup grated Parmesan cheese
- 1 tablespoon unsalted butter
Seasonings & Topping
- ½ teaspoon garlic powder
- ¼ teaspoon freshly ground black pepper
- ½ teaspoon kosher salt
- ½ cup crispy fried onions
Instructions
Baking to Perfection
- Bake. Place the muffin tin on the middle rack and bake for 18–20 minutes, or until the sauce is bubbling and the onion topping turns golden brown. The edges of the beans should appear slightly caramelized.
- Cool Slightly. Remove the tin from the oven and let the cups rest for 3–4 minutes. This short cooling period helps the sauce set, making the cups easier to lift without falling apart.
- Serve. Run a thin knife around each cup’s edge, gently lift with a spatula, and plate. Garnish with a pinch of extra cracked pepper or a drizzle of melted butter if desired. Serve warm for maximum flavor.
Similar Recipes
 Appetizers
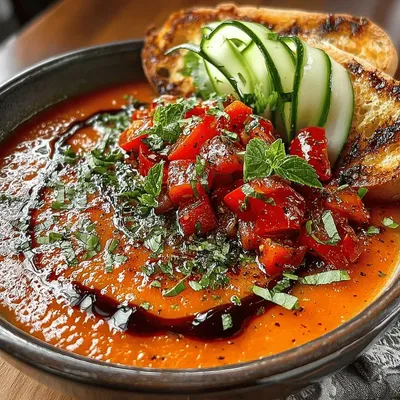
Sun-Kissed Chilled Tomato Basil Soup
Delicious Sun-Kissed Chilled Tomato Basil Soup
 Appetizers
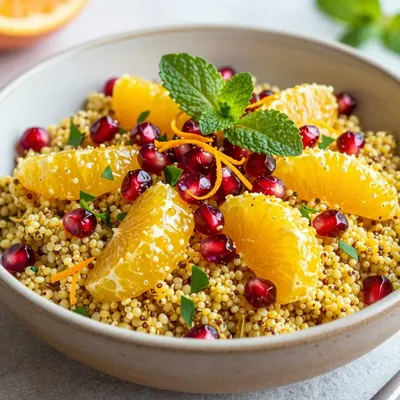
festive citrus and herb quinoa salad with pomegranate seeds
Learn how to make delicious festive citrus and herb quinoa salad with pomegranate seeds. Easy recipe…
 Appetizers
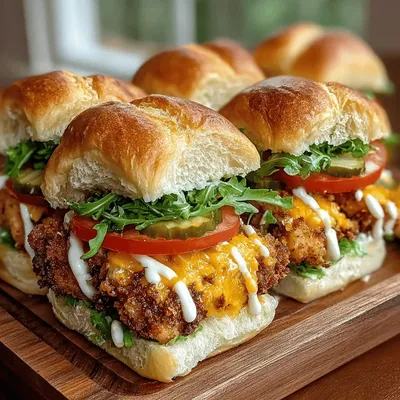
Crispy Cheddar Ranch Chicken Sliders
Delicious Crispy Cheddar Ranch Chicken Sliders
 Appetizers
Sweet and Spicy Honey Sriracha Meatballs: A Flavorful Journey
Delicious Sweet and Spicy Honey Sriracha Meatballs: A Flavorful Journey
 Appetizers
Crispy Feta Zucchini Fritters Recipe
Delicious Crispy Feta Zucchini Fritters Recipe
 Appetizers
Pizza Dough Recipe
Learn how to make delicious Pizza Dough Recipe. Easy recipe with step-by-step instructions.
 Appetizers
sweet potato fries with rosemary and sea salt for holiday side dishes
Learn how to make delicious sweet potato fries with rosemary and sea salt for holiday side…
 Appetizers
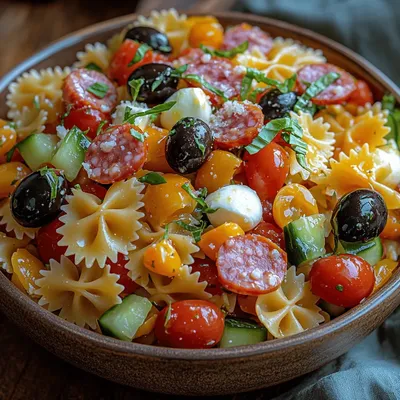
Italian Party Pasta Salad: A Perfect Dish for Every Gathering
Delicious Italian Party Pasta Salad: A Perfect Dish for Every Gathering

Caroline
I cook these recipes at home before they ever land here — simple ingredients, clear steps.