Choco-Mint Brownie Refrigerator Cake: A Decadent Treat for Every Occasion
 Save
Save
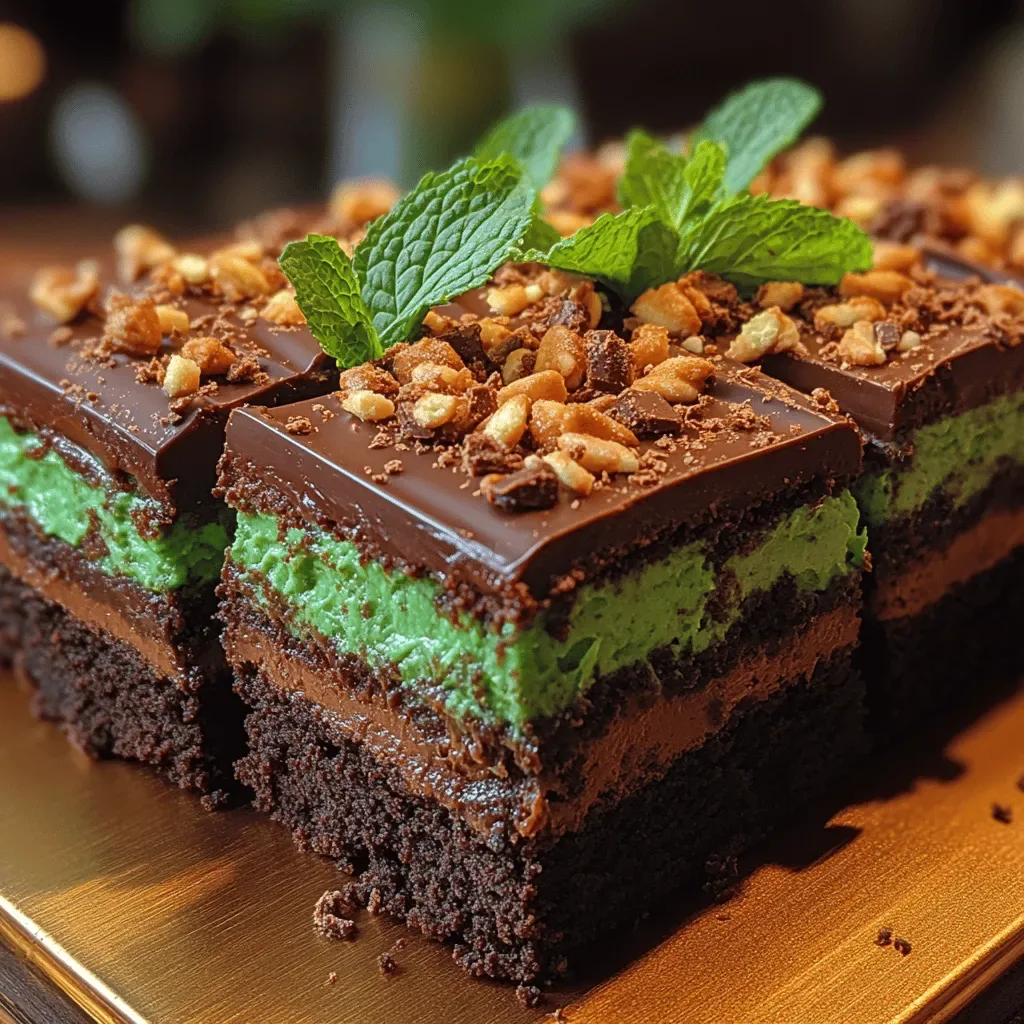
Imagine the first bite of a rich, fudgy brownie that instantly awakens your senses with a cool burst of mint—no oven, no mess, just pure indulgence. That’s the magic of the Choco‑Mint Brownie Refrigerator Cake, a no‑bake dessert that feels as luxurious as a bakery‑fresh slice.
What sets this treat apart is the silky chocolate‑mint ganache that swirls through a tender, cake‑like base, creating a layered texture that’s both soft and slightly crumbly. The mint isn’t overpowering; it’s a refreshing whisper that balances the deep cocoa flavor perfectly.
This dessert is a hit for brunch tables, birthday celebrations, or a lazy weekend treat. Chocolate lovers, mint fans, and anyone craving a quick yet impressive sweet will adore it, especially when served alongside fresh fruit or a dollop of whipped cream.
The process is straightforward: whisk a simple batter, chill it until set, melt chocolate and blend with mint, pour over the base, and let the refrigerator do the heavy lifting. In just a few minutes of active time, you’ll have a show‑stopping cake ready to slice.
Why You'll Love This Recipe
Zero‑Bake Simplicity: No oven is required, so you can create a decadent dessert even in a tiny apartment kitchen or during the hottest summer days.
Cool Mint Balance: The peppermint extract adds a refreshing lift that cuts through the richness of chocolate, making each bite feel lighter.
Make‑Ahead Friendly: Because it sets in the fridge, you can prepare it the night before and have a ready‑to‑serve dessert for any gathering.
Customizable Layers: Swap in dark chocolate, add a swirl of caramel, or sprinkle crushed candy for endless flavor twists.
Tips & Tricks
Perfecting the Recipe
Room‑Temperature Eggs. Let the egg sit out for 10‑15 minutes before mixing; this helps the batter bind more evenly and prevents a grainy base.
Cool the Cream First. If the cream is too hot when poured over the chocolate, it can cause the ganache to separate. Warm to just simmering, not boiling.
Use High‑Quality Chocolate. A cocoa content of 60‑70% yields a richer flavor and a smoother texture than lower‑grade chips.
Chill the Pan. Placing the springform pan in the freezer for 5 minutes before pouring the ganache helps the layer set faster and reduces spreading.
Flavor Enhancements
For an extra dimension, stir in 1 Tbsp finely chopped toasted hazelnuts or pistachios into the ganache before it sets. A splash of espresso (about 1 tsp) deepens the chocolate flavor without making the cake bitter. Finish each slice with a dusting of cocoa powder for an elegant, rustic look.
Common Mistakes to Avoid
Avoid over‑mixing the base batter; it can develop gluten, resulting in a dense texture. Also, don’t rush the ganache cooling stage—pouring it while still too warm can cause it to seep into the base, making the cake soggy. Finally, keep the refrigerator door closed while the cake sets to maintain a consistent temperature.
Pro Tips
Warm the Knife for Cutting. Run a knife under hot water, dry it, and slice; this creates clean edges and preserves the glossy ganache surface.
Layer in a Glass Dish. If you don’t have a springform pan, a clear glass casserole dish showcases the beautiful layers while still setting properly.
Adjust Mint Intensity. Start with ½ tsp peppermint extract; you can always add more after tasting, but you can’t take it out once mixed.
Store in a Single Layer. Stack only one cake at a time in the fridge; stacking can cause the top layer to lose its glossy finish.
Variations
Ingredient Swaps
Replace the semi‑sweet chocolate chips with dark chocolate (70% cacao) for a richer, slightly bitter profile. Swap peppermint extract for a splash of orange liqueur and a few drops of vanilla for a citrus‑mint twist. Use almond milk and coconut oil in the base for a dairy‑free version that still retains moisture.
Dietary Adjustments
For gluten‑free, substitute the all‑purpose flour with a 1‑to‑1 gluten‑free blend. To make it vegan, use a flax‑egg (1 Tbsp ground flaxseed + 3 Tbsp water) and replace butter with coconut oil. Keto seekers can swap sugar for erythritol and use almond flour for the base, keeping the net carbs low.
Serving Suggestions
Serve each slice with a dollop of lightly sweetened Greek yogurt for a tangy contrast, or pair with fresh raspberries and a drizzle of raspberry coulis. For a brunch spread, accompany the cake with a sparkling mint‑infused water or a cold latte topped with cocoa powder.
Storage Info
Leftover Storage
Allow any leftover cake to come to room temperature, then cover it tightly with plastic wrap or transfer to an airtight container. Store in the refrigerator for up to 4 days. For longer keeping, slice into portions, wrap each piece in parchment, then freeze in a zip‑top bag for up to 2 months. The ganache remains smooth after thawing if gently reheated.
Reheating Instructions
To enjoy a warm slice, place the piece on a microwave‑safe plate, cover loosely with a damp paper towel, and heat on medium power for 20‑30 seconds. For a more even warm‑through, preheat the oven to 300°F, place the slice on a parchment‑lined tray, and bake for 5‑7 minutes. Add a quick drizzle of extra ganache if the surface looks dry.
Frequently Asked Questions
Can I make this cake a day ahead?
What if I don’t have peppermint extract?
How do I keep the ganache from cracking when I slice?
This Choco‑Mint Brownie Refrigerator Cake delivers a luxurious blend of chocolate richness and cool mint without ever heating the oven. You’ve learned how to build a tender base, create a silky ganache, and finish with a glossy drizzle—all while mastering storage, variations, and pro tips. Feel free to experiment with flavors, textures, or dietary tweaks to make it truly yours. Slice, serve, and savor every refreshing bite! (94 words)
Choco-Mint Brownie Refrigerator Cake: A Decadent Treat for Every Occasion
Delicious Choco-Mint Brownie Refrigerator Cake: A Decadent Treat for Every Occasion
Ingredients
Base
- 1 ½ cups (180 g) all‑purpose flour
- ½ cup (100 g) granulated sugar
- ¼ cup (55 g) unsalted butter, melted
- ¼ cup (60 ml) whole milk
- 1 large egg
- 1 tsp vanilla extract
Chocolate‑Mint Ganache
- 1 cup (170 g) semi‑sweet chocolate chips
- ½ cup (120 ml) heavy cream
- 2 Tbsp unsalted butter
- ½ tsp peppermint extract
- ¼ cup (30 g) powdered sugar
Finishing Touch
- 2 Tbsp dark chocolate, melted (for drizzle)
- Fresh mint leaves, for garnish
- Pinch of sea salt (optional)
Instructions
Making the Chocolate‑Mint Ganache
- Heat the Cream. Place the heavy cream in a small saucepan over medium heat. Warm until it just begins to simmer—tiny bubbles will form around the edges. Do not let it boil, as scorching will affect the ganache’s silkiness.
- Combine Chocolate and Butter. While the cream heats, add the chocolate chips and butter to a heat‑proof bowl. When the cream is ready, pour it over the chocolate and butter, letting it sit for 30 seconds to melt the chocolate.
- Stir to Emulsify. Using a whisk, gently stir the mixture until it becomes glossy and smooth. The ganache should be thick enough to coat the back of a spoon but still pourable. If it’s too thick, add a teaspoon of warm cream; if too thin, let it sit for a minute to thicken.
- Flavor the Ganache. Add the peppermint extract, powdered sugar, and a pinch of sea salt. Whisk again until fully incorporated. Taste and adjust the mint level—add an extra ¼ tsp if you prefer a stronger mint punch.
Similar Recipes
 Desserts
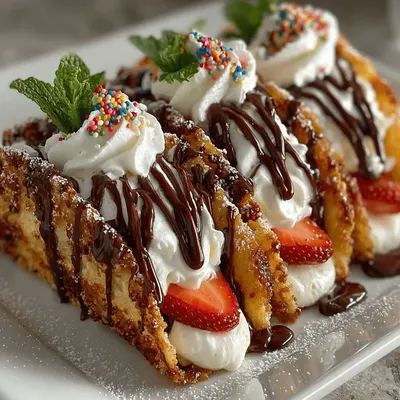
Crispy Neapolitan Cake Tacos: A Sweet Twist on Tradition
Delicious Crispy Neapolitan Cake Tacos: A Sweet Twist on Tradition
 Desserts
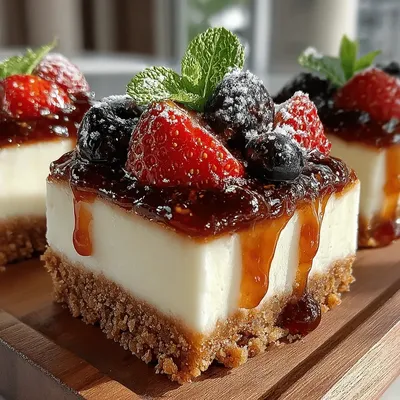
Berry Bliss No-Bake Cheesecake Bars
Delicious Berry Bliss No-Bake Cheesecake Bars
 Desserts
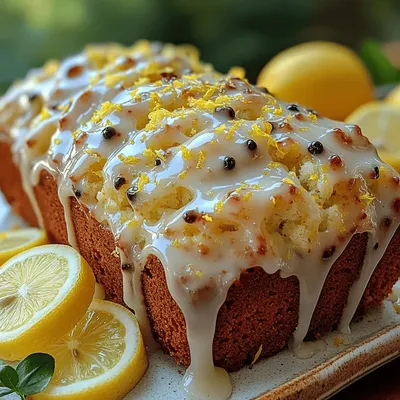
Zesty Delight: Starbucks Copycat Lemon Loaf Recipe
Delicious Zesty Delight: Starbucks Copycat Lemon Loaf Recipe
 Desserts
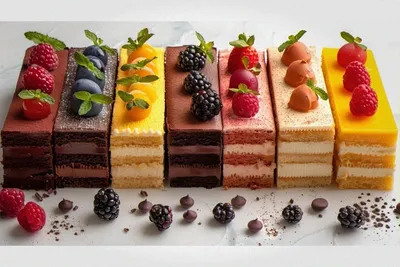
Good Cake Flavors: Explore Top Choices for Every Occasion
Learn how to make delicious Good Cake Flavors: Explore Top Choices for Every Occasion. Easy recipe…
 Desserts
Pumpkin Spice Oatmeal Snack Balls Recipe
Delicious Pumpkin Spice Oatmeal Snack Balls Recipe
 Desserts
Strawberry Bliss No-Bake Cheesecake Cups
Delicious Strawberry Bliss No-Bake Cheesecake Cups
 Desserts
Frozen Berry Yogurt Swirl Clusters
Delicious Frozen Berry Yogurt Swirl Clusters
 Desserts
Irresistible Peanut Butter Brownies
Delicious Irresistible Peanut Butter Brownies

Caroline
I cook these recipes at home before they ever land here — simple ingredients, clear steps.