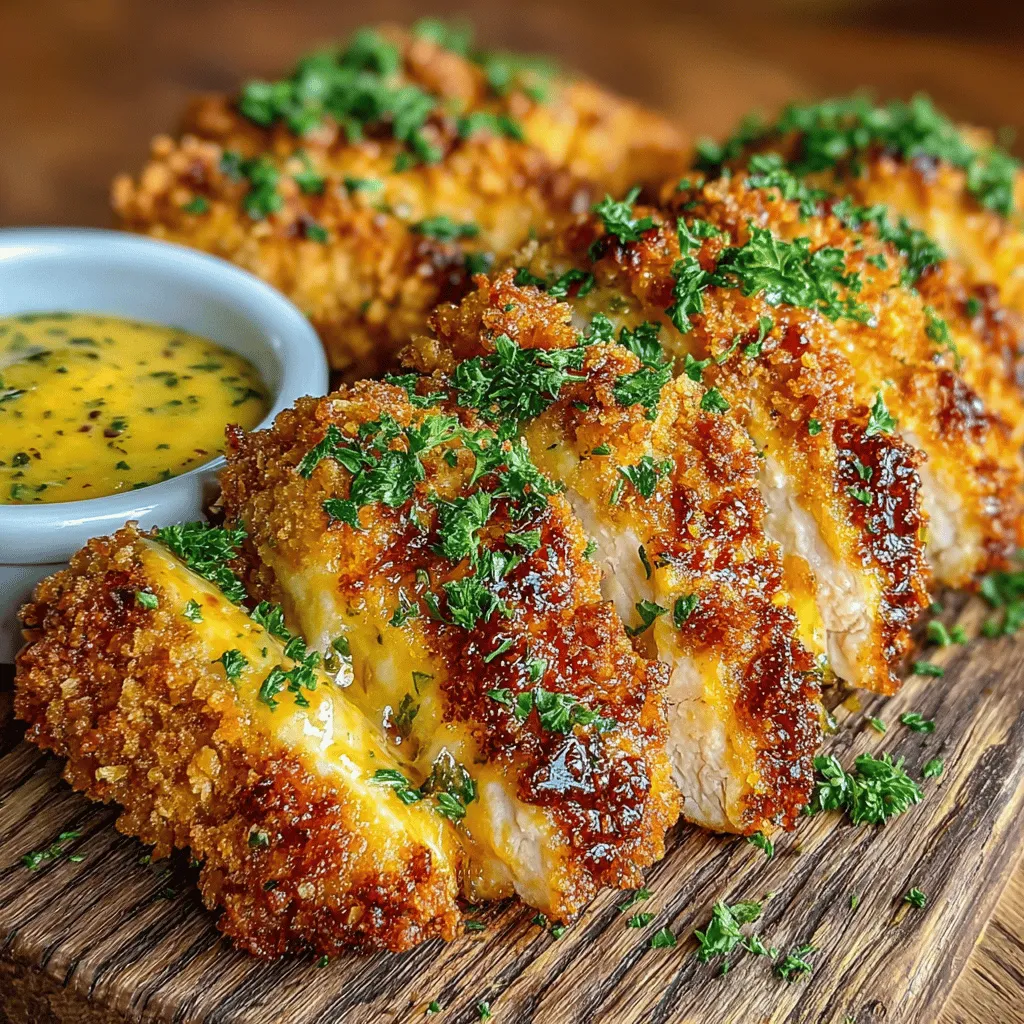
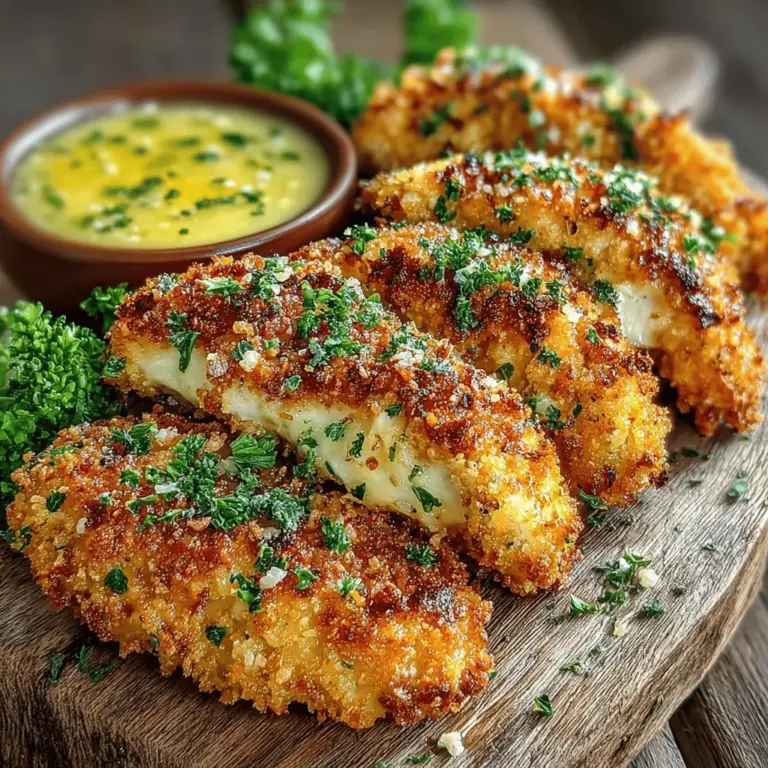
Crispy Baked Chicken Tenders with Zesty Dipping Sauce: A Delicious Comfort Food
When it comes to comfort food, few dishes evoke as much warmth and nostalgia as chicken tenders. These golden, crispy strips of chicken have become a staple not only in family kitchens but also in restaurants around the world. Loved by both children and adults, chicken tenders are versatile and can be served in various ways, from casual weeknight dinners to elegant party platters. However, while traditional fried chicken tenders are undeniably delicious, they often come with a hefty calorie count and unhealthy fats. In this recipe for Crispy Baked Chicken Tenders with Zesty Dipping Sauce, we will explore a healthier method of preparation that still delivers on taste and texture, making it a perfect choice for health-conscious food lovers.
This recipe takes chicken tenders to the next level by baking them instead of frying. The result is a lighter but equally satisfying version that retains the beloved crunch and flavor we all adore. Paired with a zesty dipping sauce that cuts through the richness of the chicken, this dish is sure to become a new favorite in your household. The dipping sauce is not only easy to prepare but also adds an extra layer of flavor that elevates the entire experience.
Understanding the Ingredients
To create the perfect crispy baked chicken tenders, it’s essential to understand each ingredient’s role in the recipe.
Chicken Breast as the Star Ingredient
At the heart of our recipe is the chicken breast, which serves as the primary source of protein. Chicken breast is an excellent choice for a variety of reasons. It is lean, meaning it contains less fat than other cuts of chicken, making it a healthier option. Additionally, chicken breast is incredibly versatile; it can be seasoned in countless ways, allowing for endless variations on flavor. When cooked properly, it remains juicy and tender, providing the perfect canvas for our crispy baked chicken tenders.
The Role of Marinades
To ensure our chicken is not only flavorful but also tender, we’ll utilize a buttermilk marinade. Buttermilk is a fantastic ingredient known for its ability to tenderize meat. The lactic acid in buttermilk breaks down the proteins in chicken, resulting in a more succulent texture. In addition to its tenderizing properties, buttermilk adds a subtle tang that enhances the overall flavor profile of the chicken.
In this recipe, we’ll also incorporate a mix of spices, including garlic powder, onion powder, and smoked paprika. Garlic powder provides a savory depth, onion powder adds a hint of sweetness, and smoked paprika contributes a warm, smoky flavor that perfectly complements the chicken. Together, these spices create a well-rounded taste that makes every bite of our chicken tenders irresistible.
Coating Components
Achieving that coveted crispy exterior requires a thoughtful combination of coating ingredients. For our chicken tenders, we’ll use a mixture of all-purpose flour, breadcrumbs, and Parmesan cheese. The flour creates a base for the coating, helping the other components adhere to the chicken. Breadcrumbs add crunch, while the addition of Parmesan cheese not only enhances the flavor but also contributes to the overall crispiness of the final product.
For extra crunch, we recommend using panko breadcrumbs, which are coarser and larger than traditional breadcrumbs. Panko not only provides a satisfying texture but also allows for air circulation during baking, resulting in a beautifully crisp finish that rivals fried chicken.
Step-by-Step Preparation
Now that we understand the ingredients, let’s dive into the preparation process for our Crispy Baked Chicken Tenders with Zesty Dipping Sauce.
Marinating the Chicken
The first step in our recipe is marinating the chicken. This is a crucial part of the process, as it allows the flavors to penetrate the meat while ensuring it remains tender. For optimal results, we recommend marinating the chicken for at least one hour, but for those with a bit more time, letting it sit overnight is even better. This longer marinating period allows the buttermilk to work its magic, resulting in chicken that is bursting with flavor and incredibly moist.
Setting Up the Breading Station
Next, we’ll set up our breading station. This is where the magic happens, transforming our marinated chicken into crispy tenders. The three-bowl method is an efficient way to organize the breading process. In the first bowl, place the seasoned flour; in the second bowl, fill it with the buttermilk; and in the third bowl, combine the panko breadcrumbs with grated Parmesan cheese.
This setup not only streamlines the breading process but also helps minimize mess. To manage the breading efficiently, use one hand for the wet ingredients (the buttermilk) and the other for the dry ingredients (flour and breadcrumbs). This technique will keep your hands cleaner and make the process smoother.
Breading Techniques
To bread the chicken tenders, first, take a piece of marinated chicken and dip it into the flour, ensuring it’s fully coated. Shake off any excess flour before moving it to the buttermilk bowl. Allow the excess buttermilk to drip off before transferring the chicken to the breadcrumb mixture. Press the breadcrumbs firmly onto the chicken to ensure an even coating.
Once each chicken tender is breaded, place them on a baking sheet lined with parchment paper. This not only prevents sticking but also allows for even cooking. Repeat this process until all the chicken tenders are coated.
With the chicken tenders ready, we can now move on to baking them to perfection, ensuring they achieve that desired crispiness without the need for frying.
Stay tuned as we dive into the baking process and the preparation of our zesty dipping sauce in the next section. This combination of flavors and textures promises a delightful experience that will leave you reaching for seconds.

Detailed Instructions for Coating Chicken Strips
Achieving maximum adherence and crunch for your chicken tenders starts with the coating process. Properly coating the chicken strips is essential for that irresistible crunch and flavor. Follow these steps for the best results:
1. Prepare Your Chicken: Start with boneless, skinless chicken breasts. Slice them into strips, about 1 inch wide. For even cooking, ensure the strips are of uniform size.
2. Set Up Your Breading Station:
– Flour: Place all-purpose flour in a shallow dish. Season it liberally with salt, pepper, and a pinch of paprika for an extra kick.
– Egg Wash: In another shallow bowl, beat two large eggs with a tablespoon of water or milk until well combined.
– Breadcrumb Mixture: In a third shallow dish, combine panko breadcrumbs with grated Parmesan cheese, garlic powder, and Italian seasoning. The panko will provide the extra crunch you crave.
3. Coat the Chicken:
– Dredge in Flour: Take each chicken strip and coat it lightly in the seasoned flour, shaking off any excess. This helps the egg wash adhere better.
– Dip in Egg Wash: Next, dip the floured strip into the egg wash, ensuring it’s fully coated.
– Coat with Breadcrumbs: Finally, roll the chicken strip in the breadcrumb mixture, pressing gently to ensure the breadcrumbs stick well. Repeat this process for all chicken strips.
4. Rest the Coated Chicken: After coating, let the chicken tenders rest on a wire rack for about 10-15 minutes. This resting period allows the coating to adhere better and will result in a crunchier texture once baked.
Baking the Tenders
Now that your chicken strips are perfectly coated, it’s time to bake them to golden-brown perfection.
Optimal Baking Temperature and Time
Preheat your oven to 425°F (220°C). This high temperature is key to achieving that crispy exterior while ensuring the chicken remains juicy inside. Line a baking sheet with parchment paper or lightly grease it to prevent sticking. Arrange the coated chicken tenders in a single layer on the baking sheet, ensuring they are not touching.
– Baking Time: Bake the chicken tenders for 15-20 minutes. Start checking at the 15-minute mark. They should be golden brown and reach an internal temperature of 165°F (74°C) when cooked through.
Importance of Flipping for Even Cooking
To ensure even cooking and crispness, it’s essential to flip the chicken tenders halfway through the baking process. Use a spatula to carefully turn each strip over after about 10 minutes. This will help both sides achieve that desirable crunch and evenly distribute heat.
Creating the Zesty Dipping Sauce
Now, let’s whip up a zesty dipping sauce that perfectly complements your crispy chicken tenders.
Ingredient Breakdown
The zesty dipping sauce comprises simple yet flavorful ingredients:
1. Mayonnaise: Acts as the creamy base.
2. Dijon Mustard: Adds a tangy kick.
3. Honey: Offers sweetness, balancing the tartness.
4. Apple Cider Vinegar: Introduces acidity, enhancing flavor complexity.
Mixing Techniques
1. Combine Ingredients: In a medium mixing bowl, add ½ cup of mayonnaise, 2 tablespoons of Dijon mustard, 1 tablespoon of honey, and 1 tablespoon of apple cider vinegar.
2. Whisk Together: Use a whisk to combine all ingredients until smooth. Taste the sauce and adjust according to your preference. If you like it sweeter, add more honey. For extra tang, increase the amount of apple cider vinegar.
3. Chill Before Serving: For the best flavor, refrigerate the dipping sauce for at least 30 minutes before serving. This allows the flavors to meld beautifully.
Serving Suggestions
Presenting your crispy baked chicken tenders and zesty dipping sauce can elevate your dining experience.
Presentation Ideas
– Plating: Arrange the chicken tenders on a large platter or individual plates. Serve the zesty dipping sauce in a small bowl in the center or alongside the tenders for easy dipping.
– Garnish: Consider garnishing the platter with fresh herbs like parsley or cilantro to add a pop of color.
Pairing Options
To create a complete meal, consider serving your chicken tenders with:
– Fresh Salads: A crisp green salad with a light vinaigrette balances the richness of the chicken.
– Vegetable Sticks: Carrot and cucumber sticks not only add crunch but also a healthy side option.
– Sweet Potato Fries: Baked sweet potato fries make for a flavorful pairing that complements the chicken tenders beautifully.
Nutritional Information
Health Benefits of the Recipe
One of the advantages of making chicken tenders at home is that you can control the ingredients and cooking methods, resulting in a healthier alternative to traditional fried options.
– Calories: Each serving of chicken tenders (approximately four tenders) contains around 300-350 calories, depending on the exact measurements and brands used.
– Protein Content: This recipe is a great source of protein, providing approximately 25-30 grams per serving, which is essential for muscle repair and growth.
Comparison to Traditional Fried Tenders
Compared to traditional fried chicken tenders, which can pack in over 500 calories and a significant amount of unhealthy fats, this baked version offers a lighter, healthier choice without sacrificing flavor.
Customization Options
To accommodate dietary restrictions or preferences, consider these adjustments:
– Gluten-Free: Substitute regular flour and breadcrumbs with gluten-free alternatives.
– Dairy-Free: Use a dairy-free mayonnaise to create a creamy base for the dipping sauce.
– Spicy Kick: Add a dash of cayenne pepper or hot sauce to the egg wash or the dipping sauce for those who enjoy a bit of heat.
Conclusion
Homemade crispy baked chicken tenders are not only a delicious option but also a healthier alternative to their fried counterparts. With the perfect coating technique, optimal baking methods, and a zesty dipping sauce, this recipe is sure to please the entire family or any gathering. Enjoy this satisfying meal, knowing you created a dish that combines health and flavor effortlessly. Whether it’s a weeknight dinner or a party snack, these chicken tenders will be a hit. So roll up your sleeves, preheat that oven, and indulge in this delightful dish!


