Crunchy Chicken Bliss
 Save
Save
Imagine waking up to the aroma of golden‑crusted chicken paired with a sweet‑savory glaze that makes every bite feel like a celebration. Crunchy Chicken Bliss is that perfect brunch hero—crisp on the outside, juicy within, and finished with a glossy, buttery sauce that sings with sunrise flavors.
What makes this dish truly special is the harmony between a light panko coating and a honey‑mustard glaze that delivers a subtle heat and a burst of citrus. A quick flash‑fry followed by a short oven finish locks in moisture while creating that irresistible crunch.
This recipe will win over families, friends, and even the pickiest eaters. Serve it for a lazy weekend brunch, a festive Easter gathering, or a special birthday morning when you want to impress without spending all day in the kitchen.
The process is straightforward: coat seasoned chicken strips, sear them to a perfect golden hue, drizzle with a tangy glaze, and finish in a hot oven until the interior reaches a safe temperature. The result is a dish that looks as good as it tastes.
Why You'll Love This Recipe
Crunch Meets Tender: The panko crust gives a satisfying snap, while the chicken stays moist and succulent, creating a textural contrast that keeps you reaching for more.
Bright Flavor Profile: Honey, Dijon, and a splash of orange zest lift the dish, delivering sweet, tangy, and slightly spicy notes that brighten any morning table.
Quick Yet Impressive: With under an hour from start to finish, this recipe feels restaurant‑quality without demanding a full day of prep.
Versatile Pairings: It pairs beautifully with fresh fruit, buttery biscuits, or a simple green salad, making it adaptable to any brunch spread.
Tips & Tricks
Perfecting the Recipe
Dry the Chicken. Patting the meat dry before seasoning prevents steam, which would soften the crust instead of crisping it.
Use Fresh Panko. Fresh breadcrumbs stay lighter and crunchier; stale panko can become soggy during the bake.
Rest After Baking. Let the chicken rest 5 minutes before slicing; this redistributes juices for a moist interior.
Flavor Enhancements
Add a splash of fresh lemon juice to the glaze just before serving for a bright pop. Sprinkle a pinch of red‑pepper flakes into the sauce for subtle heat, or finish with a drizzle of toasted sesame oil for an unexpected nutty note.
Common Mistakes to Avoid
Avoid moving the cutlets while they’re searing; this disrupts the crust formation. Also, don’t skip the oven finish—without it the interior may stay undercooked while the exterior looks done.
Pro Tips
Season the Flour. Adding a teaspoon of garlic powder to the panko gives an extra layer of flavor without extra steps.
Temperature Check. Use an instant‑read thermometer; pulling the chicken at 160°F and letting it rest will reach the safe 165°F without overcooking.
Batch Cook. If serving a crowd, sear in batches and keep finished pieces warm in a low oven (200°F) while you finish the rest.
Variations
Ingredient Swaps
Replace chicken with pork tenderloin medallions or firm tofu for a vegetarian twist. Swap panko for crushed cornflakes for an extra‑crunchy texture. For a different sweet note, use maple syrup instead of honey, and add a dash of ground ginger to the glaze.
Dietary Adjustments
For gluten‑free diners, use certified gluten‑free panko or almond flour. To keep it dairy‑free, substitute butter with coconut oil and ensure the mustard contains no hidden dairy. Keto fans can replace honey with a low‑carb sweetener such as erythritol and serve over cauliflower rice.
Serving Suggestions
Plate the chicken beside a citrus‑infused quinoa salad, or serve on toasted English muffins for a brunch sandwich. A side of roasted baby potatoes or a simple arugula salad with a lemon vinaigrette complements the sweet‑savory glaze beautifully.
Storage Info
Leftover Storage
Allow the chicken to cool to room temperature, then transfer to an airtight container. Refrigerate for up to 3 days. For longer keeping, portion into freezer‑safe bags, squeeze out excess air, and freeze for up to 2 months. The glaze can be stored separately to preserve its texture.
Reheating Instructions
Reheat in a preheated 350°F oven for 10–12 minutes, covered with foil to prevent drying. For a quicker option, microwave on medium power for 2 minutes, stirring the glaze halfway through, and finish under a broiler for 1–2 minutes to restore crispness.
Frequently Asked Questions
Can I make this recipe ahead of time?
Can I use frozen chicken for this dish?
What sides work best with Crunchy Chicken Bliss?
Crunchy Chicken Bliss brings together a satisfying crunch, a bright honey‑mustard glaze, and the ease of a quick brunch recipe. With clear steps, handy tips, and flexible variations, you can adapt it to any dietary need or flavor craving. Feel free to experiment with herbs, spices, or alternative proteins—cooking is your canvas. Serve it hot, share it with loved ones, and enjoy every golden bite of this delightful morning masterpiece.
Crunchy Chicken Bliss
Delicious Crunchy Chicken Bliss
Ingredients
Main Ingredients
- 4 boneless, skinless chicken breasts
- 1 cup panko breadcrumbs
- 2 large eggs, lightly beaten
Glaze & Sauce
- 3 tablespoons honey
- 2 tablespoons Dijon mustard
- 1 teaspoon orange zest
- 2 cloves garlic, minced
- 2 tablespoons unsalted butter
Seasonings & Garnish
- 1 teaspoon smoked paprika
- Salt and freshly ground black pepper, to taste
- 2 tablespoons fresh chives, finely sliced
Instructions
Coating & Searing
- Dredge in Egg. Dip each seasoned cutlet into the egg mixture, allowing any excess to drip off. This thin layer helps the breadcrumbs adhere during frying.
- Press into Panko. Transfer the egg‑coated cutlet to the panko, pressing gently to create an even coating. A uniform crust is key to achieving that signature crunch.
- Heat the Skillet. Over medium‑high heat, add 2 tablespoons of olive oil to a large skillet. When the oil shimmers, lay the cutlets in a single layer—do not crowd the pan.
- Sear Until Golden. Cook each side for 3–4 minutes, watching for a deep golden‑brown color. The high heat creates a Maillard reaction, locking in juices and forming a crunchy exterior.
- Finish in the Oven. Transfer the skillet to a preheated 375°F (190°C) oven. Bake for 8–10 minutes, or until the internal temperature hits 165°F (74°C). This gentle finish ensures the chicken is cooked through without sacrificing crispness.
Similar Recipes
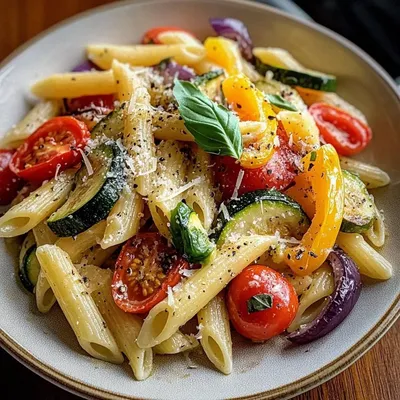 Appetizers
Roasted Vegetable Pasta That’s Bursting with Flavor and Color
Learn how to make delicious Roasted Vegetable Pasta That’s Bursting with Flavor and Color. Easy recipe…
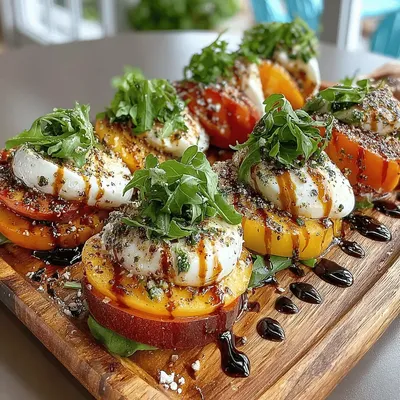 Appetizers
Peachy Caprese Delight: A Perfect Summer Recipe
Delicious Peachy Caprese Delight: A Perfect Summer Recipe
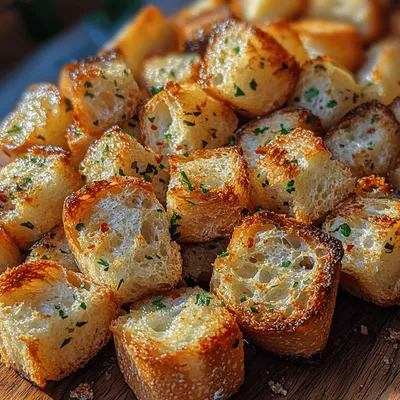 Appetizers
Crunchy Garlic Butter Croutons: Elevate Your Meals
Delicious Crunchy Garlic Butter Croutons: Elevate Your Meals
 Appetizers
Fish in Puff Pastry Bites: 15‑Minute Party Appetizer with Lemon Zest
Learn how to make delicious Fish in Puff Pastry Bites: 15‑Minute Party Appetizer with Lemon Zest.…
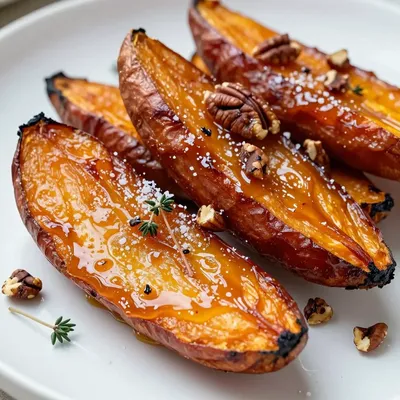 Appetizers
roasted sweet potatoes with maple glaze and pecans for festive sides
Learn how to make delicious roasted sweet potatoes with maple glaze and pecans for festive sides.…
 Appetizers
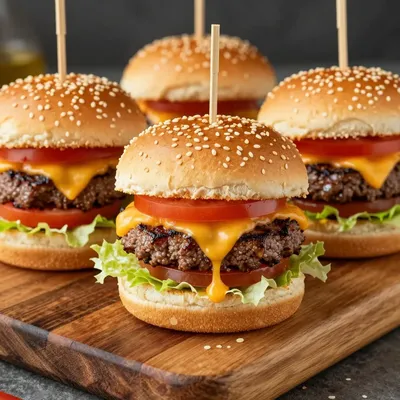
Kid-Friendly Beef Sliders with Cheese for New Year’s Day Party
Learn how to make delicious Kid-Friendly Beef Sliders with Cheese for New Year's Day Party. Easy…
 Appetizers
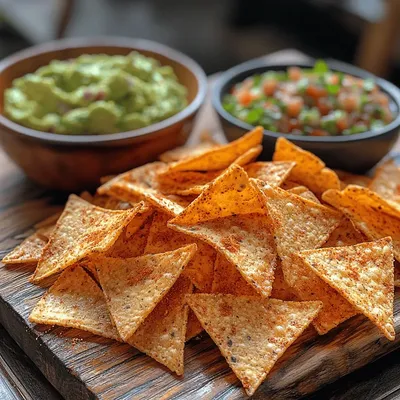
Crunchy Keto Tortilla Chips: A Delicious Low-Carb Snack
Delicious Crunchy Keto Tortilla Chips: A Delicious Low-Carb Snack
 Appetizers
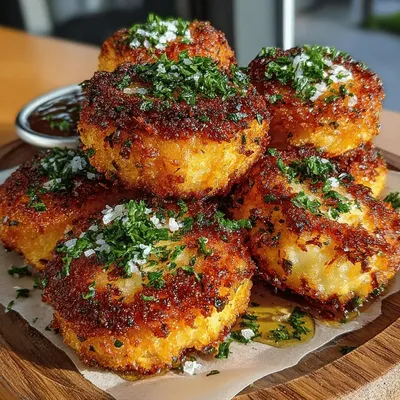
Crispy Air Fryer Sweet Potato Nugget Bites
Delicious Crispy Air Fryer Sweet Potato Nugget Bites

Caroline
I cook these recipes at home before they ever land here — simple ingredients, clear steps.