Crunchy Chickpea Delight: A Tasty Plant-Based Snack
 Save
Save
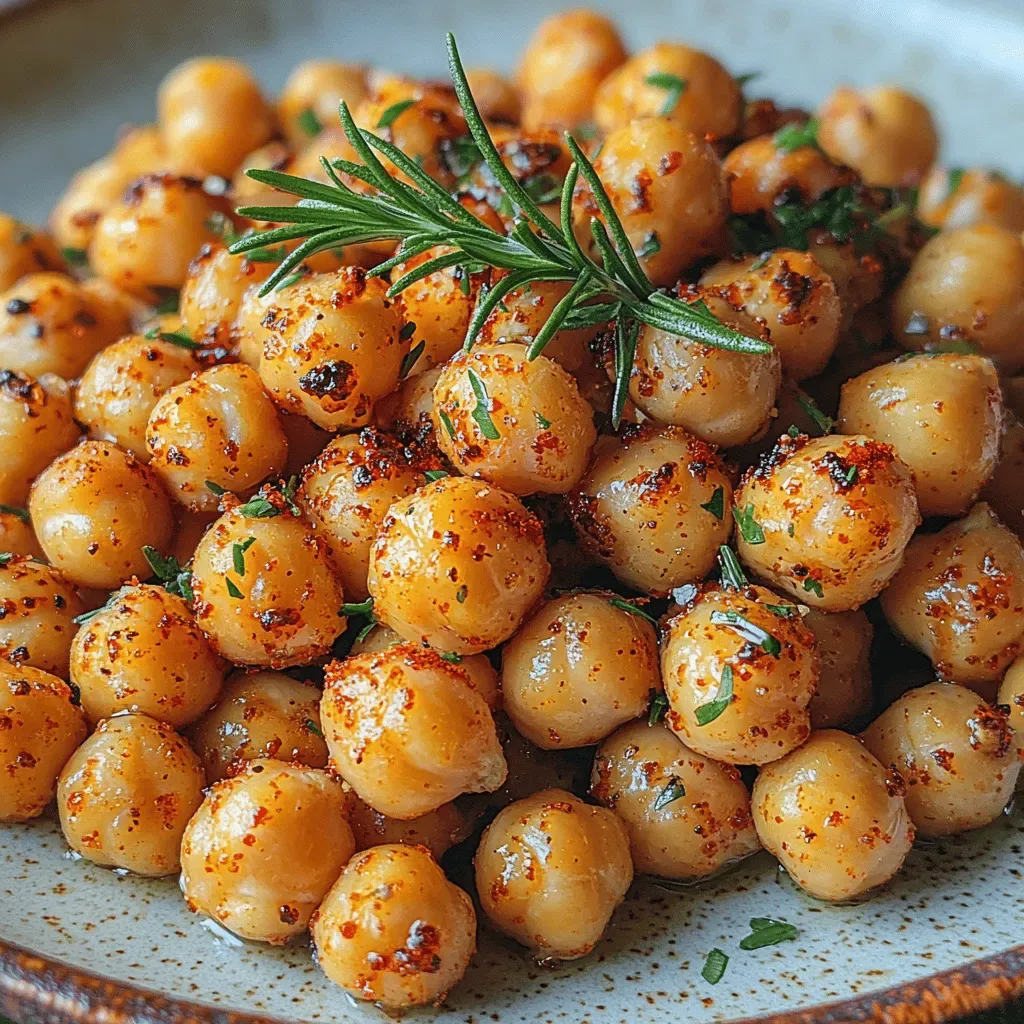
Imagine biting into a golden‑crusted, protein‑packed morsel that crunches delightfully with every chew. That’s the promise of Crunchy Chickpea Delight, a plant‑based snack that feels indulgent yet stays wholesome. Perfect for a lazy weekend brunch or a quick weekday breakfast, this bite‑size treat brings the comfort of fried snacks without the guilt.
What makes it truly special is the double‑layered coating: a light chickpea‑flour slurry followed by a toasted breadcrumb‑and‑nut mixture. The result is a snack that’s crispy on the outside, tender on the inside, and bursting with savory‑sweet flavor from maple‑brown sugar and aromatic spices.
Anyone who loves bold textures—whether you’re a devoted vegan, a busy parent seeking kid‑friendly bites, or a brunch enthusiast craving something different—will adore this dish. Serve it hot straight from the oven, or let it cool for a portable snack on the go.
The process is straightforward: rinse and dry canned chickpeas, toss them in a seasoned batter, roll in a crunchy coating, then bake until perfectly crisp. A quick drizzle of lemon‑yogurt sauce finishes the experience.
Why You'll Love This Recipe
Plant‑Powered Protein: Chickpeas deliver a hearty dose of protein and fiber, keeping you satisfied through the morning while supporting a balanced, plant‑based diet.
Crunch Without the Fry: Baking creates that irresistible crunch without deep‑frying, cutting calories and eliminating excess oil for a lighter, cleaner snack.
Versatile Flavor Base: The sweet‑savory glaze pairs beautifully with citrus, herbs, or even a spicy kick, letting you tailor each bite to your palate.
Brunch‑Ready Speed: From prep to plate in under 40 minutes, this recipe fits perfectly into a relaxed weekend brunch or a quick weekday breakfast.
Tips & Tricks
Perfecting the Recipe
Dry Chickpeas Thoroughly. Moisture is the enemy of crunch; pat them completely dry before coating.
Don’t Overcrowd the Pan. Space ensures each piece browns rather than steams.
Use Fresh Panko. Fresh breadcrumbs stay crispier than older, stale ones.
Turn Mid‑Bake. Flipping halfway guarantees even color and texture on all sides.
Flavor Enhancements
Add a splash of tamari to the glaze for an umami boost, or sprinkle a pinch of smoked sea salt after baking for an extra depth of flavor. For a citrus twist, fold a teaspoon of orange zest into the breadcrumb mix before coating.
Common Mistakes to Avoid
Skipping the resting time after baking can cause the coating to soften as steam settles. Also, avoid using too much maple syrup; excess sugar can burn before the interior crisps, resulting in a bitter aftertaste.
Pro Tips
Batch‑Prep the Coating. Store the breadcrumb‑almond mix in an airtight container for up to a week; it’s ready whenever cravings strike.
Use a Wire Rack. Placing the coated chickpeas on a wire rack set over a baking sheet promotes air flow, yielding an even crispier result.
Finish with a Light Drizzle. A quick drizzle of extra virgin olive oil right after baking adds shine and a subtle richness without sogging the crust.
Variations
Ingredient Swaps
Replace chickpeas with cooked lentils for a softer bite, or use cauliflower florets for a vegetable‑centric version. Swap almond flour for finely ground hazelnuts to introduce a richer nutty flavor. For a sweeter snack, increase maple syrup and add a pinch of cinnamon.
Dietary Adjustments
To keep it gluten‑free, ensure the panko is labeled gluten‑free or substitute with crushed cornflakes. For a lower‑carb approach, replace the breadcrumb base with toasted coconut flakes and a tablespoon of ground flaxseed. The recipe is already vegan, but you can add a splash of oat milk for extra creaminess in the batter.
Serving Suggestions
Serve these crunchy bites alongside a fresh fruit salad for a balanced brunch, or pair with avocado toast for a hearty morning plate. They also double as a topping for acai bowls or a crunchy addition to grain‑free salads.
Storage Info
Leftover Storage
Allow the chickpea bites to cool completely, then transfer them to an airtight container. Store in the refrigerator for up to 4 days. For longer keeping, freeze in a single layer on a tray, then move to a zip‑top bag; they’ll hold their texture for up to 2 months.
Reheating Instructions
Re‑crisp in a preheated 350°F (175°C) oven for 8‑10 minutes, or until heated through and the coating regains its crunch. For a quicker fix, pop them in a toaster oven on the “air‑fry” setting for 4‑5 minutes. Avoid microwaving alone, as it will soften the crust.
Frequently Asked Questions
Can I make this snack ahead of time?
What if I don’t have panko breadcrumbs?
How can I make this snack less sweet?
This Crunchy Chickpea Delight proves that plant‑based snacks can be both indulgent and nutritious. With a simple batter, a flavorful coating, and a quick bake, you get a golden, crunchy bite that’s perfect for brunch, breakfast, or anytime you need a satisfying snack. Feel free to swap ingredients, adjust spices, or pair with your favorite dip—creativity is the secret ingredient. Enjoy the crunch, the flavor, and the confidence that you’ve made a wholesome treat from pantry staples!
Crunchy Chickpea Delight: A Tasty Plant-Based Snack
Delicious Crunchy Chickpea Delight: A Tasty Plant-Based Snack
Ingredients
Main Ingredients
- 15 oz canned chickpeas, drained and rinsed
- 1 cup chickpea flour (or all‑purpose flour)
- ½ cup unsweetened almond milk (or any plant milk)
Crunchy Coating
- ¾ cup panko breadcrumbs (gluten‑free if needed)
- ¼ cup almond flour (adds nutty crunch)
- 2 tablespoons nutritional yeast (for umami)
Sauce & Seasonings
- 2 tablespoons pure maple syrup
- 1 teaspoon smoked paprika
- ½ teaspoon garlic powder
- ¼ teaspoon cayenne pepper (optional for heat)
- ½ teaspoon sea salt
- Zest of 1 lemon
Optional Toppings & Dipping Sauce
- ¼ cup fresh chopped parsley (for garnish)
- ½ cup plain vegan yogurt
- 1 tablespoon fresh lemon juice
Instructions
Baking the Crunchy Chickpeas
- Coat the Chickpeas. Working in batches, dip each chickpea into the batter, allowing excess to drip off, then roll it in the breadcrumb mixture. Ensure every side is evenly covered; this double‑layer creates the signature crunch.
- Arrange on a Baking Sheet. Line a rimmed baking sheet with parchment paper. Spread the coated chickpeas in a single layer, leaving a little space between each piece so air can circulate and promote even browning.
- Drizzle the Sweet‑Smoky Glaze. In a small bowl whisk together 2 tablespoons pure maple syrup, 1 teaspoon smoked paprika, and a splash of water (about 1 tablespoon). Brush or drizzle this glaze over the arranged chickpeas; it will caramelize as it bakes.
- Bake Until Golden. Preheat the oven to 425°F (220°C). Bake the chickpeas for 18‑20 minutes, turning halfway through, until the coating is deep golden‑brown and crisp. A visual cue is when the edges turn a rich amber color.
- Finish & Serve. Remove from the oven and let cool for 2‑3 minutes. Sprinkle fresh parsley over the top for a pop of color, and serve immediately with the optional lemon‑yogurt dip on the side.
Similar Recipes
 Appetizers
Cheesy Taco Sticks: A Delicious Twist on a Classic Favorite
Delicious Cheesy Taco Sticks: A Delicious Twist on a Classic Favorite
 Appetizers
Crunchy Thai Noodle Salad Cups: A Flavorful and Healthy Delight
Delicious Crunchy Thai Noodle Salad Cups: A Flavorful and Healthy Delight
 Appetizers
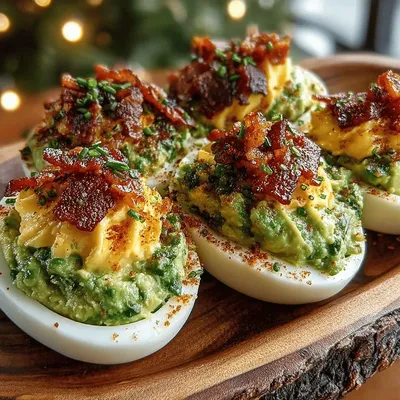
Bacon-Infused Avocado Deviled Eggs: A Flavorful Twist on a Classic
Delicious Bacon-Infused Avocado Deviled Eggs: A Flavorful Twist on a Classic
 Appetizers
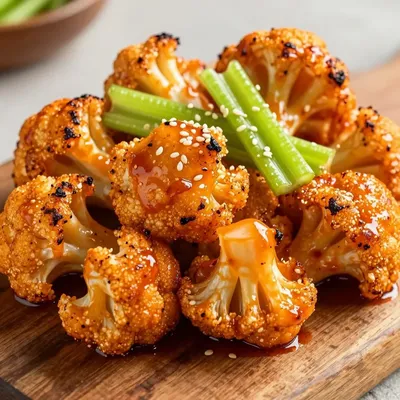
Crispy Baked Cauliflower Popcorn with Buffalo Sauce
Learn how to make delicious Crispy Baked Cauliflower Popcorn with Buffalo Sauce. Easy recipe with step-by-step…
 Appetizers
Heavenly Buttery Scallops Delight: A Seafood Culinary Experience
Delicious Heavenly Buttery Scallops Delight: A Seafood Culinary Experience
 Appetizers
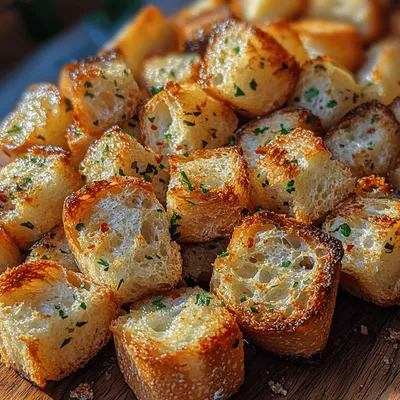
Crunchy Garlic Butter Croutons: Elevate Your Meals
Delicious Crunchy Garlic Butter Croutons: Elevate Your Meals
 Appetizers
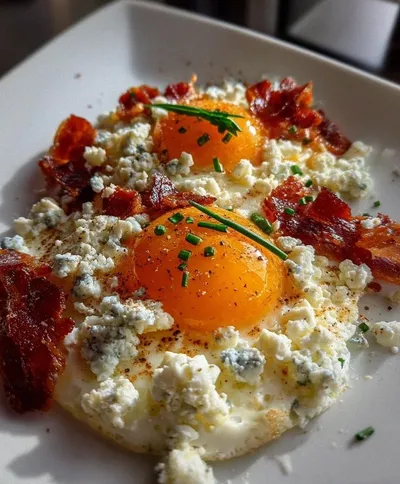
Cloud eggs blue cheese bacon
Learn how to make delicious Cloud eggs blue cheese bacon. Easy recipe with step-by-step instructions.
 Appetizers
Savory Garlic Butter Mushrooms on Toast: A Delicious Comfort Food Recipe
Delicious Savory Garlic Butter Mushrooms on Toast: A Delicious Comfort Food Recipe

Caroline
I cook these recipes at home before they ever land here — simple ingredients, clear steps.