Frozen Chocolate Peanut Butter Swirl Bars: Crafting the Final Layers of Delight
 Save
Save
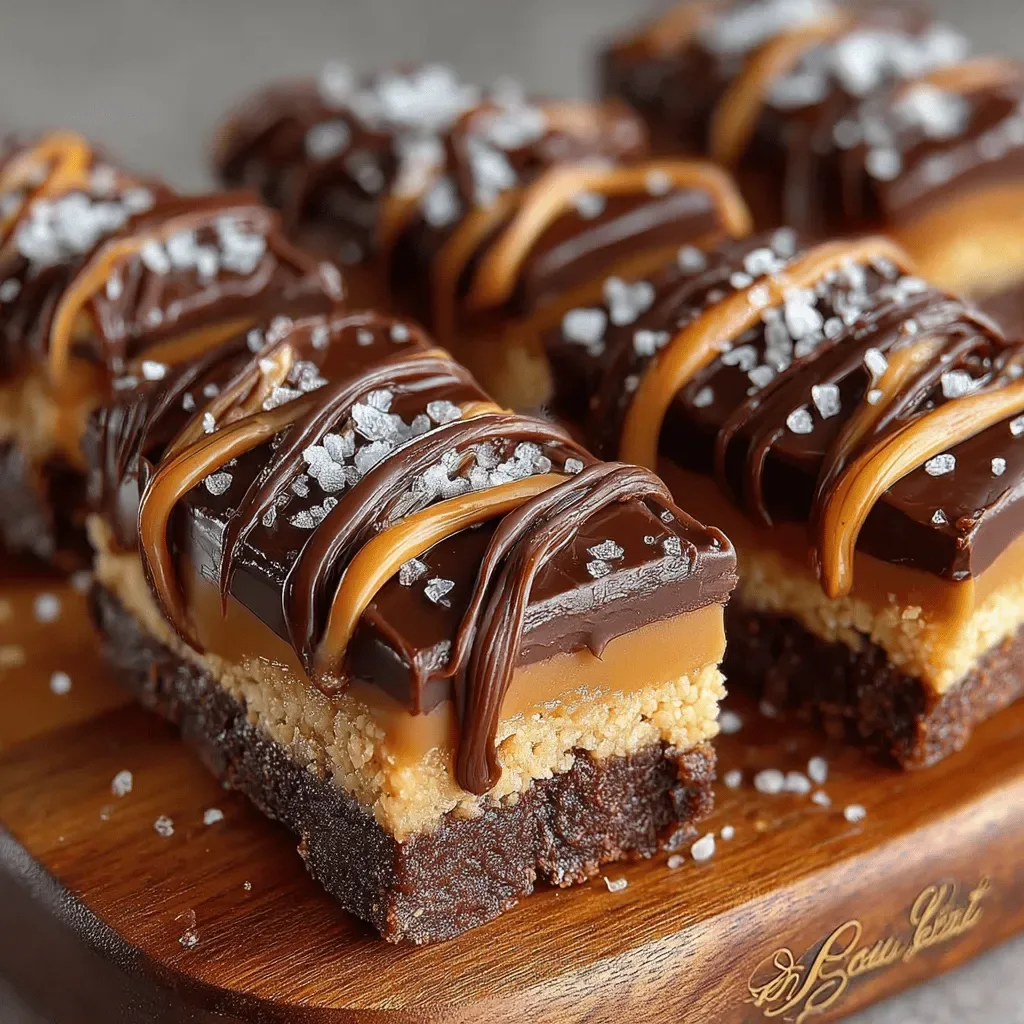
Imagine biting into a cool, creamy bar that marries rich chocolate with the comforting swirl of peanut butter—perfectly sweet, slightly salty, and utterly addictive. That’s exactly what Frozen Chocolate Peanut Butter Swirl Bars deliver, turning an ordinary brunch into a celebration of textures and flavors.
What makes these bars stand out is the layered approach: a silky chocolate base, a generous ribbon of creamy peanut butter, and a glossy chocolate glaze that seals in the chill. The result is a bar that’s both elegant enough for a weekend brunch and simple enough for a weekday treat.
Family members of all ages, especially kids who love peanut butter and chocolate, will adore these bars. Serve them at a lazy Sunday brunch, a festive brunch buffet, or as a sweet finish to a hearty breakfast spread.
The process is straightforward: melt chocolate, blend a peanut butter swirl, pour, freeze, and finish with a glossy glaze. Each step builds flavor while keeping the bars perfectly firm for slicing and serving.
Why You'll Love This Recipe
Layered Flavor Harmony: The chocolate base provides depth, the peanut butter swirl adds richness, and the final glaze locks in moisture, creating a perfectly balanced bite every time.
Make-Ahead Convenience: Once frozen, the bars keep for weeks, allowing you to prep ahead for brunch gatherings without any last‑minute stress.
Kid‑Friendly Fun: The familiar flavors of chocolate and peanut butter appeal to kids, while the elegant presentation delights adults, making it a crowd‑pleaser for all ages.
No Baking Required: All you need is a freezer and a few simple stovetop steps, keeping the kitchen cool and the cleanup minimal.
Tips & Tricks
Perfecting the Recipe
Use High‑Quality Chocolate: A cocoa content of 70% or higher ensures a deep, less sugary base that stands up to the sweet peanut butter.
Keep Ingredients Warm When Swirling: Warm peanut butter stays fluid, allowing clean ribbons without breaking the chocolate base.
Freeze in Stages: Allow each layer to firm before adding the next; this prevents blending and preserves distinct textures.
Flavor Enhancements
Add a splash of espresso to the dark chocolate for a mocha note, or stir in toasted chopped peanuts into the swirl for extra crunch. A pinch of cinnamon or chili powder can introduce a subtle warmth that pairs beautifully with the chocolate.
Common Mistakes to Avoid
Never overheat the chocolate; it can seize and become grainy. Also, avoid using chunky peanut butter—smooth varieties blend uniformly and create clean swirls. Finally, don’t skip the final chill; insufficient setting leads to a soft, messy bar.
Pro Tips
Prep a Hot Knife: Warm a knife under hot water, dry, then slice; this yields crisp, clean cuts without cracking the frozen bars.
Use Parchment Lining: It makes removal effortless and prevents the bars from sticking to the pan.
Store in Portion Packs: Divide into individual servings before freezing; this speeds up reheating and reduces waste.
Finish with a Sprinkle: A light dusting of flaky sea salt just before serving amplifies the sweet‑salty contrast.
Variations
Ingredient Swaps
Swap dark chocolate for milk chocolate for a sweeter base, or use white chocolate throughout for a milder flavor. Replace creamy peanut butter with almond butter or cashew butter for a nutty twist. For a dairy‑free version, use coconut‑based white chocolate and a plant‑based butter alternative.
Dietary Adjustments
For a low‑sugar option, substitute honey with a zero‑calorie sweetener like erythritol and choose a sugar‑free white chocolate. Gluten‑free concerns are minimal, but ensure any added toppings (e.g., pretzel crumbs) are certified gluten‑free. Keto dieters can use a sugar‑free chocolate blend and skip the honey entirely.
Serving Suggestions
Pair the bars with a dollop of Greek yogurt and fresh berries for a balanced brunch plate. For a festive touch, serve alongside a mimosa or cold brew coffee. Adding a drizzle of caramel or raspberry coulis just before plating adds a pop of color and complementary flavor.
Storage Info
Leftover Storage
Allow the bars to come to room temperature for a few minutes, then wrap each piece in parchment and place them in an airtight container. Store in the freezer for up to 3 months; the chocolate and peanut butter maintain their texture and flavor when properly sealed.
Reheating Instructions
For a softer bite, transfer a bar to the refrigerator for 20‑30 minutes before serving. If you prefer a warm finish, microwave on low (30‑40 % power) for 10‑15 seconds, just until the center softens; avoid overheating, which can melt the glaze completely.
Frequently Asked Questions
Can I make these bars ahead of time?
What if I don’t have a double boiler?
Can I substitute the sweetener?
What’s the best way to serve them at a brunch buffet?
These Frozen Chocolate Peanut Butter Swirl Bars bring together the indulgence of dessert with the convenience of a make‑ahead breakfast treat. By mastering each layer—dark chocolate base, creamy peanut‑butter ribbon, and glossy glaze—you’ll have a stunning, freezer‑friendly bar that dazzles at any brunch. Feel free to experiment with swaps, toppings, or seasonal flavors to make the recipe truly yours. Enjoy the cool, decadent bites and share the delight with family and friends!
Frozen Chocolate Peanut Butter Swirl Bars: Crafting the Final Layers of Delight
Delicious Frozen Chocolate Peanut Butter Swirl Bars: Crafting the Final Layers of Delight
Ingredients
Chocolate Base
- 12 oz (340 g) dark chocolate (70% cacao), chopped
- 2 Tbsp coconut oil
Peanut Butter Swirl
- ½ cup creamy peanut butter
- 2 Tbsp honey or maple syrup
- ¼ tsp sea salt
Finishing Glaze
- 4 oz (115 g) white chocolate, chopped
- 1 Tbsp unsalted butter
Instructions
Assembling the Bars
- Layer the Base. Pour half of the melted dark chocolate into a 9×13‑inch (23×33 cm) parchment‑lined pan, spreading evenly. Place the pan in the freezer for 5 minutes so the base firms enough to hold the swirl without mixing.
- Swirl the Peanut Butter. Drop spoonfuls of the warm peanut‑butter mixture over the chilled chocolate. Using a thin skewer or toothpick, gently drag through the chocolate to create a marbled effect. The contrast of dark and light creates visual appeal and ensures each bite gets both flavors.
- Finish the Chocolate Layer. Pour the remaining dark chocolate over the swirled section, smoothing the top. Return the pan to the freezer and let the bars set completely, about 30 minutes.
- Prepare the Glaze. Melt the white chocolate and butter together in a microwave‑safe bowl in 20‑second bursts, stirring between each burst until smooth (about 1 minute total). The glaze adds a glossy finish and a subtle sweetness that balances the salty peanut butter.
- Glaze the Bars. Drizzle the warm white‑chocolate glaze over the fully set bars, using a spatula to spread thinly if needed. The glaze should coat the surface without pooling; it will harden quickly once returned to the freezer.
- Final Freeze & Slice. Return the pan to the freezer for an additional 10 minutes to set the glaze. Remove the parchment, cut into 12 equal bars using a hot, wet knife for clean edges, and store in an airtight container.
Similar Recipes
 Desserts
Creamy Crescent Rolls Cheesecake Delight: A Decadent Dessert Experience
Delicious Creamy Crescent Rolls Cheesecake Delight: A Decadent Dessert Experience
 Desserts
Tropical Breeze Pineapple Coconut Panna Cotta: A Refreshing Dessert Recipe
Delicious Tropical Breeze Pineapple Coconut Panna Cotta: A Refreshing Dessert Recipe
 Desserts
Almond Joy Bars Recipe: A Delicious Homemade Treat
Delicious Almond Joy Bars Recipe: A Delicious Homemade Treat
 Desserts
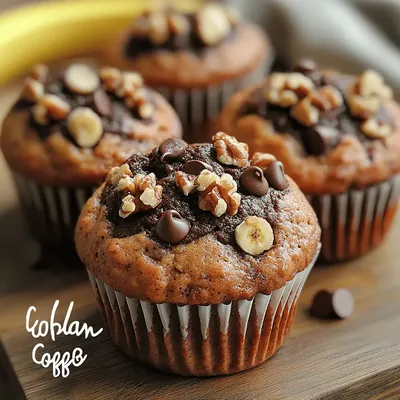
Sweet Chocolate Banana Muffins
Delicious Sweet Chocolate Banana Muffins
 Desserts
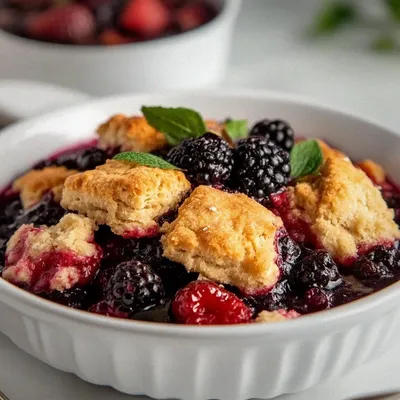
Slow Cooker Berry Cobbler: Sweet, Juicy Bliss with Biscuit Topping!
Learn how to make delicious Slow Cooker Berry Cobbler: Sweet, Juicy Bliss with Biscuit Topping!. Easy…
 Desserts
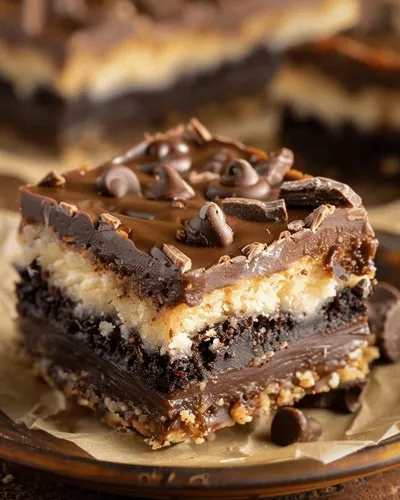
Best Fudgy Brownies Ever
Learn how to make delicious Best Fudgy Brownies Ever. Easy recipe with step-by-step instructions.
 Desserts
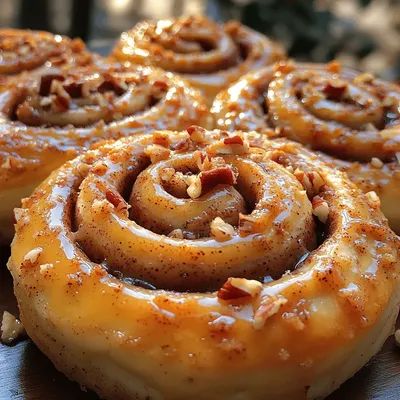
Heavenly Swirls of Delight: Irresistible Cinnamon Rolls
Delicious Heavenly Swirls of Delight: Irresistible Cinnamon Rolls
 Desserts
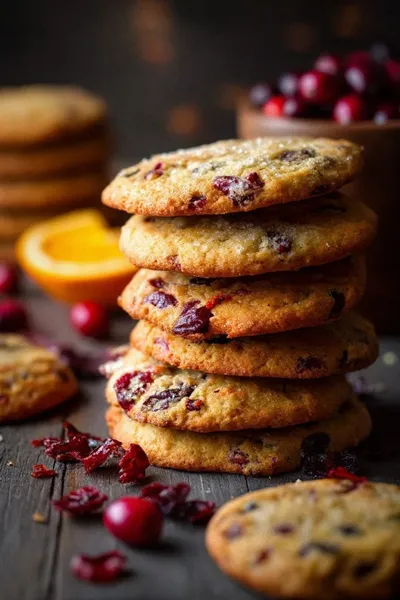
Cranberry Orange Cookies: A Delightful Flavor Fusion
Learn how to make delicious Cranberry Orange Cookies: A Delightful Flavor Fusion. Easy recipe with step-by-step…

Caroline
I cook these recipes at home before they ever land here — simple ingredients, clear steps.