Mini Breakfast Omelets with Tater Tot Crust: A Delicious Start to Your Day
 Save
Save
Imagine a bite‑sized breakfast that looks as fun as it tastes. Mini Breakfast Omelets with Tater Tot Crust bring together the comfort of crispy potatoes and the fluffy richness of a classic omelet, all in a single, handheld bite that’s perfect for busy mornings.
What makes this dish stand out is the ingenious crust: frozen tater tots are baked until golden, then topped with a custardy egg mixture and your favorite fillings. The result is a crunchy‑soft contrast that’s impossible to resist.
This recipe is ideal for families with kids, brunch parties, or anyone who loves a portable, protein‑packed start to the day. Serve it at a weekend brunch, a weekday grab‑and‑go, or even as a make‑ahead snack for school lunches.
The process is straightforward: bake the tater tots, whisk together eggs and seasonings, add fillings, and finish under the broiler for a perfectly set top. In under half an hour you’ll have a crowd‑pleasing breakfast that looks as good as it tastes.
Why You'll Love This Recipe
Crunch Meets Creamy: The tater‑tot base provides a satisfying crunch while the egg filling stays soft and velvety, creating a delightful texture contrast in every bite.
Customizable Fillings: From classic cheddar and ham to spinach‑feta or smoked salmon, you can tailor each mini omelet to suit any palate or dietary preference.
Kid‑Friendly Fun: Their bite‑size shape makes them perfect for little hands, and the familiar tater‑tot flavor encourages even the pickiest eaters to try vegetables.
Speedy Preparation: Using frozen tater tots cuts prep time dramatically, so you can serve a gourmet‑looking breakfast without spending hours in the kitchen.
Tips & Tricks
Perfecting the Recipe
Dry the tots. Pat the tater tots with a paper towel after tossing with oil; excess moisture can prevent crisping.
Use a hot pan for the final broil. A preheated broiler creates a quick, even browning without overcooking the interior.
Don’t over‑mix the egg. Gentle folding keeps the custard light and prevents a rubbery texture.
Flavor Enhancements
Add a splash of white wine or a teaspoon of Dijon mustard to the egg mixture for subtle acidity. A sprinkle of fresh herbs like dill or basil right before serving lifts the dish with aromatic freshness.
Common Mistakes to Avoid
Skipping the initial bake of the tater tots leads to a soggy base. Also, avoid opening the oven during the final bake; temperature fluctuations can cause the eggs to collapse. Finally, don’t over‑fill the molds—over‑full cups spill and bake unevenly.
Pro Tips
Use a silicone muffin pan. It releases the mini omelets cleanly and eliminates the need for greasing.
Season the eggs. A pinch of smoked paprika or a dash of cayenne adds depth without extra salt.
Layer cheese on top. Adding a thin cheese layer before the final broil creates a golden, bubbly crown.
Prep the night before. Assemble the crust and store in the fridge; just add the egg mixture and bake in the morning for ultimate speed.
Variations
Ingredient Swaps
Replace cheddar with pepper jack for a spicy kick, or use feta for a tangy Mediterranean twist. Swap ham for cooked sausage crumbles, chorizo, or smoked salmon for a luxe brunch version. Even the crust can be changed to hash‑brown patties or sweet potato tots for a different flavor profile.
Dietary Adjustments
For a gluten‑free dish, ensure the tater tots are certified gluten‑free and use a gluten‑free cheese. Vegan eaters can substitute the eggs with a chickpea flour “omelet” batter and use plant‑based cheese. To keep it low‑carb, swap the tots for cauliflower rice “crust” baked until crisp.
Serving Suggestions
Pair the mini omelets with a light arugula salad dressed in lemon vinaigrette, fresh fruit skewers, or a dollop of Greek yogurt mixed with herbs. For a heartier brunch, serve alongside crispy bacon, roasted tomatoes, or a warm biscuit.
Storage Info
Leftover Storage
Allow any leftovers to cool to room temperature, then transfer the mini omelets to an airtight container. Refrigerate for up to 3 days. For longer preservation, wrap each portion tightly in plastic wrap and place in a freezer‑safe bag; they’ll keep for up to 2 months without loss of flavor.
Reheating Instructions
Reheat in a 350°F (175°C) oven for 10‑12 minutes, covered with foil to retain moisture. For a quicker option, microwave on medium power for 45‑60 seconds, adding a splash of milk or broth to prevent drying. Finish under a brief broiler if you want the crust to regain its crispness.
Frequently Asked Questions
Can I make this recipe ahead of time?
Can I use frozen vegetables instead of fresh?
What side dishes complement these mini omelets?
How do I make these gluten‑free?
This Mini Breakfast Omelet with Tater‑Tot Crust delivers a satisfying crunch, a fluffy interior, and endless customization possibilities—all in a quick, weekday‑friendly format. By following the detailed steps, storage tips, and variations provided, you’ll master a breakfast that feels special yet remains effortless. Feel free to experiment with cheeses, proteins, or herbs to make it truly yours. Enjoy the burst of flavor and the smiles around the table as you start the day the tasty way!
Mini Breakfast Omelets with Tater Tot Crust: A Delicious Start to Your Day
Delicious Mini Breakfast Omelets with Tater Tot Crust: A Delicious Start to Your Day
Ingredients
Base & Crust
- 12 oz frozen tater tots
- 1 tablespoon olive oil
Egg Mixture
- 4 large eggs
- ¼ cup whole milk or oat milk
- ¼ teaspoon salt
- ¼ teaspoon black pepper
Fillings & Toppings
- ½ cup shredded sharp cheddar cheese
- ¼ cup diced cooked ham or turkey bacon (optional)
- ¼ cup finely chopped bell pepper (any color)
- 2 tablespoons chopped fresh chives or green onions
- Dash of hot sauce (optional)
Instructions
Assembling the Mini Omelets
- Arrange the crust. Remove the baked tater tots from the oven and, while still hot, press them gently together in a 9‑inch round cake pan or a muffin tin to form compact mini “pancakes.” This step ensures each bite stays intact.
- Pour the custard. Evenly distribute the egg‑and‑filling mixture over the tater‑tot base, filling each mini cup about three‑quarters full. The custard will settle into the gaps, creating a seamless bond between crust and topping.
- Final bake. Return the pan to the oven and bake for an additional 10‑12 minutes, or until the egg is set and the top is lightly golden. A quick broiler flash (1‑2 minutes) at the end adds a beautiful, slightly crisp finish.
- Cool slightly. Allow the mini omelets to rest for 3‑4 minutes before removing them from the pan. This short rest lets the interior finish cooking gently and prevents them from falling apart when lifted.
- Serve. Drizzle a few drops of hot sauce, if desired, and garnish with extra chives. Serve warm, straight from the pan or on a serving platter.
Similar Recipes
 Breakfast
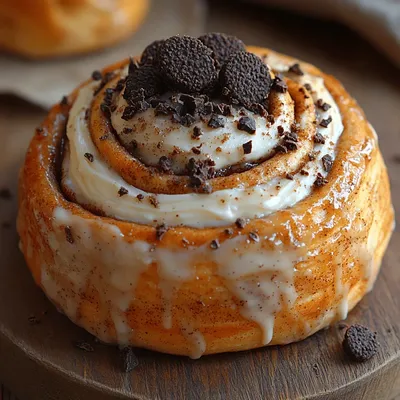
Cookies & Cream Cinnamon Rolls: A Delicious Twist on a Classic Breakfast Treat
Delicious Cookies & Cream Cinnamon Rolls: A Delicious Twist on a Classic Breakfast Treat
 Breakfast
Mini Egg & Cheese Bagel Pizzas Recipe
Delicious Mini Egg & Cheese Bagel Pizzas Recipe
 Breakfast
Savory Ham & Cheese Butter Swim Biscuits: A Comforting Delight
Delicious Savory Ham & Cheese Butter Swim Biscuits: A Comforting Delight
 Breakfast
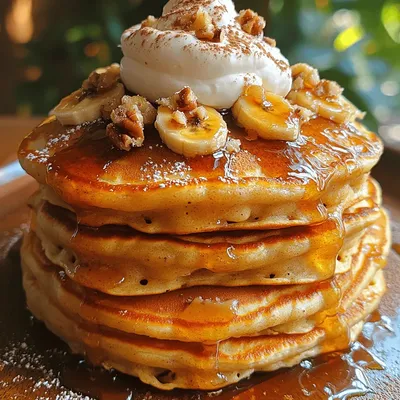
Caramelized Banana Foster Pancakes Recipe
Delicious Caramelized Banana Foster Pancakes Recipe
 Breakfast
Pumpkin Spice French Toast Roll-Ups: The Ultimate Fall Delight
Delicious Pumpkin Spice French Toast Roll-Ups: The Ultimate Fall Delight
 Breakfast
Classic Savory Quiche Lorraine Recipe
Delicious Classic Savory Quiche Lorraine Recipe
 Breakfast
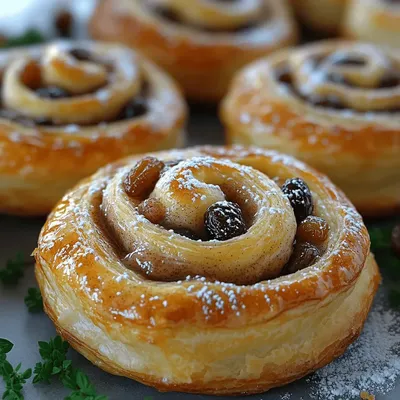
Cinnamon Swirl Delight Rolls Recipe
Delicious Cinnamon Swirl Delight Rolls Recipe
 Breakfast
Cheesy Potato Egg Scramble Recipe: A Hearty Breakfast Delight
Delicious Cheesy Potato Egg Scramble Recipe: A Hearty Breakfast Delight

Caroline
I cook these recipes at home before they ever land here — simple ingredients, clear steps.