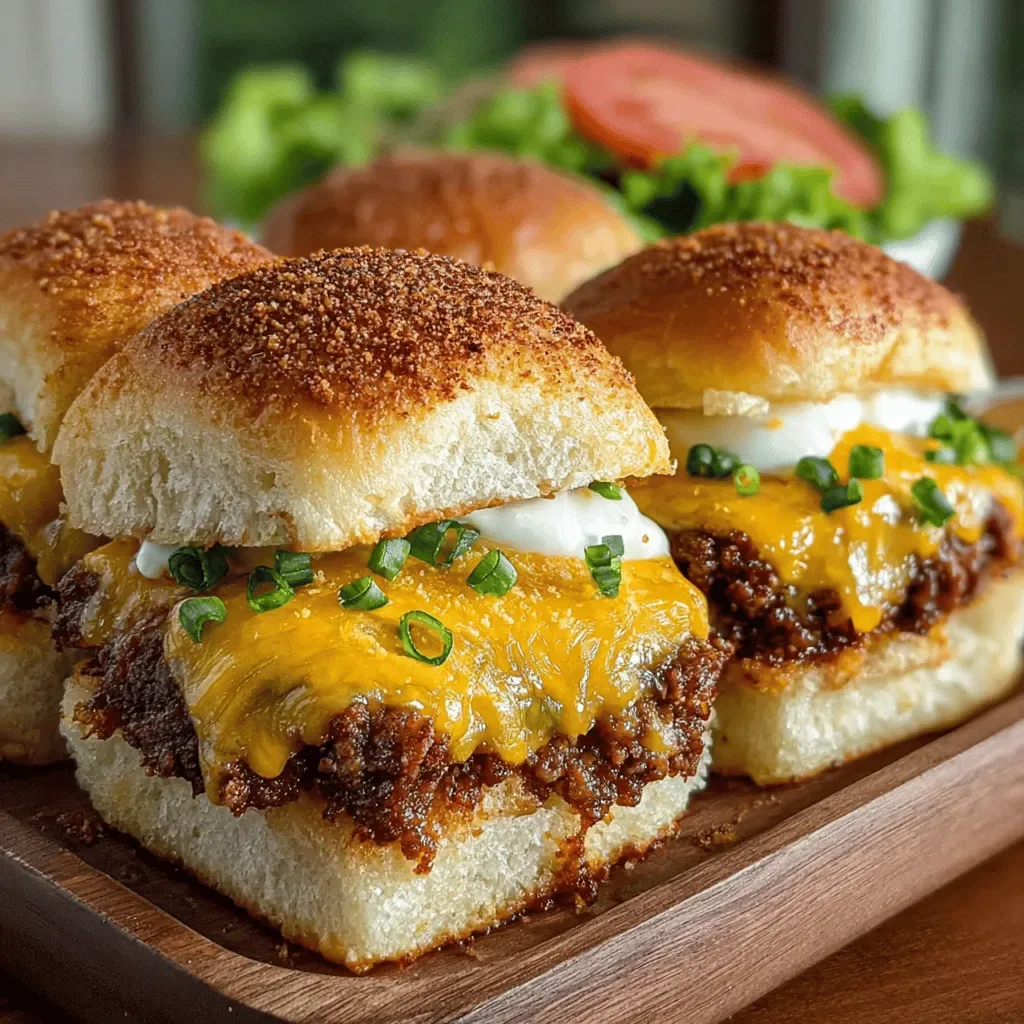
Mini Cheesy Hash Brown Sliders
 Save
Save
Imagine biting into a golden‑crisp pillow of hash brown that melts into a gooey, cheesy center, all the size of a perfect bite‑sized slider. Mini Cheesy Hash Brown Sliders turn a humble breakfast staple into a crowd‑pleasing handheld that feels both indulgent and comforting.
What sets this recipe apart is the marriage of two textures—crunchy on the outside, creamy on the inside—enhanced by a blend of sharp cheddar and mellow mozzarella that stretches with every bite. A hint of garlic and a dash of smoked paprika give depth without overwhelming the natural potato flavor.
These sliders are a hit for busy families, brunch gatherings, or a playful appetizer at game day. Kids love the cheesy pull, while adults appreciate the sophisticated flavor profile that elevates a simple comfort food.
The process is straightforward: shape frozen hash browns into mini patties, bake until crisp, then top with a quick cheese melt and optional garnishes. In under an hour you’ll have a plate full of bite‑size bliss ready to serve.
Why You'll Love This Recipe
Irresistible Cheese Pull: Each slider delivers a stretchy, melty cheese core that makes every bite feel indulgent, perfect for both kids and adults craving comfort.
Quick & Easy Assembly: Minimal prep and a single bake mean you can go from pantry to plate in less than an hour, ideal for rushed mornings or last‑minute brunches.
Customizable Toppings: From crisp bacon bits to fresh chives, the sliders welcome endless garnish ideas, letting you tailor each bite to your personal flavor preferences.
Portion‑Perfect Fun: Their mini size makes them perfect for finger food presentations, party platters, or a hearty snack that satisfies without overwhelming.
Tips & Tricks
Perfecting the Recipe
Dry the Hash Browns. Pat the frozen hash browns with a paper towel before mixing; excess ice can make the patties soggy and hinder crisping.
Even Patty Thickness. Use a tablespoon measure for each patty to keep thickness uniform, ensuring every slider browns at the same rate.
Don't Skip the Final Cheese Melt. Adding cheese in the last few minutes prevents over‑browning and gives a perfectly gooey finish.
Flavor Enhancements
A splash of hot sauce or a dash of Worcestershire sauce mixed into the hash brown batter adds a subtle umami kick. Finish each slider with a drizzle of melted butter infused with garlic for an extra layer of richness.
Common Mistakes to Avoid
Avoid over‑mixing the batter; it can break down the potato flakes and lead to a gummy texture. Also, resist the urge to crowd the baking sheet—overcrowding creates steam, which prevents the desired crisp crust.
Pro Tips
Use a Wire Rack. Placing the patties on a wire rack set over the baking sheet allows air to circulate underneath, producing an even crisp on both sides.
Season the Cheese. Toss the shredded cheddar with a pinch of smoked paprika before sprinkling it on top; this adds depth without extra steps.
Serve Immediately. The sliders are at their peak texture when hot; if you need to hold them, keep them in a warm oven (200°F) for up to 15 minutes.
Variations
Ingredient Swaps
Swap cheddar for pepper jack if you enjoy a bit of heat, or use gouda for a buttery note. For a lighter version, replace half of the hash browns with grated cauliflower. You can also incorporate finely diced onions or bell peppers into the batter for extra moisture and flavor.
Dietary Adjustments
Make the sliders gluten‑free by using almond flour instead of all‑purpose flour. For a dairy‑free version, substitute the cheese blend with a vegan cheddar alternative and use a flax‑egg (1 Tbsp ground flaxseed + 3 Tbsp water) as the binder. Keto lovers can reduce the flour to 1 Tbsp and add a tablespoon of grated Parmesan for extra flavor.
Serving Suggestions
Pair the sliders with a simple arugula salad dressed in lemon vinaigrette for brightness, or serve alongside sweet potato wedges for a hearty brunch spread. A dollop of avocado crema or chipotle mayo adds a creamy, tangy contrast that elevates the overall experience.
Storage Info
Leftover Storage
Allow the sliders to cool completely, then transfer them to an airtight container. Refrigerate for up to 3 days; the crust will soften slightly but reheating restores crispness. For longer storage, freeze in a single layer on a tray, then move to a freezer‑safe bag for up to 2 months.
Reheating Instructions
Reheat refrigerated sliders in a preheated 375°F oven for 8‑10 minutes, or until the cheese is melty and the edges are crisp again. For frozen leftovers, bake at 400°F for 12‑15 minutes, covering loosely with foil for the first half to prevent over‑browning.
Frequently Asked Questions
Can I make these sliders ahead of time?
What if I only have fresh shredded potatoes instead of frozen hash browns?
Can I substitute the cheese blend with a dairy‑free alternative?
What side dishes pair best with Mini Cheesy Hash Brown Sliders?
This Mini Cheesy Hash Brown Slider recipe delivers crisp, cheesy goodness with minimal effort, making it perfect for brunch tables, family breakfasts, or snack‑time gatherings. By following the step‑by‑step guide, using the tips, and experimenting with the suggested variations, you’ll create a dish that’s both comforting and impressive. Feel free to add your own twists—whether a spice blend or a new topping—and make it truly yours. Enjoy the delightful crunch and melt in every bite!
Mini Cheesy Hash Brown Sliders
Delicious Mini Cheesy Hash Brown Sliders
Ingredients
Main Ingredients
- 2 (16‑oz) bags frozen shredded hash browns
- 1 cup shredded sharp cheddar cheese
- 1 cup shredded mozzarella cheese
Cheese Blend & Binding
- 1 large egg, lightly beaten
- 2 Tbsp all‑purpose flour
Seasonings
- ½ tsp garlic powder
- ½ tsp smoked paprika
- ¼ tsp freshly ground black pepper
- ½ tsp sea salt
Optional Toppings
- 4 slices cooked bacon, crumbled
- 2 Tbsp chopped fresh chives
- ¼ cup sour cream (for serving)
Instructions
Preparing the Hash Brown Base
- Portion the Mixture. Scoop roughly one tablespoon of the hash brown blend and roll it between your palms into a compact, round patty about 2 inches in diameter. Press lightly to flatten; the patty should be about ¼‑inch thick. Consistent sizing ensures even browning and uniform cooking.
- Arrange on the Sheet. Place each patty on the prepared baking sheet, leaving a small gap between them for airflow. This spacing allows the heat to circulate, creating a crisp, golden crust on all sides.
- Initial Bake. Slide the sheet into the oven and bake for 12‑15 minutes, or until the edges turn a deep golden brown and the tops begin to crisp. A visual cue is when the edges start to pull away slightly from the parchment.
Baking the Sliders & Finishing Touches
- Cheese Melt. Sprinkle ½ cup of shredded cheddar evenly over the tops of the partially baked sliders. Return the sheet to the oven for an additional 5‑7 minutes, or until the cheese bubbles and turns a beautiful amber color.
- Garnish & Serve. Remove the sliders from the oven and immediately top each with a pinch of crumbled bacon and a sprinkle of chopped chives. Serve warm with a dollop of sour cream on the side for dipping, if desired.
- Rest Briefly. Allow the sliders to rest for 2‑3 minutes before plating. This short rest lets the cheese set just enough to avoid excessive sliding while retaining its gooey pull.
Similar Recipes
 Breakfast
Pumpkin Spice Oatmeal Cups: Step-by-Step Instructions, Nutritional Information, and Serving Suggestions
Delicious Pumpkin Spice Oatmeal Cups: Step-by-Step Instructions, Nutritional Information, and Serving Suggestions
 Breakfast
Sweet Baked Banana Oatmeal Cups: A Complete Guide
Delicious Sweet Baked Banana Oatmeal Cups: A Complete Guide
 Breakfast
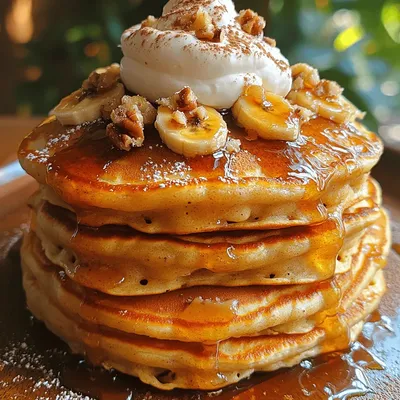
Caramelized Banana Foster Pancakes Recipe
Delicious Caramelized Banana Foster Pancakes Recipe
 Breakfast
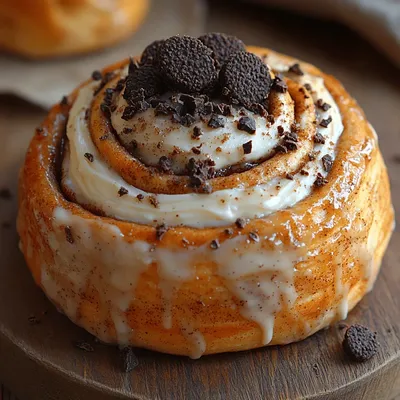
Cookies & Cream Cinnamon Rolls: A Delicious Twist on a Classic Breakfast Treat
Delicious Cookies & Cream Cinnamon Rolls: A Delicious Twist on a Classic Breakfast Treat
 Breakfast
Egg-In-A-Hole Breakfast Sandwich: The Ultimate Comfort Food
Delicious Egg-In-A-Hole Breakfast Sandwich: The Ultimate Comfort Food
 Breakfast
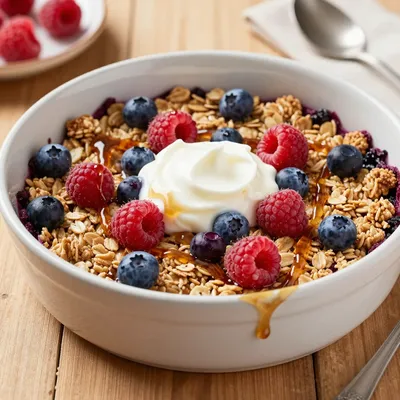
Warm Berry Baked Oatmeal for January Mornings
Learn how to make delicious Warm Berry Baked Oatmeal for January Mornings. Easy recipe with step-by-step…
 Breakfast
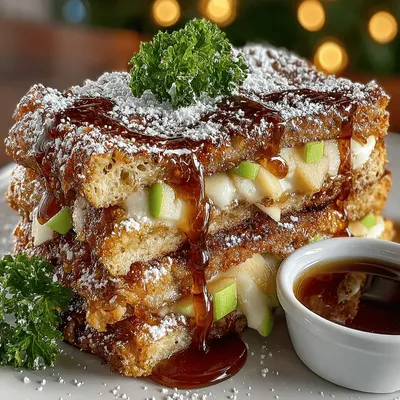
Crispy Apple Cinnamon French Toast Sticks
Delicious Crispy Apple Cinnamon French Toast Sticks
 Breakfast
Heavenly Maple-Cinnamon Oven-Baked French Toast
Delicious Heavenly Maple-Cinnamon Oven-Baked French Toast

Caroline
I cook these recipes at home before they ever land here — simple ingredients, clear steps.