Mini Lemon Meringue Pies Recipe
 Save
Save
Imagine a bite‑sized sunrise on your plate—golden crust, tangy lemon curd, and a cloud of sweet, toasted meringue. Mini Lemon Meringue Pies bring that moment to life, turning a classic dessert into a playful brunch treat that dazzles both eyes and taste buds.
What sets this recipe apart is the balance of textures: a buttery, crumbly short‑crust, a silky citrus filling, and a light, glossy meringue that holds its shape. The bright lemon flavor is amplified by a hint of vanilla, while the meringue adds just enough sweetness without overwhelming the palate.
These petite pies are perfect for families with kids, brunch parties, or a sophisticated weekend indulgence. Serve them at a casual family breakfast, a festive Easter brunch, or as a delightful dessert after a lazy Sunday lunch.
The process is straightforward: blend a quick crust, whisk a smooth lemon curd, pipe airy meringue peaks, then bake until the tops are perfectly browned. In under an hour you’ll have a tray of golden‑kissed delights ready to share.
Why You'll Love This Recipe
Bright Citrus Punch: Fresh lemon juice and zest give each bite a lively, uplifting tang that cuts through the sweetness of the meringue, creating a perfectly balanced flavor profile.
Mini‑Size Fun: Individual portions are easy to handle, make plating a breeze, and let guests enjoy a personal dessert without the need for cutting or sharing.
Simple Ingredients: With pantry staples like butter, flour, sugar, and eggs, plus a few fresh lemons, this recipe is accessible to home cooks of any skill level.
Impressive Presentation: The glossy, lightly caramelized meringue peaks look restaurant‑quality, turning an everyday brunch into a memorable culinary experience.
Tips & Tricks
Perfecting the Recipe
Cold Butter Is Key: Keep butter chilled until just before mixing. Cold fat creates steam pockets in the oven, yielding a flaky crust.
Don’t Over‑Mix the Dough: Stop blending once the mixture resembles crumbs. Over‑mixing develops gluten, making the crust tough instead of tender.
Use a Kitchen Scale: Precise measurements, especially for flour and butter, ensure consistent texture across batches.
Flavor Enhancements
Add a teaspoon of orange zest to the filling for a subtle citrus complexity, or fold a pinch of sea salt into the meringue to brighten the sweetness. A drizzle of homemade lemon‑butter glaze right before serving adds an extra glossy finish and a burst of flavor.
Common Mistakes to Avoid
Avoid baking the meringue at too high a temperature; it will brown before the interior sets, leaving a raw center. Also, never skip the chilling step for the crust—warm dough spreads, resulting in thin, uneven shells.
Pro Tips
Use Fresh Lemons: Freshly squeezed juice and zest deliver bright, aromatic notes that bottled juice can’t match, making the curd truly zingy.
Pipe With a Star Tip: A star‑shaped piping tip creates attractive peaks that brown evenly, giving each mini pie a professional look.
Room‑Temp Egg Whites: Allow egg whites to sit out for 30 minutes before whipping; they’ll reach volume faster and hold peaks longer.
Variations
Ingredient Swaps
Swap the short‑crust for a graham‑cracker crust for a sweeter base, or replace butter with coconut oil for a dairy‑free alternative. For a tropical twist, use lime juice and zest in place of lemon, and add a splash of coconut milk to the filling.
Dietary Adjustments
Use gluten‑free all‑purpose flour or almond flour for a gluten‑free crust. Substitute the granulated sugar with a low‑calorie sweetener that caramelizes, such as erythritol, and replace butter with a vegan margarine for a fully plant‑based version.
Serving Suggestions
Pair the pies with a dollop of lightly sweetened whipped cream or a spoonful of fresh berries for added color. A glass of chilled sparkling rosé or a classic mimosa makes a festive brunch pairing, while a simple black tea balances the sweetness beautifully.
Storage Info
Leftover Storage
Once cooled, gently lift the pies from the tins and place them in an airtight container. Store in the refrigerator for up to 3 days; the crust stays crisp while the lemon curd remains silky. For longer keeping, freeze the pies—wrap each tightly in plastic wrap and then foil, and they’ll hold quality for up to 2 months.
Reheating Instructions
Reheat refrigerated pies in a 350°F (175°C) oven for 8‑10 minutes, covering the meringue loosely with foil to prevent over‑browning. For frozen pies, thaw overnight in the fridge, then follow the same reheating method. Microwaving is not recommended, as it can make the crust soggy and the meringue rubbery.
Frequently Asked Questions
Can I make these pies ahead of time?
What if I don’t have a stand mixer for the meringue?
How do I prevent the crust from getting soggy?
Can I use a different sweetener for the meringue?
This Mini Lemon Meringue Pie recipe delivers a perfect balance of buttery crust, tangy lemon curd, and airy meringue—all in a bite‑size portion that feels both elegant and comforting. By following the detailed steps, tips, and storage guidance, you’ll achieve consistent results every time. Feel free to experiment with flavor swaps or dietary tweaks to make the pies truly your own. Serve them warm, share them with loved ones, and enjoy the burst of sunshine on each forkful.
Mini Lemon Meringue Pies Recipe
Delicious Mini Lemon Meringue Pies Recipe
Ingredients
Crust
- 1 ½ cups all‑purpose flour
- ⅓ cup granulated sugar
- ⅛ teaspoon salt
- ⅞ cup unsalted butter, cold and cubed
Lemon Filling
- ¾ cup granulated sugar
- 3 large eggs
- ¼ cup freshly squeezed lemon juice (about 2 lemons)
- 2 teaspoons lemon zest
- 2 tablespoons unsalted butter, cut into small pieces
Meringue
- 3 large egg whites, at room temperature
- ¼ teaspoon cream of tartar
- ¼ cup granulated sugar
- 1 teaspoon vanilla extract
Instructions
Preparing the Crust
- Form the Dough. Press the crumb mixture together with 2–3 tablespoons ice‑cold water, adding just enough to bring the dough together without becoming wet. The cold liquid prevents the butter from melting prematurely, preserving flakiness.
- Chill. Shape the dough into a flat disc, wrap in plastic, and refrigerate for at least 15 minutes. Chilling relaxes gluten and firms the butter, which helps the crust hold its shape during blind baking.
- Roll & Cut. On a lightly floured surface, roll the dough to ¼‑inch thickness. Using a 3‑inch round cutter, press into each mini muffin tin, gently pushing the dough up the sides. Trim excess with a knife.
- Blind Bake. Prick the crusts with a fork, line with parchment, and fill with pie weights or dried beans. Bake at 350°F (175°C) for 12‑15 minutes, then remove weights and bake an additional 3‑4 minutes until lightly golden.
Making the Lemon Filling
- Cook the Cur d. Place the saucepan over medium‑low heat, stirring constantly with a silicone spatula. As the mixture thickens, you’ll notice it coating the back of the spoon—this is the “nappe” stage, indicating proper thickening.
- Incorporate Butter. Remove from heat and whisk in the cold butter pieces until fully melted. The butter adds richness and gives the curd a glossy finish.
- Cool Slightly. Let the filling sit for 5 minutes, then spoon a generous tablespoon into each pre‑baked crust, spreading just enough to reach the edges.
Whipping the Meringue
- Start the Beat. Using a stand mixer on medium speed, beat the whites until soft peaks form—when the whisk is lifted, the peaks should just barely hold their shape.
- Add Sugar Gradually. Increase speed to high and add the granulated sugar a spoonful at a time. Continue beating until the mixture is glossy and stiff peaks stand straight when the whisk is lifted.
- Flavor the Peaks. Beat in the vanilla extract for a subtle depth that balances the lemon’s acidity.
- Pipe or Spoon. Using a piping bag or a spoon, dollop or pipe the meringue over each lemon filling, spreading it to the edge of the crust. Aim for a slightly higher mound to allow for browning.
Similar Recipes
 Desserts
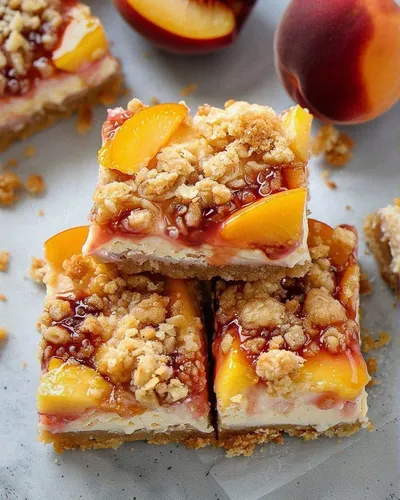
Peach Cobbler Cheesecake Bars Recipe
Learn how to make delicious Peach Cobbler Cheesecake Bars Recipe. Easy recipe with step-by-step instructions.
 Desserts
Dreamy Cheesecake Crescent Rolls Casserole: A Decadent Delight
Delicious Dreamy Cheesecake Crescent Rolls Casserole: A Decadent Delight
 Desserts
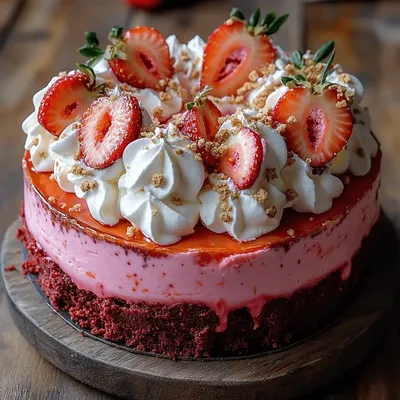
Decadent Red Velvet Strawberry Cheesecake: A Delightful Dessert Recipe
Delicious Decadent Red Velvet Strawberry Cheesecake: A Delightful Dessert Recipe
 Desserts
Frozen Yogurt Raspberry Sandwiches: A Delightful Treat
Delicious Frozen Yogurt Raspberry Sandwiches: A Delightful Treat
 Desserts
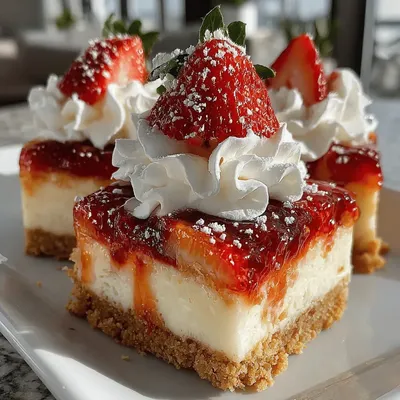
Frosty Strawberry Bliss Cheesecake Bars: A Delightful Dessert Recipe
Delicious Frosty Strawberry Bliss Cheesecake Bars: A Delightful Dessert Recipe
 Desserts
Crispy Apple Pie Egg Rolls Recipe
Delicious Crispy Apple Pie Egg Rolls Recipe
 Desserts
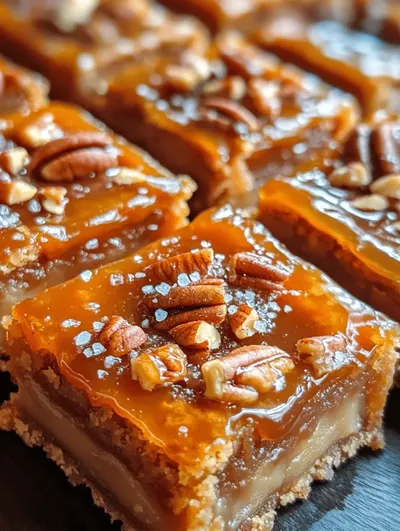
Salted Caramel Butter Bars: Indulgent Delights for Every Occasion
Delicious Salted Caramel Butter Bars: Indulgent Delights for Every Occasion
 Desserts
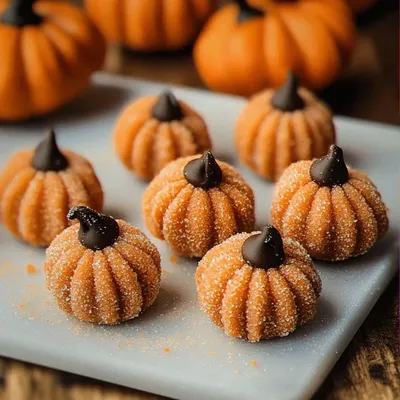
Delightful Pumpkin Cheesecake Truffles for Fall Celebrations
Learn how to make delicious Delightful Pumpkin Cheesecake Truffles for Fall Celebrations. Easy recipe with step-by-step…

Caroline
I cook these recipes at home before they ever land here — simple ingredients, clear steps.