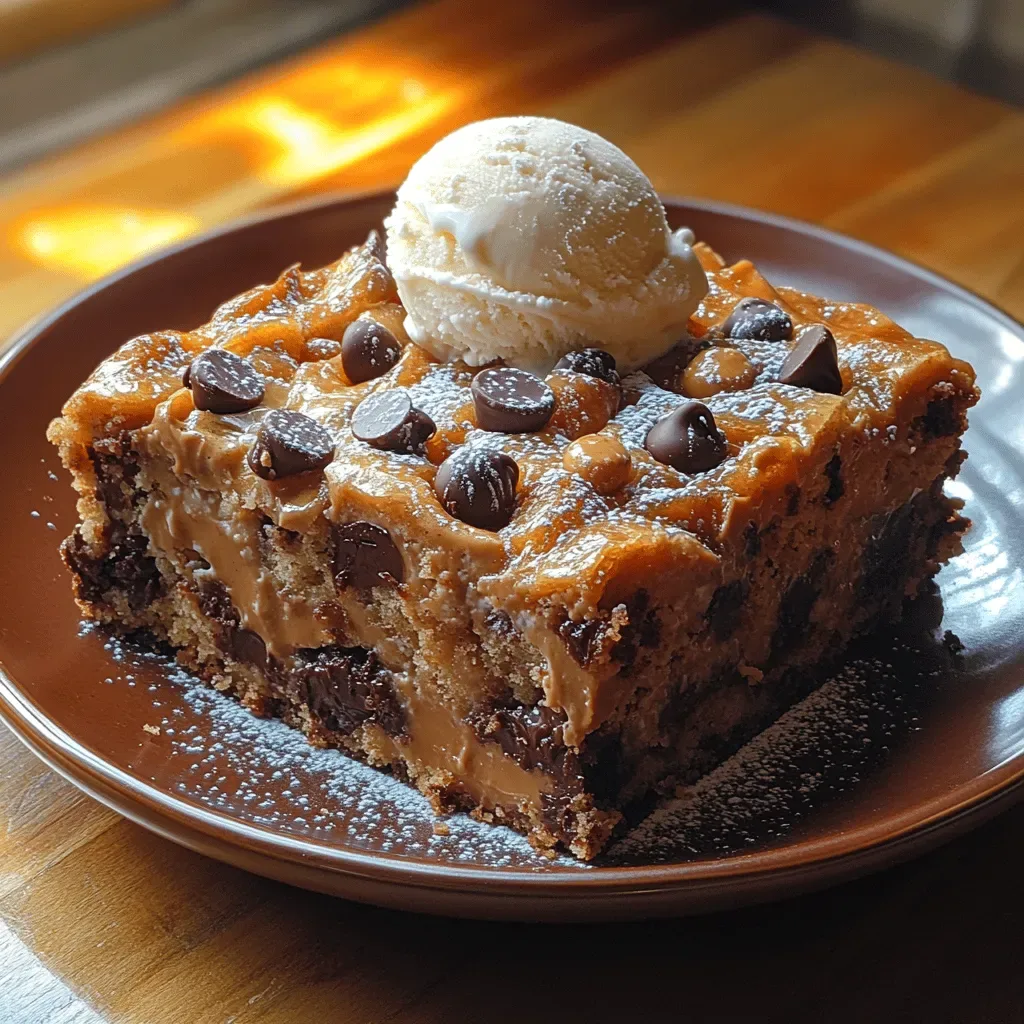
Peanut Butter Cup Dump Cake Recipe: A Decadent Delight
 Save
Save
Imagine the comforting aroma of toasted peanuts, the silky richness of melted chocolate, and the fluffy, cake‑like texture that practically melts in your mouth—all without the hassle of mixing bowls or a stand mixer. That’s the magic of a Peanut Butter Cup Dump Cake, a dessert that feels indulgent yet comes together with the ease of a “dump‑and‑bake” method.
What makes this recipe truly special is the way it layers a simple vanilla cake mix with a decadent swirl of creamy peanut butter and a generous topping of chocolate‑kissed peanut butter cups. The result is a glossy, crackly crust that gives way to a soft, gooey interior, delivering the perfect balance of sweet, salty, and nutty flavors.
This dish is perfect for anyone who loves classic peanut butter‑chocolate pairings—kids, teens, and adults alike. Serve it at a leisurely weekend brunch, a festive birthday buffet, or as a surprise after‑dinner treat for friends.
The process is wonderfully straightforward: dump the dry ingredients into a baking dish, add the peanut butter mixture, sprinkle the chocolate cups on top, and bake until golden brown. No whisking, no measuring of separate batter, just pure, effortless decadence.
Why You'll Love This Recipe
Zero‑Fuss Preparation: With just a few ingredients and a single bowl, you can create a show‑stopping dessert in under 15 minutes, leaving more time for conversation and coffee.
Rich Peanut‑Butter Flavor: The recipe uses creamy peanut butter both in the batter and as a swirl, ensuring every bite is saturated with that beloved nutty taste.
Chocolate‑Infused Topping: A generous layer of chocolate‑coated peanut butter cups creates a crunchy, melty crown that adds texture and visual appeal.
Brunch‑Ready Sweetness: Its sweet‑but‑not‑overwhelming profile pairs perfectly with coffee, tea, or a mimosa, making it an ideal centerpiece for a relaxed morning gathering.
Tips & Tricks
Perfecting the Recipe
Use room‑temperature milk. Cold milk can cause the peanut butter to seize, resulting in a lumpy batter. Warm the milk slightly for a smoother mixture.
Spread the cake mix thin. A thin, even layer ensures the peanut butter can permeate fully, giving every bite that coveted gooey texture.
Don’t over‑bake. The cake continues to cook slightly after removal. Pull it out when the edges are golden but the center still looks a touch soft.
Flavor Enhancements
Add a teaspoon of vanilla extract to the peanut butter‑milk mixture for extra depth, or stir in a pinch of sea salt just before baking to heighten the sweet‑salty balance. A drizzle of caramel sauce at serving time adds a luxurious finishing touch.
Common Mistakes to Avoid
Avoid stirring the cake mix after adding the wet ingredients; the “dump” method relies on minimal mixing to keep the texture light. Also, resist the urge to use low‑fat peanut butter, as the reduced fat can lead to a dry, crumbly result.
Pro Tips
Prep in advance. Assemble the dry and wet layers the night before, cover tightly, and refrigerate. In the morning, just pop it in the oven for a fresh‑baked brunch.
Use premium chocolate cups. High‑quality peanut butter cups melt more evenly, creating a smoother, shinier crust that looks restaurant‑worthy.
Cool on a wire rack. After baking, transfer the dish to a wire rack for a few minutes; this prevents the bottom from becoming soggy.
Variations
Ingredient Swaps
Replace the vanilla cake mix with chocolate cake mix for an even richer chocolate‑peanut butter experience. Swap regular peanut butter for almond butter to introduce a subtle nutty nuance, or use dark chocolate‑coated cups for a bittersweet twist.
Dietary Adjustments
For a gluten‑free version, choose a certified gluten‑free vanilla cake mix and ensure the chocolate cups contain no wheat‑derived ingredients. Vegan diners can substitute the milk with almond or oat milk and use a plant‑based peanut butter that contains no added honey.
Serving Suggestions
Serve the warm dump cake alongside fresh berries for a burst of acidity, or pair it with a dollop of Greek yogurt for a tangy contrast. For a festive brunch, top each slice with a drizzle of salted caramel and a sprinkle of toasted coconut flakes.
Storage Info
Leftover Storage
Allow any leftovers to cool completely, then transfer a portion to an airtight container. Store in the refrigerator for up to 4 days. For longer keeping, freeze individual slices wrapped tightly in plastic wrap and then foil; they’ll retain quality for up to 2 months.
Reheating Instructions
Reheat refrigerated slices in a 300°F oven for 10‑12 minutes, covered with foil to prevent drying. Microwaving works in a pinch: place a slice on a microwave‑safe plate, cover with a damp paper towel, and heat on medium for 45‑60 seconds, adding a splash of milk if needed.
Frequently Asked Questions
Can I prepare this dump cake the night before?
What if I don’t have a 9‑x‑13‑inch dish?
Can I use a sugar‑free sweetener instead of milk?
What beverage pairs best with this dessert?
This Peanut Butter Cup Dump Cake proves that indulgence doesn’t have to be complicated. By following the simple dump‑and‑bake method, you’ll create a dessert that’s both stunning and irresistibly tasty, perfect for brunches, celebrations, or a cozy weekend treat. Feel free to experiment with the suggested swaps and toppings—making it your own is part of the fun. Enjoy every gooey, chocolate‑kissed bite!
Peanut Butter Cup Dump Cake Recipe: A Decadent Delight
Delicious Peanut Butter Cup Dump Cake Recipe: A Decadent Delight
Ingredients
Main Ingredients
- 1 (15.25‑oz) box vanilla cake mix
- 1 cup creamy peanut butter
- ½ cup whole milk
Chocolate Peanut Butter Cup Layer
- 12‑15 chocolate‑coated peanut butter cups, chopped
- ¼ cup semi‑sweet chocolate chips (optional)
Optional Toppings
- Whipped cream or vanilla ice cream, for serving
- Chopped roasted peanuts, for garnish
Instructions
Building the Dump Cake
- Combine dry and wet. Sprinkle the entire box of vanilla cake mix evenly over the bottom of the prepared dish. In a separate bowl, whisk together 1 cup creamy peanut butter and ½ cup whole milk until smooth, then drizzle the mixture over the cake mix, allowing it to seep through the dry layer.
- Scatter the chocolate cups. Evenly distribute the chopped chocolate‑coated peanut butter cups across the surface. If you’re using extra chocolate chips, sprinkle them now for a glossy finish. The cups will melt and create pockets of molten chocolate as the cake bakes.
- Seal and bake. Place the dish in the preheated oven and bake for 30‑35 minutes, or until the top is golden brown and a toothpick inserted near the center comes out with only a few moist crumbs. The heat causes the peanut butter to melt into the cake, forming a luscious, slightly gooey interior.
Similar Recipes
 Desserts
Refreshing Strawberry Lemonade Bars: A Perfect Summer Delight
Delicious Refreshing Strawberry Lemonade Bars: A Perfect Summer Delight
 Desserts
Tropical Bliss Pops Recipe: The Ultimate Guide
Delicious Tropical Bliss Pops Recipe: The Ultimate Guide
 Desserts
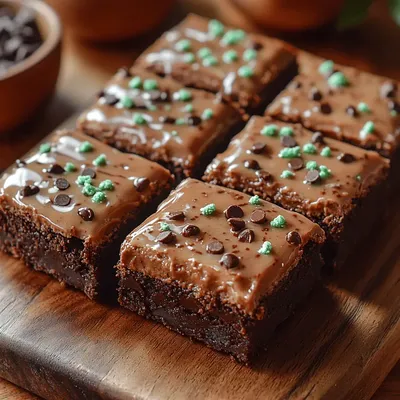
Minty Irish Brownie Bliss: A Delicious Festive Treat
Delicious Minty Irish Brownie Bliss: A Delicious Festive Treat
 Desserts
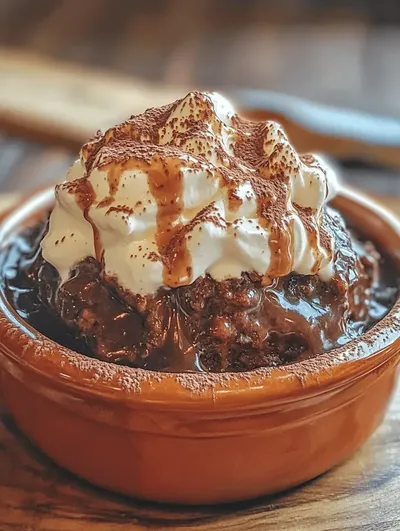
Heavenly Hot Fudge Pudding Cake Recipe: A Chocolate Lover’s Dream
Delicious Heavenly Hot Fudge Pudding Cake Recipe: A Chocolate Lover’s Dream
 Desserts
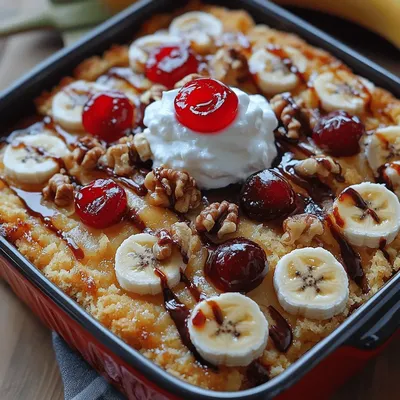
Banana Split Dump Cake Recipe: A Nostalgic Dessert Delight
Delicious Banana Split Dump Cake Recipe: A Nostalgic Dessert Delight
 Desserts
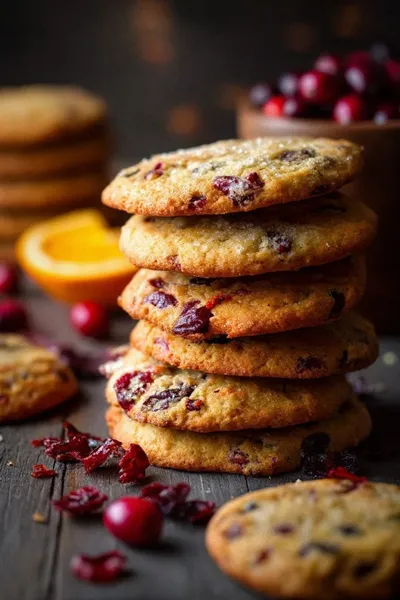
Cranberry Orange Cookies: A Delightful Flavor Fusion
Learn how to make delicious Cranberry Orange Cookies: A Delightful Flavor Fusion. Easy recipe with step-by-step…
 Desserts
Candy Corn Pie Delight: A Festive Fall Treat
Delicious Candy Corn Pie Delight: A Festive Fall Treat
 Desserts
Baked Banana Split Bites Fun Family Dessert Surprise
Learn how to make delicious Baked Banana Split Bites Fun Family Dessert Surprise. Easy recipe with…

Caroline
I cook these recipes at home before they ever land here — simple ingredients, clear steps.