Sheet Pan Chicken Fajitas: A Flavorful and Convenient Meal
 Save
Save
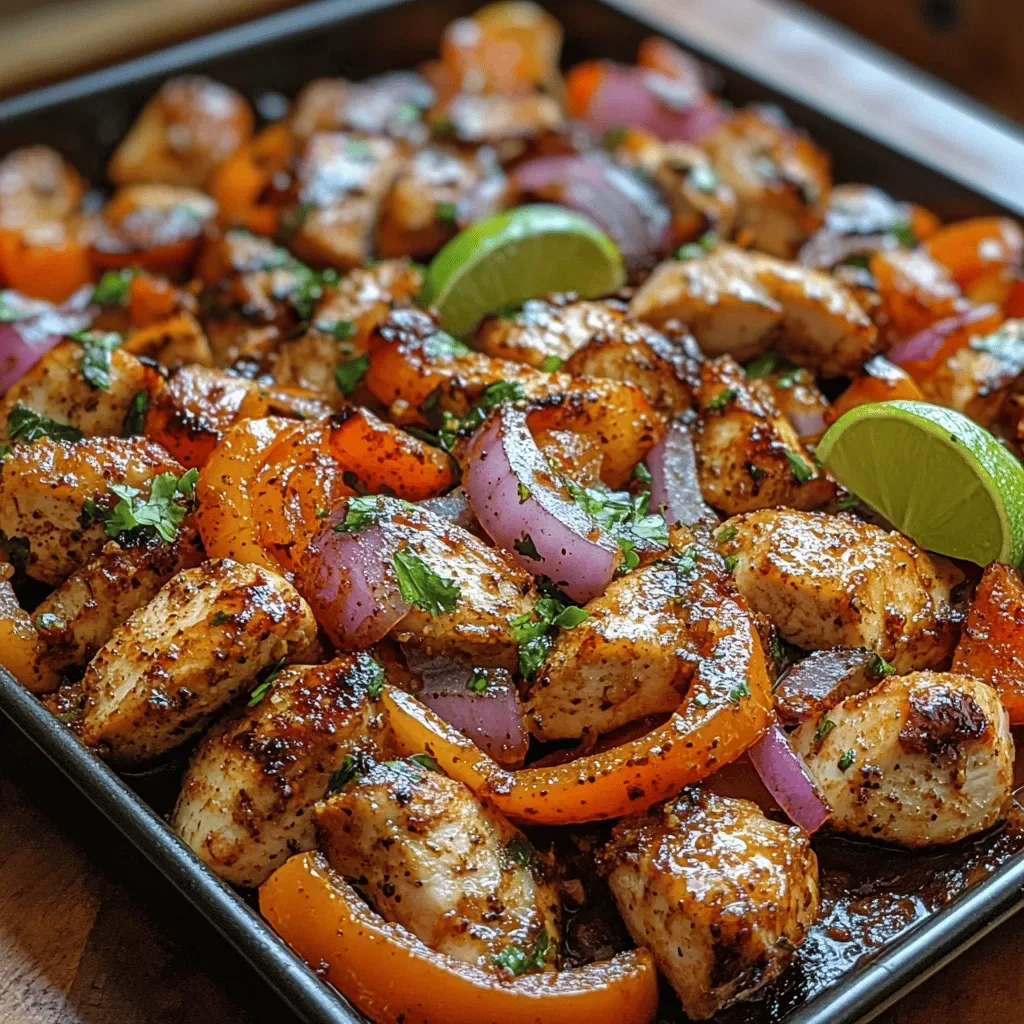
Imagine a breakfast that feels as festive as a weekend brunch and as effortless as a weekday scramble. Sheet Pan Chicken Fajitas deliver that perfect blend of bold Mexican flair and hands‑free cooking, making every morning feel like a celebration.
What sets this dish apart is the sizzling, caramelized edge you get from a single, high‑heat bake, paired with a bright, tangy lime‑cumin marinade that infuses the chicken and vegetables with unmistakable flavor.
Busy parents, brunch‑loving friends, or anyone craving a hearty start will adore this recipe. It shines at weekend brunches, lazy Sunday mornings, or even as a make‑ahead breakfast for the workweek.
The process is straightforward: toss sliced chicken, peppers, and onions with a quick marinade, spread everything on a sheet pan, roast until perfectly charred, then serve with warm tortillas, avocado, and a splash of fresh cilantro.
Why You'll Love This Recipe
One‑Pan Simplicity: All the ingredients cook together on a single sheet pan, so cleanup is a breeze and you spend more time enjoying the meal than scrubbing dishes.
Bold, Balanced Flavors: The citrus‑lime base, smoky cumin, and sweet bell peppers create a harmonious flavor profile that’s both vibrant and comforting.
Customizable Protein: Whether you prefer chicken, turkey, or a plant‑based alternative, the recipe adapts effortlessly without sacrificing taste or texture.
Perfect for Any Meal: Serve it for breakfast tacos, a brunch buffet, or a quick dinner—its versatility makes it a go‑to staple in any kitchen.
Tips & Tricks
Perfecting the Recipe
Uniform Cutting. Slice chicken and vegetables to a similar thickness (about ¼‑inch). This ensures even cooking and prevents some pieces from over‑charred while others stay raw.
Dry Ingredients. Pat the chicken and veggies dry with paper towels before tossing in the marinade. Moisture creates steam, which inhibits the caramelization you’re after.
High Heat. Keep the oven at 425°F (or higher if your oven allows). The intense heat creates those signature charred edges without drying out the meat.
Mid‑Bake Stir. Toss the pan halfway through cooking. This redistributes the juices and guarantees every side gets a chance to brown.
Flavor Enhancements
Finish the dish with a drizzle of extra lime juice for brightness, and a pinch of red‑pepper flakes for a subtle kick. A spoonful of Greek yogurt or sour cream on the side adds cool creaminess that balances the heat.
Common Mistakes to Avoid
Avoid overcrowding the pan; crowded ingredients steam instead of sear. Also, resist the urge to over‑marinate—more than 24 hours can make the texture mushy, especially for the delicate bell peppers.
Pro Tips
Use a Cast‑Iron Sheet Pan. It retains heat better than aluminum, giving a deeper, more uniform char.
Add a Splash of Beer. A quarter‑cup of light lager mixed into the marinade adds a subtle malt sweetness and helps deglaze the pan.
Pre‑Warm Tortillas. Warm tortillas on a hot skillet for 30 seconds per side; this prevents them from tearing when you fold them around the filling.
Finish with Butter. A teaspoon of butter melted into the hot pan right after baking adds silkiness and a glossy finish.
Variations
Ingredient Swaps
Swap chicken for thinly sliced flank steak, pork tenderloin, or firm tofu for a vegetarian twist. Change the bell pepper colors to orange or green for a different visual palette. Replace lime juice with orange juice for a sweeter, citrusy note, and use maple syrup instead of honey for a deeper amber flavor.
Dietary Adjustments
For gluten‑free meals, ensure any packaged spices are certified gluten‑free and serve with corn tortillas. To keep it dairy‑free, omit cheese and use avocado or a cashew‑based crema. Keto diners can replace the tortillas with lettuce wraps and swap honey for a low‑carb sweetener like erythritol.
Serving Suggestions
Pair the fajitas with a side of cilantro‑lime quinoa, a simple black‑bean salad, or a fresh pico de gallo. For a brunch vibe, serve alongside scrambled eggs and a fruit salad. A dollop of guacamole and a handful of pickled red onions add texture and tang.
Storage Info
Leftover Storage
Allow the fajita mixture to cool to room temperature, then transfer it to an airtight container. Refrigerate for up to 3 days. For longer keeping, portion into freezer‑safe bags, squeeze out excess air, and freeze for up to 3 months. Label with the date for easy reference.
Reheating Instructions
Reheat leftovers in a 350°F (175°C) oven, covered with foil, for 12‑15 minutes until steaming hot. Alternatively, stir the mixture in a skillet over medium heat, adding a splash of broth or water to restore moisture. Microwave in short bursts (30‑seconds), stirring between intervals, and finish with a drizzle of fresh lime juice.
Frequently Asked Questions
Can I make this recipe ahead of time?
What if I only have frozen vegetables?
Can I serve this without tortillas?
How spicy is this dish and can I adjust the heat?
This sheet‑pan chicken fajita recipe brings together bold Mexican flavors, minimal cleanup, and the versatility to shine at any breakfast or brunch table. By following the detailed steps, using fresh ingredients, and applying the pro tips, you’ll consistently achieve caramelized, juicy bites that everyone will love. Feel free to experiment with protein swaps, spice levels, or creative toppings—cooking is your canvas. Serve hot, enjoy the burst of flavor, and let the compliments roll in!
Sheet Pan Chicken Fajitas: A Flavorful and Convenient Meal
Delicious Sheet Pan Chicken Fajitas: A Flavorful and Convenient Meal
Ingredients
Main Ingredients
- 1 lb boneless, skinless chicken breasts, sliced into thin strips
- 1 red bell pepper, sliced into strips
- 1 yellow bell pepper, sliced into strips
- ½ large red onion, thinly sliced
Fajita Marinade
- 3 tablespoons olive oil
- 2 tablespoons fresh lime juice
- 1 teaspoon ground cumin
- 1 teaspoon smoked paprika
- ½ teaspoon chili powder
- 1 clove garlic, minced
Seasonings & Garnish
- Salt and freshly ground black pepper, to taste
- ¼ cup chopped fresh cilantro
- Warm corn or flour tortillas, for serving
- Optional toppings: sliced avocado, crumbled queso fresco, lime wedges
Instructions
Baking & Finishing
- Roast. Place the sheet pan in the preheated oven and roast for 12‑15 minutes, stirring halfway through. This brief high‑heat exposure gives the chicken a golden crust while the vegetables soften and acquire a slight char.
- Check Doneness. Use a meat thermometer to verify the chicken has reached 165°F (74°C). If any pieces are still pink, return to the oven for another 2‑3 minutes. The vegetables should be tender‑crisp, not mushy.
- Rest & Garnish. Remove the pan from the oven and let the mixture rest for 3 minutes. This pause lets the juices redistribute. Sprinkle chopped cilantro over the top and give everything a gentle toss to combine.
Similar Recipes
 Dinner
Hearty Meatball Stew Recipe
Delicious Hearty Meatball Stew Recipe
 Dinner
Crispy Peach Tacos Recipe
Delicious Crispy Peach Tacos Recipe
 Dinner
Sweet & Savory Honey Garlic Pork Tenderloin
Delicious Sweet & Savory Honey Garlic Pork Tenderloin
 Dinner
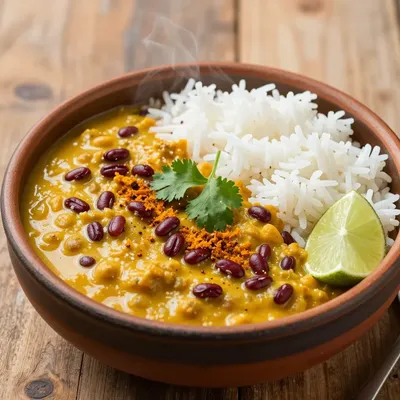
Easy Pantry Lentil Dahl with Spices and Rice
Learn how to make delicious Easy Pantry Lentil Dahl with Spices and Rice. Easy recipe with…
 Dinner
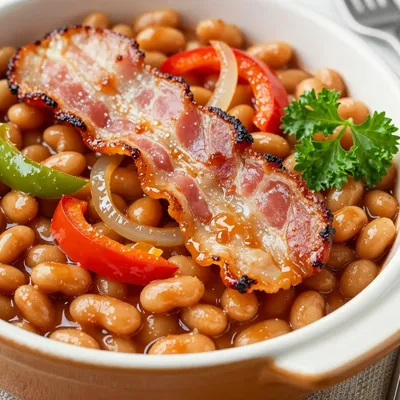
MLK Day Baked Beans with Bacon for Family Feast
Learn how to make delicious MLK Day Baked Beans with Bacon for Family Feast. Easy recipe…
 Dinner
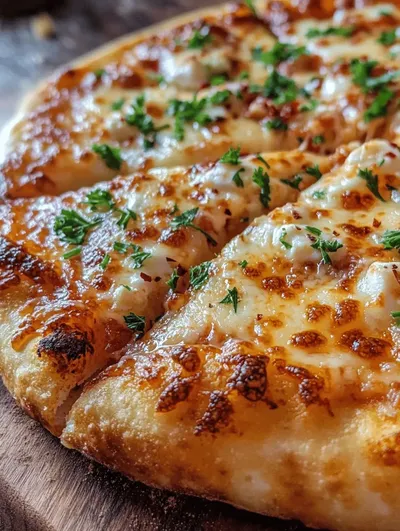
Garlic Parmesan Wonderland Pizza: A Cheesy Delight
Delicious Garlic Parmesan Wonderland Pizza: A Cheesy Delight
 Dinner
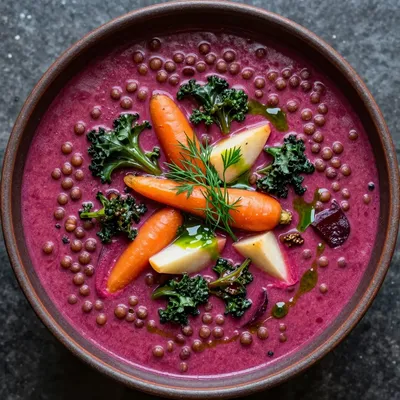
one pot lentil soup with beets and root vegetables for winter comfort
Warm up with our comforting one pot lentil soup with beets and root vegetables, perfect for…
 Dinner
tender herbcrusted turkey breast with cranberry glaze for christmas
Learn how to make delicious tender herbcrusted turkey breast with cranberry glaze for christmas. Easy recipe…

Caroline
I cook these recipes at home before they ever land here — simple ingredients, clear steps.