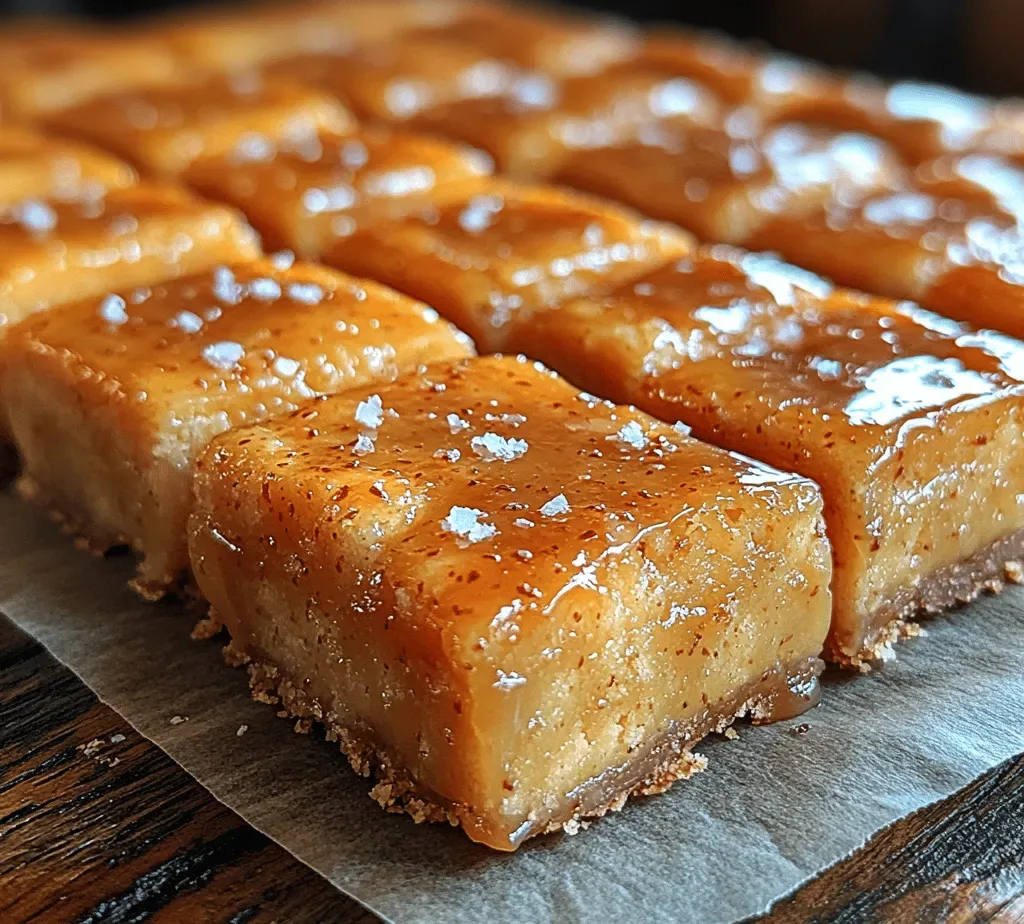
Imagine the first bite of a bar that delivers a silky caramel hug, a whisper of sea‑salt, and a tender crumb that melts in your mouth. Sweet & Salty Caramel Bliss Bars capture that moment, turning an ordinary brunch into a celebration of texture and flavor.
What sets these bars apart is the perfect balance between buttery sweetness and a delicate salty finish, achieved with a homemade caramel drizzle that never feels heavy. The crumb is a blend of oat flour and almond meal, giving a light, nutty base that holds together without being dense.
This treat is ideal for anyone who loves a little indulgence at breakfast, a lazy weekend brunch, or a sweet snack to share with friends over coffee. Kids, adults, and even the pickiest eaters will be drawn to the glossy caramel glaze and the satisfying crunch.
The recipe is straightforward: whisk a few pantry staples, bake a short time, then finish with a warm caramel‑salt sauce that sets into a glossy sheen. In less than an hour you’ll have a tray of bars ready to slice and serve.
Why You'll Love This Recipe
Irresistible Sweet‑Salty Contrast: The caramel’s buttery richness is perfectly offset by a pinch of flaky sea‑salt, creating a flavor dance that keeps you reaching for another bite.
Quick & Easy Prep: With only a handful of steps and minimal mixing, you can have a bakery‑quality treat on the table in under an hour, even on a busy weekend.
Versatile Base: The oat‑almond crumb is naturally gluten‑friendly and adds a subtle nutty flavor that pairs beautifully with the caramel glaze.
Make‑Ahead Friendly: These bars store beautifully, so you can bake them ahead of time for a grab‑and‑go breakfast or a brunch buffet.
Ingredients
The foundation of these bars is a simple crumb made from oat flour, almond meal, and a touch of butter, which creates a tender yet sturdy base. The caramel glaze combines heavy cream, brown sugar, and a dash of sea‑salt for that signature sweet‑salty punch. A sprinkle of vanilla and a pinch of cinnamon add warmth, while the optional toasted nuts give extra crunch. Together, these components build layers of flavor that shine on their own and harmonize when combined.
Crumb & Base
- 1 ½ cups oat flour
- ½ cup finely ground almond meal
- ¼ cup unsalted butter, melted
- ¼ cup brown sugar, packed
- 1 large egg, lightly beaten
- 1 tsp pure vanilla extract
Caramel Glaze
- ½ cup heavy cream
- ¼ cup light brown sugar
- 2 tbsp unsalted butter
- ½ tsp flaky sea‑salt, plus extra for sprinkling
- ¼ tsp ground cinnamon (optional)
Optional Toppings
- 2 tbsp toasted chopped pecans or walnuts
Each ingredient plays a purpose: oat flour gives a tender crumb without gluten, almond meal adds richness, and butter binds everything together. The caramel glaze’s cream and butter create a glossy sheen while the brown sugar supplies deep caramel notes. A pinch of sea‑salt amplifies sweetness, and the optional nuts contribute texture and a toasted flavor that rounds out the bar’s profile.
Step-by-Step Instructions
Preparing the Crumb
Begin by preheating your oven to 350°F (175°C) and lining a 9‑inch square pan with parchment paper. In a large bowl whisk together 1 ½ cups oat flour, ½ cup almond meal, and ¼ cup brown sugar. Drizzle in the melted butter, add the beaten egg and vanilla, then stir until a cohesive, slightly sticky dough forms. The butter and egg act as binders, ensuring the bars hold together after baking.
Baking the Base
- Press the dough. Transfer the dough to the prepared pan and press it evenly with your hands or a flat spatula. A uniform thickness (about ½‑inch) promotes even baking and a golden top.
- Blind bake. Place a sheet of parchment on top of the dough and add a few oven‑safe weights (dry beans or pie weights). Bake for 12‑15 minutes until the edges are lightly golden but the center is still soft. This step prevents a soggy bottom once the caramel is added.
- Remove weights. Carefully lift the parchment and weights. The base should be firm enough to hold the glaze without cracking.
Making the Sweet & Salty Caramel
- Combine sugar and butter. In a medium saucepan over medium heat, melt 2 tbsp butter and stir in ¼ cup light brown sugar. Whisk continuously until the mixture bubbles and the sugar dissolves, about 2‑3 minutes.
- Add cream. Slowly pour in ½ cup heavy cream while whisking. The mixture will steam and thicken; keep whisking for another 2 minutes until it coats the back of a spoon.
- Season. Remove from heat, stir in ½ tsp flaky sea‑salt and ¼ tsp cinnamon if using. The salt intensifies the caramel’s sweetness and adds that signature “sweet‑salty” pop.
Finishing the Bars
Drizzle the warm caramel evenly over the pre‑baked crust, using a spatula to spread it to the edges. If you like extra texture, sprinkle the toasted nuts and a pinch of flaky sea‑salt on top now. Return the pan to the oven and bake for an additional 12‑15 minutes, or until the caramel is set and the edges of the crust are golden brown. Let the bars cool in the pan for 10 minutes, then lift them out using the parchment overhang and transfer to a wire rack. Once completely cool, cut into twelve squares and serve.
Tips & Tricks
Perfecting the Recipe
Room‑temperature ingredients. Allow the butter and egg to sit for 10‑15 minutes before mixing; this creates a smoother dough that spreads evenly.
Don’t over‑bake the base. The crust should stay slightly soft after the first bake; it will finish cooking when the caramel sets, preventing a dry bar.
Use a heavy‑bottom pan. Even heat distribution avoids hot spots that could burn the caramel.
Cool before cutting. Let the bars rest at room temperature; this allows the caramel to firm up, giving clean slices.
Flavor Enhancements
For an extra layer of depth, stir a splash of bourbon or dark rum into the caramel just before removing it from heat. A hint of orange zest added to the crumb dough brightens the overall profile, while a drizzle of honey over the finished bars adds subtle floral sweetness.
Common Mistakes to Avoid
Avoid using cold butter; it creates clumps and prevents a uniform crumb. Also, don’t rush the caramel—high heat can scorch the sugar, resulting in a bitter taste. Finally, resist the urge to cut the bars while the caramel is still warm; it will crumble and lose its glossy finish.
Pro Tips
Toast the nuts. Lightly toast pecans or walnuts in a dry skillet for 3‑4 minutes; this amplifies their aroma and crunch.
Use a kitchen scale. Measuring flour and butter by weight ensures consistency, especially for the crumb.
Store the caramel separately. If you need to prep ahead, keep the glaze in a sealed jar; gently re‑heat before drizzling for a fresh finish.
Finish with flaky sea‑salt. A final sprinkle just before serving adds a burst of texture and heightens the sweet‑salty contrast.
Variations
Ingredient Swaps
Replace oat flour with gluten‑free all‑purpose flour for a softer crumb, or swap almond meal for finely ground hazelnuts for a richer nutty note. For a dairy‑free version, use coconut oil in place of butter and coconut cream instead of heavy cream in the caramel. Maple syrup can substitute brown sugar for a deeper, earthy sweetness.
Dietary Adjustments
To make the bars vegan, use flax‑egg (1 tbsp ground flaxseed + 3 tbsp water) and plant‑based butter. Ensure the brown sugar is unrefined (some contain bone char). For a low‑carb/keto version, replace oat flour with almond flour and use a sugar substitute such as erythritol in the caramel, adding a splash of extra cream to maintain silkiness.
Serving Suggestions
Pair the bars with a dollop of lightly sweetened Greek yogurt or a scoop of vanilla bean ice cream for an indulgent brunch. A side of fresh berries adds acidity that balances the caramel, while a steaming mug of chai or espresso highlights the salty finish.
Storage Info
Leftover Storage
Allow the bars to cool completely, then lift them out with the parchment and place in an airtight container. Store in the refrigerator for up to four days. For longer keeping, wrap each bar individually in plastic wrap, then freeze in a zip‑top bag for up to three months; this prevents freezer burn and retains the caramel’s glossy texture.
Reheating Instructions
Reheat refrigerated bars in a 300°F (150°C) oven for 8‑10 minutes, covered loosely with foil to keep the crumb moist. If frozen, thaw overnight in the fridge, then follow the oven method. Microwaving is acceptable for a quick fix—heat on medium power for 30‑45 seconds, then drizzle a little fresh caramel to revive the shine.
Frequently Asked Questions
This Sweet & Salty Caramel Bliss Bar recipe delivers a perfect harmony of buttery crumb, silky caramel, and a pinch of sea‑salt that elevates any breakfast or brunch. We’ve covered everything—from ingredient selection and step‑by‑step baking to storage, variations, and pro tips—so you can recreate this indulgent treat with confidence. Feel free to experiment with nuts, spices, or fruit to make it truly yours. Enjoy each golden, caramel‑kissed bite and share the bliss with those you love!