
Introduction
Lemon Meringue Pie is a beloved classic dessert that has graced tables for generations. This delightful pie showcases a harmonious balance of tangy lemon filling and fluffy, cloud-like meringue, making it a favorite for many dessert lovers. The bright, zesty taste of the lemon filling pairs beautifully with the sweet, airy meringue topping, creating a flavor profile that dances on the palate. Every bite offers a refreshing burst of citrus that is perfect for any occasion, whether it’s a summer picnic, a holiday feast, or simply a treat to brighten your day.
The charm of homemade desserts cannot be overstated. There is something inherently special about crafting a dish from scratch, particularly one as elegant as Lemon Meringue Pie. Each component reflects the care and love poured into its preparation, making the end result not just a dessert but a memorable experience that you can share with family and friends. There’s a certain joy in watching the pie come together, from the buttery crust to the glossy filling and the fluffy meringue on top. This pie is not just a treat; it’s a labor of love that invites you to gather around the table and create lasting memories.
Understanding the Components of Lemon Meringue Pie
To truly appreciate the allure of Lemon Meringue Pie, it’s essential to understand its three fundamental components: the crust, the filling, and the meringue topping. Each element plays a pivotal role in contributing to the overall flavor and texture of the pie.
1. The Crust: The foundation of any great pie, the crust provides a crunchy contrast to the smooth filling. A well-made crust is essential for holding the pie together and adding to the overall taste experience. Whether you choose a classic pastry crust or a sweeter graham cracker crust, the right texture and flavor can elevate your pie significantly.
2. The Filling: The star of the show, the lemon filling, is where the magic happens. Made primarily from fresh lemons, this filling delivers a delightful tang that cuts through the sweetness of the meringue. The filling is typically thickened with cornstarch, creating a luscious and velvety consistency that pairs perfectly with the crust and meringue.
3. The Meringue: Light, fluffy, and sweet, the meringue topping is what makes Lemon Meringue Pie visually stunning. Made from whipped egg whites and sugar, it is piped or spread over the lemon filling and then baked until golden. The meringue not only adds an impressive presentation but also contributes a delightful texture contrast to the pie.
Lemon Meringue Pie has a rich history, believed to have originated in Europe during the 19th century. It gained immense popularity in America, where it has become a staple dessert at gatherings and celebrations. This pie embodies the essence of classic American baking, and its refreshing flavors continue to captivate dessert enthusiasts around the world.
Crafting the Perfect Crust
A delectable Lemon Meringue Pie starts with a perfect crust. The crust sets the stage for the pie, providing structure and texture that enhances the overall experience. A well-made crust not only holds the filling securely but also adds its own flavor to the mix. For this recipe, we will create a graham cracker crust, which offers a sweet, buttery taste that complements the tangy lemon filling perfectly.
Ingredients Breakdown
To craft your graham cracker crust, you will need the following ingredients:
– Graham cracker crumbs: These form the base of the crust, providing a sweet and crunchy texture.
– Unsalted butter: Melted butter binds the crumbs together and adds richness.
– Sugar: A bit of sugar enhances the sweetness of the crust, balancing the tartness of the lemon filling.
– Salt: A pinch of salt elevates the flavors and ensures a well-rounded taste.
Step-by-Step Instructions for Preparing the Crust
Follow these detailed steps to create a delicious graham cracker crust:
1. Preheat the Oven: Start by preheating your oven to 350°F (175°C). This step is crucial as it ensures that your crust bakes evenly and achieves that perfect golden brown color.
2. Mix the Crust Ingredients: In a medium-sized mixing bowl, combine 1 ½ cups of graham cracker crumbs, ½ cup of melted unsalted butter, 1/4 cup of sugar, and a pinch of salt. Use a fork or a whisk to combine the ingredients until the mixture resembles wet sand.
3. Press the Mixture into a Pie Pan: Once the crust mixture is well combined, transfer it to a 9-inch pie pan. Use your fingers or the back of a measuring cup to press the crumbs firmly into the bottom and up the sides of the pan. Make sure to create an even layer, as this will help the crust hold its shape during baking.
4. Bake the Crust: Place the pie pan in the preheated oven and bake for about 8-10 minutes, or until the crust is lightly golden and fragrant. Keep an eye on it to prevent burning, as graham cracker crusts can brown quickly.
5. Cool the Crust: Once baked, remove the crust from the oven and allow it to cool completely in the pan. Cooling is essential, as it allows the crust to set and become firm before adding the lemon filling.
Techniques for Achieving a Golden, Crunchy Crust
To achieve the perfect graham cracker crust, consider the following tips:
– Use Fresh Graham Crackers: For the best flavor and texture, opt for fresh graham crackers. Stale crackers can lead to a less-than-ideal crust.
– Press Firmly: Ensure the crust mixture is pressed down firmly into the pan to create a sturdy base that will support the filling. A well-packed crust will hold its shape while slicing.
– Avoid Overbaking: Keep a close watch on the crust as it bakes. Overbaking can lead to a tough texture, so remove it from the oven as soon as it reaches that golden hue.
Tips for Cooling and Preparing the Crust for Filling
After your crust has cooled, it’s essential to make sure it is ready for the lemon filling:
– Check for Cracks: Inspect the crust for any cracks or weak spots. If you find any, gently press them back together.
– Chill in the Refrigerator: For an even firmer crust, consider placing the cooled crust in the refrigerator for 15-20 minutes before adding the filling. This will help it set even more and provide a better base for the lemon filling.
With a perfectly prepared graham cracker crust in hand, you are now ready to move on to the tangy lemon filling, the star of this Ultimate Lemon Meringue Pie. The next section will delve into creating the filling that will elevate your pie to new heights.
Creating the Tangy Lemon Filling
The lemon filling is the heart of the Lemon Meringue Pie, and using fresh ingredients is crucial for achieving an authentic, vibrant flavor. This filling is made with a blend of sugar, cornstarch, salt, water, egg yolks, butter, lemon juice, and lemon zest. Together, these ingredients create a luscious, tart filling that pairs impeccably with the sweet meringue topping.
Ingredients for the Lemon Filling
Gather the following ingredients to make your tangy lemon filling:
– Sugar: The sweetness of the sugar balances the tartness of the lemons.
– Cornstarch: This thickening agent ensures that your filling has the right consistency, giving it a creamy texture.
– Salt: A small amount of salt enhances the overall flavor of the filling.
– Water: Used to dissolve the cornstarch and create a smooth filling.
– Egg yolks: These will add richness and help to thicken the filling.
– Unsalted butter: Butter adds a luxurious texture and flavor to the filling.
– Fresh lemon juice: The star ingredient, fresh lemon juice provides that signature tangy flavor.
– Lemon zest: Grated lemon zest adds an extra punch of citrus flavor and aroma.
Step-by-Step Instructions for Making the Lemon Filling
Now that you have your ingredients ready, follow these steps to create your lemon filling:
1. Combine Dry Ingredients: In a medium saucepan, whisk together 1 cup of granulated sugar, 1/4 cup of cornstarch, and a pinch of salt. This will be the base of your filling.
2. Add Wet Ingredients: Gradually whisk in 1 ½ cups of water until the mixture is smooth and free of lumps. Place the saucepan over medium heat and continue to stir frequently.
3. Thicken the Mixture: Cook the mixture until it begins to bubble and thicken. This process will take about 5-7 minutes. Once it starts bubbling, reduce the heat to low.
4. Prepare the Egg Yolks: In a separate bowl, lightly beat 4 large egg yolks. To temper the yolks and prevent them from scrambling, add a small amount of the hot lemon mixture to the yolks while whisking continuously. This step is crucial for achieving a smooth filling.
5. Combine Egg Yolks with Mixture: Slowly whisk the tempered egg yolks back into the saucepan with the remaining lemon mixture. Keep stirring over low heat for another 2-3 minutes until the filling is thick enough to coat the back of a spoon.
6. Add Butter and Lemon Flavor: Remove the saucepan from the heat and stir in 2 tablespoons of unsalted butter, 1/2 cup of freshly squeezed lemon juice, and the zest from 2 lemons. Mix until the butter is fully melted and incorporated.
7. Cool the Filling: Allow the lemon filling to cool slightly before pouring it into your prepared crust. This will help the filling set properly when it’s baked.
With the crust perfectly prepped and the tangy lemon filling ready, you are well on your way to creating the Ultimate Lemon Meringue Pie. The next steps will guide you through making that fluffy meringue topping that will crown your pie, ensuring that it’s not only delicious but also visually stunning. Stay tuned for the final touches that will make your Lemon Meringue Pie a showstopper!
Techniques for Tempering Egg Yolks
Tempering egg yolks is a crucial technique in preparing the lemon filling for your Ultimate Lemon Meringue Pie. This method prevents the yolks from scrambling when they come into contact with the hot lemon mixture. To temper the yolks effectively, start by whisking together the egg yolks in a bowl. Then, gradually add a small amount of the hot lemon mixture to the yolks while whisking constantly. This gradual mixing raises the temperature of the yolks without cooking them. Once you’ve added about a cup of the hot mixture to the yolks, you can then return the tempered yolks back into the saucepan with the remaining lemon mixture. This technique ensures a smooth, creamy consistency in your filling, which is essential for the perfect pie.
Importance of Cooking to the Right Consistency
Cooking the lemon filling to the right consistency is vital for achieving the ideal texture of your pie. The filling should be thick enough to hold its shape when sliced but still smooth and creamy. Usually, you will cook the mixture until it reaches a gentle boil, stirring constantly. This allows the mixture to thicken properly, usually within 7 to 10 minutes. If it’s too runny, the pie will not set correctly; if it’s too thick, it can become gelatinous and unappealing. You’ll know it’s ready when it coats the back of a spoon and holds a line when you run your finger through it. Proper cooking ensures a delightful contrast between the tangy filling and the sweet meringue topping.
Discussing the Option of Using Food Coloring for Visual Appeal
While the classic lemon meringue pie is a stunning dessert in its natural state, you can enhance its visual appeal by adding a few drops of food coloring to the lemon filling. A hint of yellow food coloring can intensify the vibrant hue of the lemon filling, making it more visually striking when served. If you’re feeling creative, consider using natural food colorants, such as turmeric for a deeper yellow hue. Just be cautious with the amount you use—aim for a subtle enhancement rather than an overpowering shade. This attention to detail not only appeals to the eyes but also sets the stage for a memorable dessert experience.
Mastering the Meringue Topping
Meringue is the crowning glory of your lemon meringue pie, providing a delightful contrast to the tangy lemon filling. This fluffy topping adds an airy texture and a touch of sweetness that balances the acidity of the lemon. The role of meringue is not just aesthetic; it also seals the lemon filling, preventing it from drying out and maintaining its luscious quality.
Ingredients for Meringue
For the meringue, you will need:
– 4 large egg whites
– 1/4 teaspoon cream of tartar
– 1 cup granulated sugar
– 1 teaspoon vanilla extract
These ingredients work together to create a stable meringue that holds its shape beautifully while also providing a deliciously sweet contrast to the tart filling.
Step-by-Step Guide for Whipping Egg Whites to the Perfect Consistency
1. Ensure Freshness and Cleanliness: Start with fresh egg whites at room temperature, as they whip more easily. Make sure your mixing bowl and beaters are completely clean and free of any grease, as this can inhibit the egg whites from reaching their full volume.
2. Begin Whipping: In a large mixing bowl, add the egg whites. Using an electric mixer, begin whipping the egg whites on medium speed until they become frothy.
3. Add Cream of Tartar: Once the egg whites are frothy, add the cream of tartar. This stabilizes the meringue and helps it hold its shape during baking.
4. Increase Speed and Add Sugar Gradually: Increase the mixer speed to high and gradually add the sugar, one tablespoon at a time. Continue to beat until stiff peaks form. This process usually takes about 5 to 7 minutes. You’ll know the meringue is ready when you can turn the bowl upside down without the mixture moving.
5. Add Vanilla: Finally, gently fold in the vanilla extract for added flavor.
Importance of Clean Equipment and Proper Mixing Techniques
Using clean equipment is crucial for achieving perfect meringue. Any trace of fat or oil can prevent the egg whites from whipping properly, resulting in a flat meringue. Additionally, avoid using plastic bowls, as they can retain oils. Instead, opt for glass or metal bowls. When mixing, always start on a lower speed to incorporate air gradually. This helps prevent splashing and ensures a consistent texture.
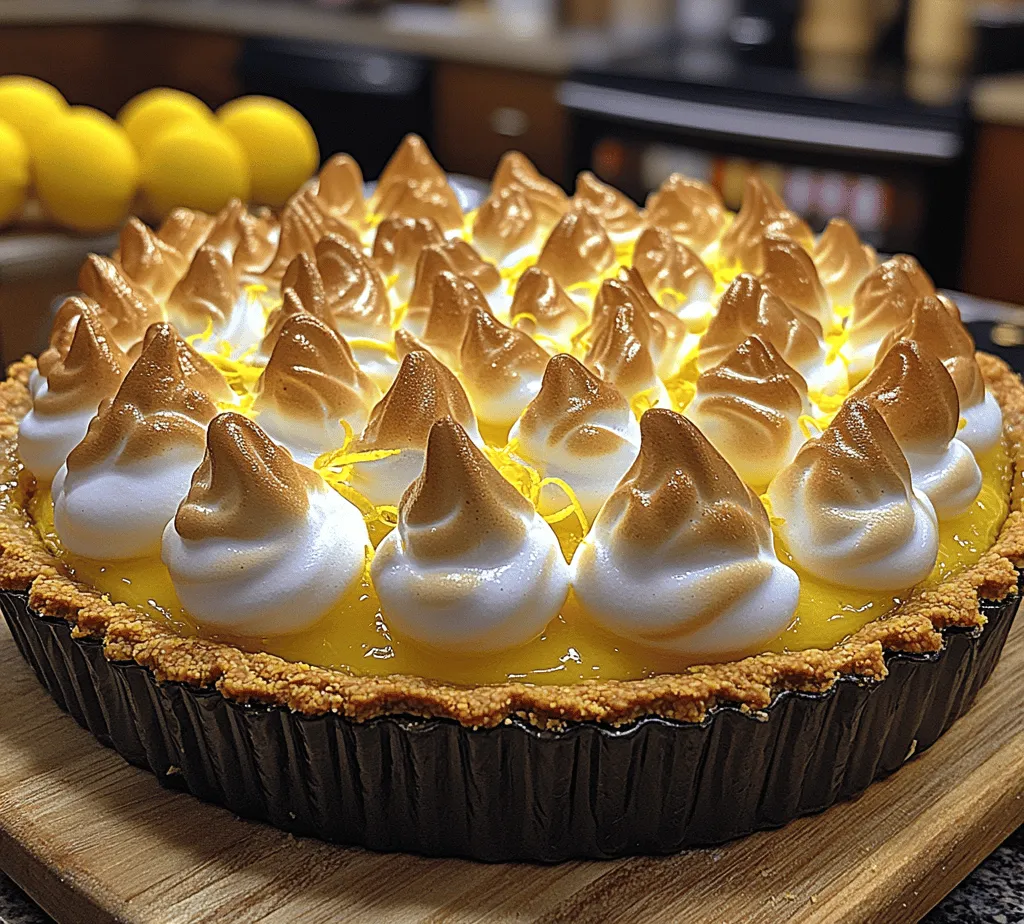
Techniques for Spreading Meringue and Creating Peaks for Texture
Once your meringue is ready, it’s time to spread it over the lemon filling. Use a spatula to gently spread the meringue from the center outwards, ensuring it covers the filling completely to seal it in. For a decorative touch, create peaks and swirls with the spatula or the back of a spoon. These peaks will brown beautifully in the oven, adding an appealing texture to your pie.
Baking the Pie to Perfection
Baking the meringue is a critical step, so pay close attention to both time and temperature. Preheat your oven to 350°F (175°C). Place your pie on the middle rack and bake it for about 10 to 15 minutes. The goal is to achieve a light golden brown color on the meringue.
Importance of Baking Time and Temperature for Meringue
Baking at the right temperature is essential—too low, and the meringue may not set; too high, and it could burn. Keep an eye on it during the last few minutes of baking to ensure it doesn’t over-brown. If you notice it browning too quickly, you can tent it with aluminum foil to protect it while it finishes baking.
Guidelines for Monitoring the Browning Process
During the baking process, check the meringue regularly. Look for a light golden hue and a slightly crisp exterior. Once it reaches the desired color, remove it from the oven and allow it to cool on a wire rack. This cooling period is crucial for setting the meringue.
Cooling and Chilling the Pie: Why It’s Essential for Setting the Filling
After baking, let the pie cool to room temperature. This allows the filling to set properly. Chilling the pie in the refrigerator for at least two hours (or overnight if possible) enhances the flavors and helps the filling firm up. This step is essential for a clean slice when serving, as a pie that hasn’t cooled adequately may result in a runny filling.
Serving Your Ultimate Lemon Meringue Pie
Presentation is key when it comes to serving your Ultimate Lemon Meringue Pie. A beautifully sliced pie is not only a feast for the taste buds but also for the eyes.
Aesthetic Presentation Tips for Serving
When ready to serve, use a sharp knife dipped in hot water to slice through the meringue and filling cleanly. This prevents the meringue from tearing and creates a beautiful, clean edge. Consider garnishing each slice with a sprinkle of lemon zest or a few fresh mint leaves to enhance the presentation.
Suggested Pairings and Beverages to Enjoy with the Pie
Pair your lemon meringue pie with a dollop of freshly whipped cream for added richness. For beverages, consider serving it with a glass of iced tea or lemonade to complement the citrus flavor. A light sparkling wine or prosecco can also enhance the experience, balancing the sweetness of the meringue with its effervescence.
Description of the First Bite Experience: Tangy, Creamy, and Sweet
The first bite of your Ultimate Lemon Meringue Pie is a delightful explosion of flavors and textures. The tangy lemon filling bursts forth, balanced by the creamy richness of the meringue. The sweetness of the meringue intermingles with the tartness of the lemon, creating a harmonious contrast that dances on your palate. The light, airy meringue provides a satisfying crunch that gives way to the smooth filling beneath, making every bite a delightful experience.
Conclusion
Making your own Ultimate Lemon Meringue Pie is not only a rewarding culinary experience but also a way to create cherished memories with family and friends. The joy of crafting this classic dessert from scratch, from tempering the egg yolks to mastering the meringue, brings a sense of accomplishment that’s hard to beat.
I encourage you to try this recipe and embrace the process. There’s something truly special about sharing homemade desserts, especially one as delightful as Lemon Meringue Pie. It’s not just about the end result; it’s about the love and care that goes into each step, reflecting the significance of homemade desserts in our culinary traditions. Enjoy the tangy, creamy, and sweet experience that is sure to become a favorite in your household!
