Strawberry Bliss No-Bake Cheesecake Cups
 Save
Save
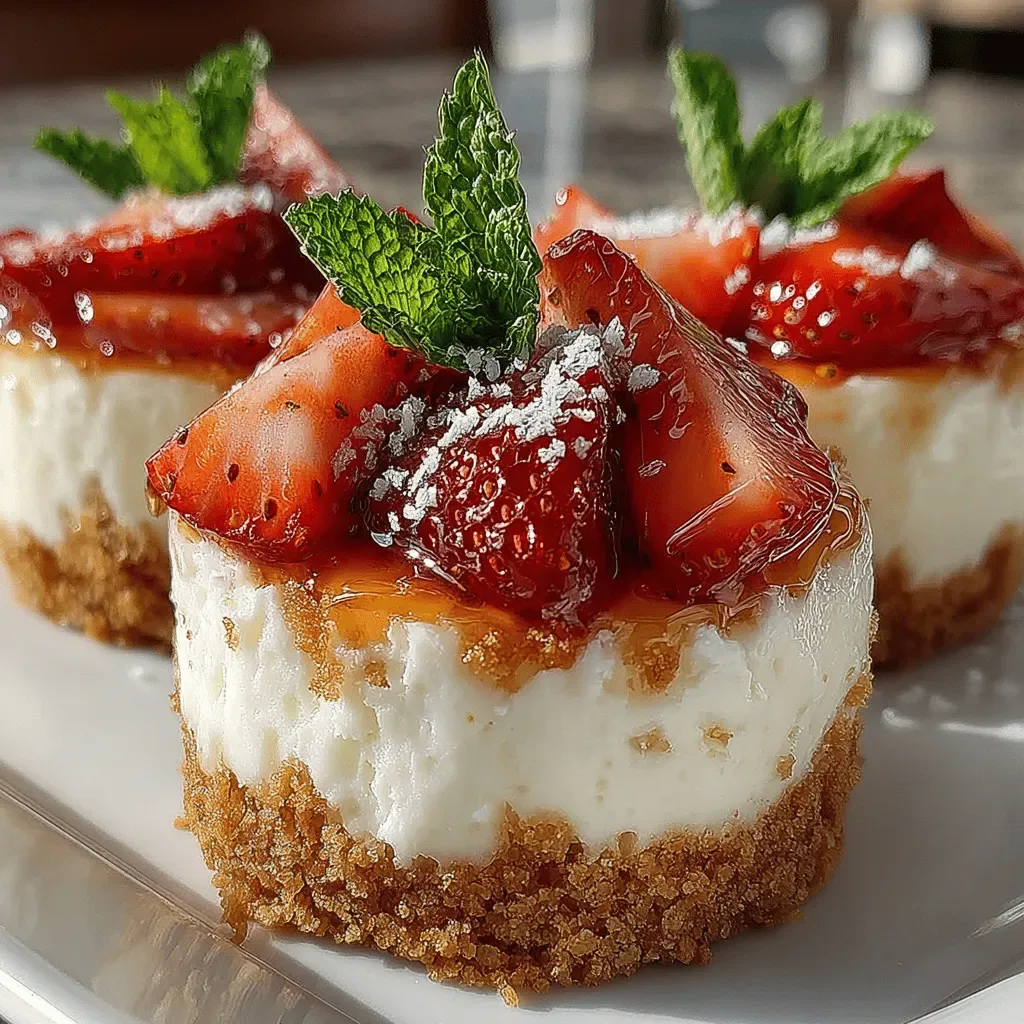
Imagine a sunrise on your plate: creamy, tangy cheesecake swirled with the sweet perfume of fresh strawberries, all nestled in a buttery, crumbly crust. This is the magic of Strawberry Bliss No‑Bake Cheesecake Cups—an effortless indulgence that feels like a celebration every morning.
What sets this recipe apart is its no‑bake method, which preserves the bright, natural flavor of strawberries while keeping the texture light and airy. The combination of a graham‑cracker base, a silky cream cheese filling, and a glossy strawberry topping creates a harmony of flavors that dance on the palate.
Busy parents, brunch‑loving friends, and anyone craving a sweet start to the day will adore these cups. They’re perfect for weekend brunches, holiday breakfasts, or a quick weekday treat that looks as impressive as it tastes.
The process is straightforward: crush the crust, whisk the filling, layer with strawberry sauce, and chill. In just a few minutes of hands‑on work and a couple of hours in the fridge, you’ll have a stunning, ready‑to‑serve dessert that can be made ahead and stored.
Why You'll Love This Recipe
Zero Oven Required: The no‑bake technique eliminates heat, preserving the fresh strawberry flavor while keeping the kitchen cool—ideal for warm mornings or busy kitchens.
Make‑Ahead Friendly: Assemble the cups the night before, chill, and enjoy a ready‑to‑serve brunch without any last‑minute hustle.
Portion‑Perfect Presentation: Individual cups look polished on any brunch table, eliminating the need for cutting and serving large pies.
Customizable Sweetness: Adjust sugar levels or swap sweeteners to suit personal taste, making it easy to cater to both kids and adults.
Tips & Tricks
Perfecting the Recipe
Room‑Temperature Cream Cheese. Soften the cheese for at least 30 minutes before mixing. This prevents lumps and ensures a silky mousse.
Press the Crust Firmly. Use the back of a spoon or the bottom of a glass to compact the crumb base; a sturdy crust keeps the cup from becoming soggy.
Flavor Enhancements
For an extra layer of flavor, stir a tablespoon of finely chopped fresh mint into the strawberry sauce, or add a splash of balsamic reduction just before serving. A dash of ground cardamom in the filling adds a subtle warmth that pairs beautifully with the fruit.
Common Mistakes to Avoid
Avoid over‑mixing the cream cheese; excessive beating can incorporate too much air, causing the mousse to collapse after chilling. Also, do not skip the cooling step—without adequate refrigeration the filling will remain too soft and the layers may blend together.
Pro Tips
Use a Hand‑Held Piping Bag. Transfer the mousse into a small piping bag for a clean, uniform layer that looks café‑grade.
Chill the Glasses. Placing the serving glasses in the freezer for 5 minutes before assembly helps the crust stay crisp longer.
Finish with a Sprinkle. Just before serving, add a light dusting of powdered sugar or a few shaved white chocolate curls for extra elegance.
Layer Smartly. Alternate thin layers of mousse and strawberry sauce for a marble effect that looks as good as it tastes.
Variations
Ingredient Swaps
Swap graham‑cracker crumbs for vanilla wafers or crushed digestive biscuits for a different flavor profile. Use Greek yogurt in place of half the heavy cream for a lighter, tangier mousse. For a tropical twist, replace strawberries with mango puree and a drizzle of coconut cream.
Dietary Adjustments
For a gluten‑free version, use certified gluten‑free graham crackers or almond meal for the crust. Vegan diners can substitute dairy cream cheese with a plant‑based alternative and use coconut cream instead of heavy cream; sweeten with agave or maple syrup. Keto fans can replace the crust with crushed pork rinds mixed with butter and skip the powdered sugar, using erythritol instead.
Serving Suggestions
Pair the cups with a crisp glass of sparkling rosé or a freshly brewed hibiscus tea for a bright contrast. Add a side of toasted almond slivers for extra crunch, or serve alongside a light citrus salad to balance the richness.
Storage Info
Leftover Storage
Once assembled, keep the cups covered with plastic wrap or a reusable lid. Store in the refrigerator for up to 4 days; the crust remains crisp if the glaze is added just before serving. For longer keep, separate the crust from the mousse and freeze the mousse in airtight containers for up to 2 months, then recombine when ready to serve.
Reheating Instructions
No reheating is required for the chilled version. If you prefer a warm dessert, gently warm the strawberry topping in a saucepan over low heat for 2‑3 minutes, then drizzle over the mousse just before serving. Avoid microwaving the mousse itself, as it can cause the cheese to separate.
Frequently Asked Questions
Can I make these cups a day ahead?
What if I don’t have fresh strawberries?
How sweet should the mousse be?
Can I use a different type of crust?
This Strawberry Bliss No‑Bake Cheesecake Cup brings together a buttery crust, airy cream cheese mousse, and a vibrant strawberry glaze—all without turning on the oven. The detailed steps, storage tips, and creative variations ensure you can tailor the dish to any palate or dietary need. Feel free to experiment with toppings, crusts, or sweeteners—cooking is an adventure, and this recipe is a perfect canvas. Serve, savor, and enjoy every creamy, fruity bite!
Strawberry Bliss No-Bake Cheesecake Cups
Delicious Strawberry Bliss No-Bake Cheesecake Cups
Ingredients
Crust
- 1 ½ cups graham‑cracker crumbs
- 3 tablespoons unsalted butter, melted
- 2 teaspoons granulated sugar
Filling
- 8 oz (225 g) cream cheese, softened
- ¼ cup powdered sugar
- ¼ cup heavy cream
- 1 teaspoon pure vanilla extract
- ½ teaspoon lemon zest
Strawberry Topping
- 2 cups fresh strawberries, hulled and sliced
- 2 tablespoons honey or maple syrup
- 1 tablespoon lemon juice
- Pinch of sea salt
Instructions
Making the Creamy Filling
- Blend the Base. In a large mixing bowl, beat the softened cream cheese with an electric mixer on medium speed until smooth, about 1‑2 minutes. This eliminates lumps and creates a velvety foundation for the mousse.
- Sweeten & Lighten. Add powdered sugar, vanilla extract, and lemon zest. Continue mixing until fully incorporated, then slowly drizzle in the heavy cream while the mixer is on low. The cream lightens the mixture, giving it a mousse‑like consistency that holds its shape when layered.
- Check Consistency. The filling should be thick enough to pipe but still soft enough to spread with a spatula. If it feels too stiff, add a teaspoon more cream; if too runny, whisk in a touch more powdered sugar.
Assembling the Cups
- Layer the Filling. Spoon or pipe the cream cheese mousse over the crust, filling each glass about three‑quarters full. Smooth the top with the back of a spoon for an even surface.
- Add the Topping. Drizzle a generous spoonful of the cooled strawberry sauce over the mousse, allowing it to cascade down the sides for visual appeal.
- Chill. Cover each cup with plastic wrap and refrigerate for at least 2 hours, preferably 3, to let the flavors meld and the mousse set. The chilling step is crucial; it transforms the airy mixture into a firm, sliceable texture.
Similar Recipes
 Desserts
Crispy Crave-Worthy Caramel Popcorn: A Delicious Treat for Any Occasion
Delicious Crispy Crave-Worthy Caramel Popcorn: A Delicious Treat for Any Occasion
 Desserts
Frozen Yogurt Chocolate Almond Coins
Delicious Frozen Yogurt Chocolate Almond Coins
 Desserts
Layered Candy Corn Pie A Delightful Fall Treat!
Learn how to make delicious Layered Candy Corn Pie A Delightful Fall Treat!. Easy recipe with…
 Desserts
Banana Pudding Cheesecake Recipe: A Decadent Delight
Delicious Banana Pudding Cheesecake Recipe: A Decadent Delight
 Desserts
Heavenly Homemade Apple Pie: A Delicious Journey from Scratch
Learn to bake a heavenly homemade apple pie from scratch with a flaky crust and spiced…
 Desserts
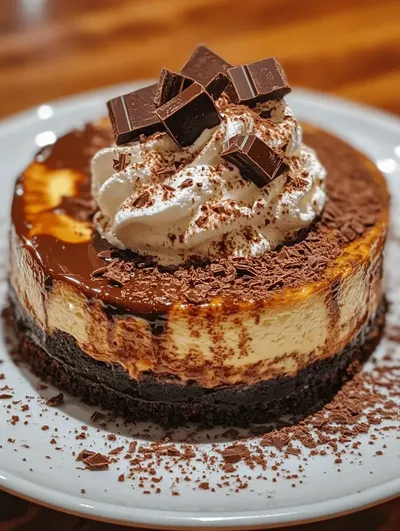
Decadent Godiva Chocolate Cheesecake Delight: A Luxurious Dessert Experience
Delicious Decadent Godiva Chocolate Cheesecake Delight: A Luxurious Dessert Experience
 Desserts
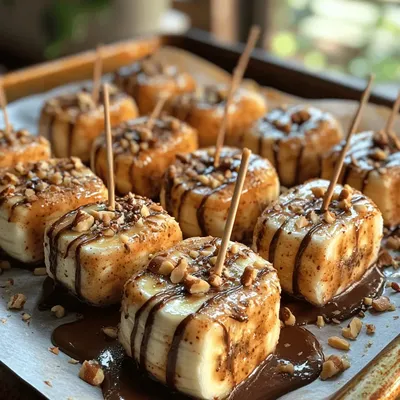
Choco-Peanut Frozen Banana Yogurt Bites: A Deliciously Healthy Treat
Delicious Choco-Peanut Frozen Banana Yogurt Bites: A Deliciously Healthy Treat
 Desserts
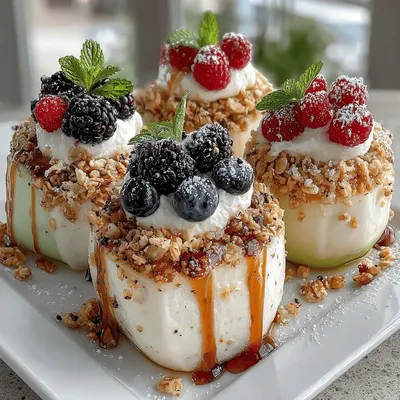
Frozen Yogurt Stuffed Apple Slices: A Deliciously Healthy Treat
Delicious Frozen Yogurt Stuffed Apple Slices: A Deliciously Healthy Treat

Caroline
I cook these recipes at home before they ever land here — simple ingredients, clear steps.