Cinnamon Roll Bliss Bars Recipe
 Save
Save
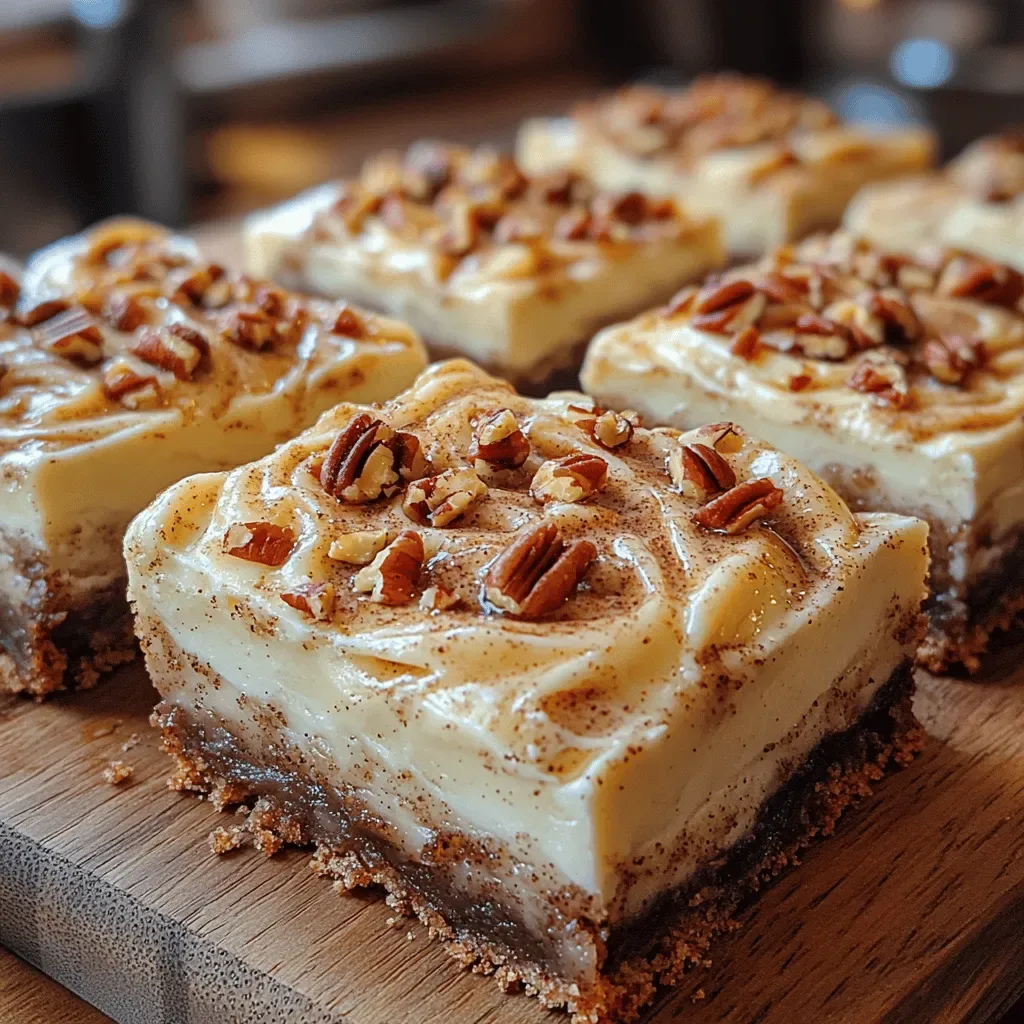
Imagine waking up to the warm, buttery aroma of freshly baked cinnamon rolls, but in a convenient, handheld form that’s perfect for brunch gatherings or a lazy weekend breakfast. Cinnamon Roll Bliss Bars deliver that classic comfort with a fraction of the effort, making them an instant crowd‑pleaser.
What sets these bars apart is the layered dough that stays tender and fluffy, a generous swirl of cinnamon‑brown sugar, and a silky cream‑cheese glaze that drips over each bite. The result is a sweet‑spicy balance that feels both indulgent and homey.
Anyone who loves a good pastry—kids, busy parents, or friends craving a treat—will adore these bars. Serve them at a brunch buffet, as a dessert after a hearty breakfast, or even as a portable snack on a Saturday hike.
The process is straightforward: make a simple yeasted dough, roll it with a cinnamon‑sugar mixture, slice, bake, and finish with a luscious glaze. Even novice bakers can master this recipe with confidence.
Why You'll Love This Recipe
Irresistible Texture: The soft, pillowy interior contrasts with a lightly crisp edge, giving every bite a satisfying mouthfeel that mimics traditional cinnamon rolls without the fuss.
Make‑Ahead Friendly: You can prepare the dough and assemble the bars the night before, then bake them fresh in the morning, saving precious brunch time.
Portion Control: Cutting the loaf into individual bars means everyone gets a perfectly sized serving, eliminating waste and simplifying clean‑up.
Versatile Sweetness: The glaze can be adjusted from light drizzle to a thick frosting, allowing you to tailor the sweetness to your crowd’s preferences.
Tips & Tricks
Perfecting the Recipe
Temperature‑Controlled Yeast. Keep the milk between 105‑115°F; hotter liquid kills the yeast, cooler liquid slows activation, leading to a dense dough.
Don’t Over‑Knead. Stop kneading once the dough is smooth and elastic; over‑kneading can toughen the crumb and diminish rise.
Even Rolling. Use a rolling pin and a ruler to ensure the dough is uniformly ¼‑inch thick, which guarantees consistent layers of filling.
Seal the Roll. Pinch the seam tightly after rolling; a loose seam creates gaps where the glaze can leak, compromising the bar’s shape.
Flavor Enhancements
Add a tablespoon of orange zest to the cinnamon‑sugar mixture for a bright citrus note, or stir in a handful of chopped toasted pecans for crunch. A drizzle of caramel sauce over the glaze adds an extra layer of decadence without overwhelming the spice.
Common Mistakes to Avoid
Skipping the second rise results in flat bars that lack the signature puff. Also, avoid opening the oven door during the first 12 minutes of baking; temperature fluctuations cause the bars to collapse.
Pro Tips
Use a Stand Mixer. If you have a dough hook, it streamlines kneading and yields a more consistent texture.
Chill the Dough. After the first rise, refrigerate the dough for 30 minutes; this makes it easier to roll thin without tearing.
Glaze While Warm. Applying the cream‑cheese glaze to warm bars ensures it melts into the crevices, creating a glossy finish.
Store in a Single Layer. Cool the bars on a wire rack before stacking; this prevents soggy bottoms caused by trapped steam.
Variations
Ingredient Swaps
Replace the classic brown sugar with coconut sugar for a subtle caramel‑like depth, or swap butter for melted coconut oil to add a faint tropical note. For a nutty twist, fold in ½ cup of finely chopped toasted almonds into the cinnamon filling.
Dietary Adjustments
Use a gluten‑free flour blend (ensure it contains xanthan gum) in place of all‑purpose flour for a safe gluten‑free version. Swap dairy butter with a plant‑based margarine and use vegan cream cheese to keep the bars completely dairy‑free. For a low‑sugar option, halve the brown sugar and use a sugar substitute that measures cup‑for‑cup.
Serving Suggestions
Serve the Bliss Bars alongside a scoop of vanilla bean ice cream for an indulgent brunch dessert, or pair them with fresh berries and a dollop of Greek yogurt for a lighter, protein‑rich option. A drizzle of espresso‑infused chocolate sauce adds an elegant café‑style finish.
Storage Info
Leftover Storage
Allow the bars to cool completely, then place them in an airtight container. Store in the refrigerator for up to 4 days. For longer keeping, wrap each bar individually in plastic wrap, then seal them in a freezer‑safe bag; they will maintain quality for up to 3 months.
Reheating Instructions
Reheat refrigerated bars in a 350°F (175°C) oven for 8‑10 minutes, covered with foil to prevent drying. For a quick microwave fix, heat a single bar on medium power for 30‑45 seconds, adding a splash of milk if the glaze looks stiff.
Frequently Asked Questions
Can I make this recipe ahead of time?
Can I use frozen dough for this recipe?
What sides pair best with Cinnamon Roll Bliss Bars?
How do I know when the bars are fully baked?
This Cinnamon Roll Bliss Bars recipe blends the comfort of classic cinnamon rolls with the convenience of a handheld bar, making it perfect for any breakfast or brunch occasion. You now have a complete guide—from ingredient selection to storage tips and creative variations—so you can master the technique and tailor the flavors to your liking. Feel free to experiment, add your favorite twists, and share the joy of these indulgent bars with family and friends. Happy baking and enjoy every buttery, cinnamon‑spiced bite!
Cinnamon Roll Bliss Bars Recipe
Delicious Cinnamon Roll Bliss Bars Recipe
Ingredients
Dough (Main Ingredients)
- 2 ¼ teaspoons active dry yeast
- 1 cup warm milk (110°F/43°C)
- ¼ cup granulated sugar
- ½ cup unsalted butter, melted
- 2 large eggs, room temperature
- 3 ½ cups all‑purpose flour, plus extra for dusting
- ½ teaspoon salt
Cinnamon‑Sugar Filling
- ½ cup unsalted butter, softened
- 1 cup light brown sugar, packed
- 2 tablespoons ground cinnamon
- ¼ teaspoon nutmeg (optional)
Cream‑Cheese Glaze
- 4 ounces cream cheese, softened
- ¼ cup unsalted butter, softened
- 1 cup powdered sugar, sifted
- ½ teaspoon pure vanilla extract
- 2 tablespoons milk (adjust for consistency)
Instructions
Baking the Bars
- Roll and Slice. Starting from the long edge, roll the dough tightly into a log. Pinch the seam to seal. Using a sharp serrated knife, cut the log into 12 even pieces, about 1‑inch thick. The uniform size ensures even baking and consistent texture.
- Arrange on a Baking Sheet. Place the sliced bars on a parchment‑lined baking sheet, leaving a small gap between each. This spacing allows the bars to expand without sticking together, resulting in a beautifully risen top.
- Second Rise. Cover the bars loosely with a clean kitchen towel and let them rise for an additional 30 minutes. They should puff up noticeably, indicating the yeast is still active.
- Bake. Preheat the oven to 375°F (190°C). Bake the bars for 18‑20 minutes, or until the tops are golden brown and a toothpick inserted near the center comes out clean. The edges should be lightly crisp while the interior remains soft.
- Cool Slightly. Remove the pan from the oven and let the bars rest on the sheet for 5 minutes. This brief cooling period helps set the crumb, making the glaze adhere better without sliding off.
Similar Recipes
 Desserts
Baby Lemon Impossible Pies: A Zesty Delight
Delicious Baby Lemon Impossible Pies: A Zesty Delight
 Desserts
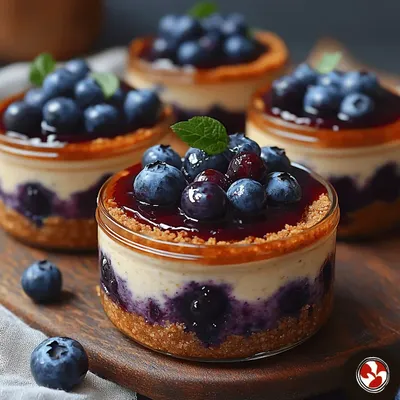
Indulge in Blueberry Bliss: A Creamy Cheesecake Jar Recipe
Delicious Indulge in Blueberry Bliss: A Creamy Cheesecake Jar Recipe
 Desserts
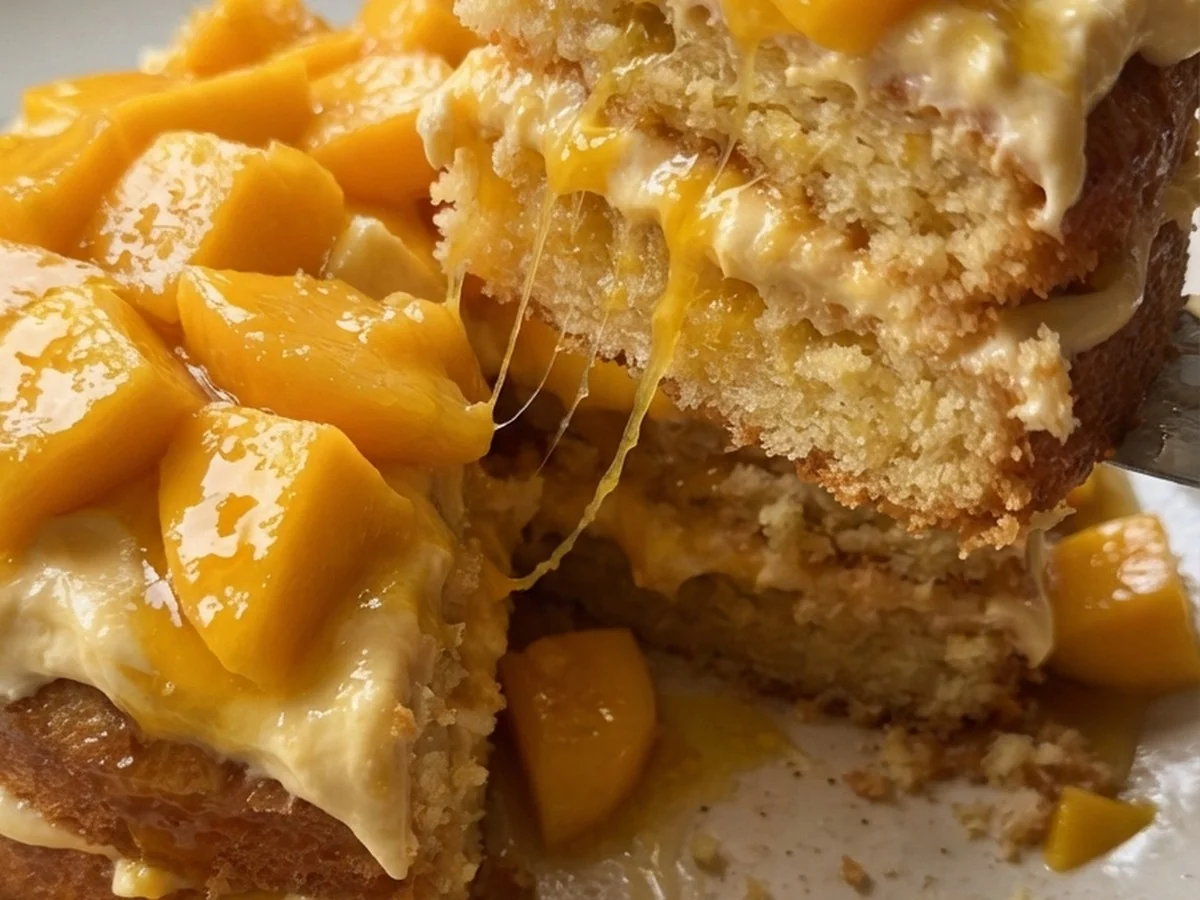
Airfryer Mango Yogurt Cake
Moist mango cake with tangy Greek yogurt, baked crisp in an air‑fryer for a quick, tropical…
 Desserts
Decadent Caramel Chocolate Chip Delight: A Sweet Indulgence
Delicious Decadent Caramel Chocolate Chip Delight: A Sweet Indulgence
 Desserts
Cinnamon Swirl Streusel Coffee Cake: A Perfect Blend of Flavor and Tradition
Delicious Cinnamon Swirl Streusel Coffee Cake: A Perfect Blend of Flavor and Tradition
 Desserts
Candy Corn Pie Delight: A Festive Fall Treat
Delicious Candy Corn Pie Delight: A Festive Fall Treat
 Desserts
Heavenly Strawberry Bliss Cake
Delicious Heavenly Strawberry Bliss Cake
 Desserts
Heavenly Chewy Chocolate Chip Cookies
Discover the ultimate chewy chocolate chip cookie recipe. Soft, buttery, and packed with melty chocolate chips…

Caroline
I cook these recipes at home before they ever land here — simple ingredients, clear steps.