Crispy Chicken Tenders with Honey Mustard Dip: A Complete Guide
 Save
Save
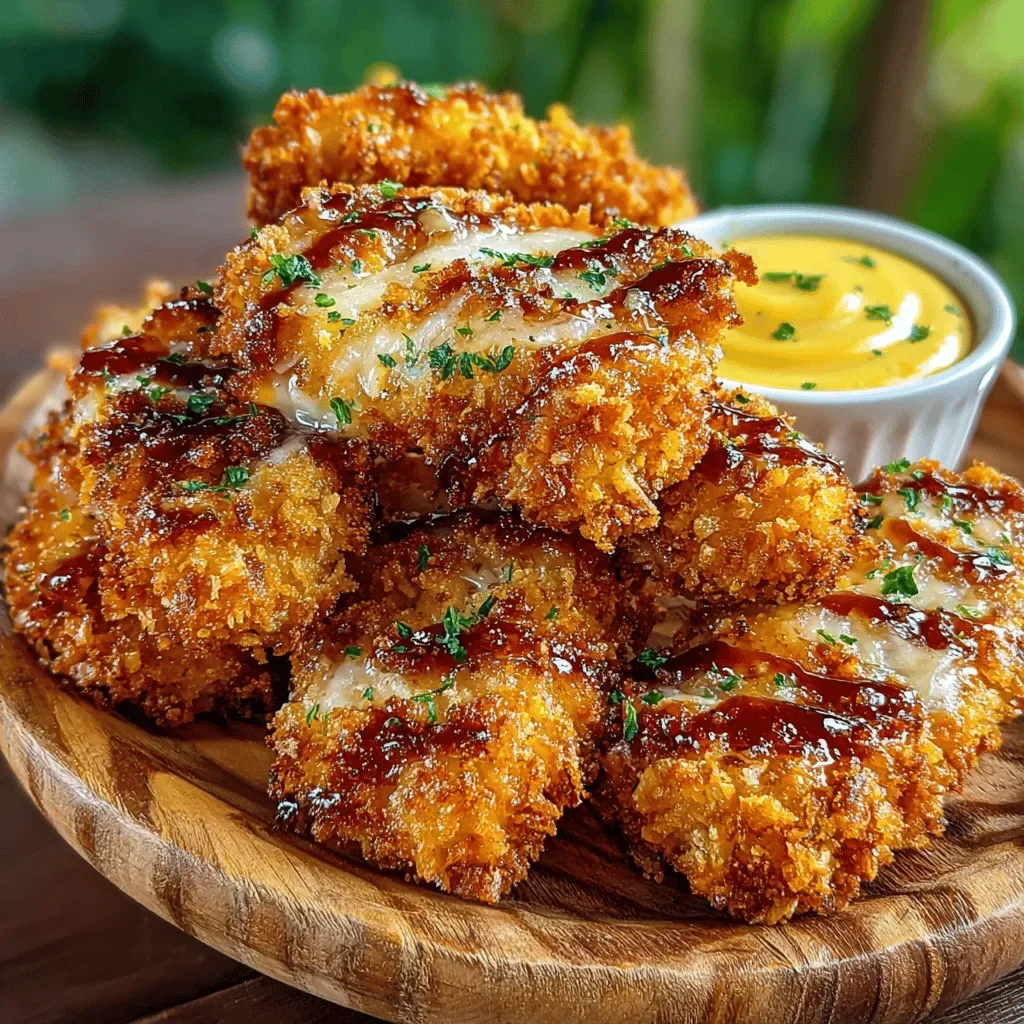
Imagine biting into a golden‑crusted chicken tender that stays juicy inside while a sweet‑tangy honey mustard dip adds a burst of flavor with every mouthful. This is the kind of comfort food that feels both indulgent and effortless.
What makes this recipe stand out is the double‑layer coating: a light flour‑egg wash followed by seasoned panko breadcrumbs, giving each tender an unbeatable crunch that stays crisp even after a quick dip.
Kids, busy parents, and even picky eaters will adore this dish, making it perfect for weeknight dinners, weekend picnics, or casual game‑day gatherings.
The process is straightforward—season, coat, fry, and finish with a quick honey‑mustard sauce that comes together while the tenders cook. In under half an hour you’ll have a restaurant‑quality plate ready to serve.
Why You'll Love This Recipe
Ultimate Crunch: The panko breadcrumb coating creates a light, airy crust that stays crispy, delivering that satisfying crunch you crave in every bite.
Balanced Sweet‑Tangy Dip: Honey and Dijon mustard meld into a smooth sauce that perfectly balances sweetness with a hint of acidity, enhancing rather than overpowering the chicken.
Quick & Kid‑Friendly: The entire recipe can be completed in under 45 minutes, making it ideal for busy families looking for a wholesome, crowd‑pleasing meal.
Versatile Serving Options: Serve with fries, a fresh salad, or even on a slider bun—the tenders adapt to any side or occasion you imagine.
Tips & Tricks
Perfecting the Recipe
Dry the chicken. Moisture prevents a crisp crust; pat each piece dry before seasoning.
Use a thermometer. Cooking at 350°F guarantees a golden exterior without overcooking the interior.
Rest after frying. A 2‑minute rest on a wire rack keeps the coating from steaming.
Season each layer. Lightly salt the flour and panko for depth at every step.
Flavor Enhancements
Add a teaspoon of grated fresh ginger to the dip for a subtle zing, or stir in finely chopped dill for herbaceous brightness. A dash of smoked salt on the finished tenders amplifies the smoky paprika notes.
Common Mistakes to Avoid
Avoid using cold oil straight from the fridge; it drops temperature and leads to soggy coating. Also, don’t flip the tenders too often—let them sit undisturbed to develop that coveted crust.
Pro Tips
Double‑coat for extra crunch. After the first panko layer, dip again in egg and a second panko coat for an ultra‑crisp texture.
Use a cast‑iron skillet. It retains heat better than stainless steel, ensuring an even, deep‑golden fry.
Keep the dip chilled. A cold dip contrasts beautifully with the hot tenders, preserving its creamy consistency.
Prep ahead. Assemble the breading station and whisk the dip up to an hour before cooking to streamline the process.
Variations
Ingredient Swaps
Replace chicken with pork tenderloin strips for a richer flavor, or use firm tofu cubes for a vegetarian twist. Swap panko for crushed cornflakes for an even lighter crunch. If you prefer less sweetness, substitute honey with maple syrup or agave nectar.
Dietary Adjustments
For gluten‑free diners, use almond flour and gluten‑free panko. Make the dip dairy‑free by replacing mayonnaise with a vegan mayo alternative. Keto lovers can swap honey for a low‑carb sweetener like erythritol and serve the tenders over cauliflower rice.
Serving Suggestions
Pair the tenders with a crisp coleslaw, sweet potato fries, or a simple quinoa salad. For a brunch spin, serve them alongside avocado toast and a side of fresh fruit. A drizzle of sriracha mayo adds a spicy kick for adventurous palates.
Storage Info
Leftover Storage
Allow the tenders and dip to cool completely, then place them in separate airtight containers. Store in the refrigerator for up to 3 days. For longer keeping, freeze the chicken in a single layer on a tray, then transfer to a zip‑top bag for up to 2 months.
Reheating Instructions
Reheat frozen or refrigerated tenders in a preheated 375°F oven for 10‑12 minutes, turning once, until the coating crisps again. Microwaving will soften the crust, so a quick broil (2 minutes) restores crunch. Warm the dip gently on the stovetop or in short microwave bursts, stirring to keep it smooth.
Frequently Asked Questions
Can I make this recipe ahead of time?
What if I only have frozen chicken tenders?
How can I keep the coating crispy after cooking?
Can I bake instead of fry for a healthier version?
This guide walks you through every step of creating irresistibly crispy chicken tenders paired with a silky honey‑mustard dip. From ingredient selection to storage tips, you now have a complete roadmap for success. Feel free to experiment with swaps, spice levels, or serving styles—cooking is your canvas. Enjoy the satisfying crunch, the sweet‑tangy dip, and the smiles around the table!
Crispy Chicken Tenders with Honey Mustard Dip: A Complete Guide
Delicious Crispy Chicken Tenders with Honey Mustard Dip: A Complete Guide
Ingredients
Main Ingredients
- 1 lb chicken tenderloins
- ½ cup all‑purpose flour
- 2 large eggs, lightly beaten
Breading
- 1 ½ cups panko breadcrumbs
- 1 tsp smoked paprika
- ½ tsp garlic powder
- ¼ tsp cayenne pepper (optional)
- Salt and freshly ground black pepper, to taste
Honey Mustard Dip
- ¼ cup Dijon mustard
- ¼ cup honey
- 2 tbsp mayonnaise
- 1 tbsp apple cider vinegar
- Pinch of salt
Instructions
Coating & Frying
- Set up a breading station. Place flour in one shallow bowl, beaten eggs in a second, and seasoned panko in a third. This assembly line makes coating quick and uniform.
- Dredge each tender. First roll the chicken in flour, shaking off excess, then dip in egg, and finally press into panko until fully coated. The triple layer creates a barrier that locks in juices.
- Heat the oil. In a large skillet, add enough vegetable oil to reach ½‑inch depth. Heat over medium‑high until it shimmers (about 350°F/175°C). Proper heat yields an instant sizzle that forms a crisp crust.
- Fry the tenders. Gently lay the coated pieces in the hot oil, being careful not to crowd the pan. Cook 3‑4 minutes per side, or until golden brown and the internal temperature hits 165°F (74°C). Transfer to a wire rack to stay crisp.
- Drain excess oil. Pat the finished tenders with a paper towel if needed. This step removes surface grease while preserving the crunchy exterior.
Similar Recipes
 Appetizers
Chilled Zoodle Delight – A Refreshing Summer Salad Recipe
Delicious Chilled Zoodle Delight – A Refreshing Summer Salad Recipe
 Appetizers
Christmas Veggie Platter: 5 Reasons You’ll Love This Festive Dish
Learn how to make delicious Christmas Veggie Platter: 5 Reasons You’ll Love This Festive Dish. Easy…
 Appetizers
Whipped Ricotta Tomato Toasts
Learn how to make delicious Whipped Ricotta Tomato Toasts. Easy recipe with step-by-step instructions.
 Appetizers
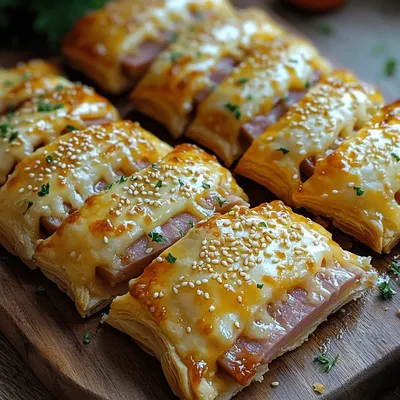
Cheesy Ham Delight Sticks: A Simple and Delicious Recipe for Any Occasion
Delicious Cheesy Ham Delight Sticks: A Simple and Delicious Recipe for Any Occasion
 Appetizers
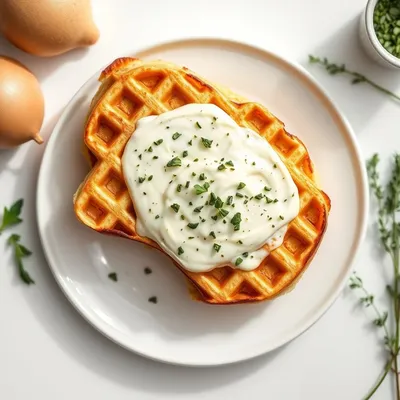
Herb Butter Yukon Waffle Bossa Bread
Delicious Herb Butter Yukon Waffle Bossa Bread
 Appetizers
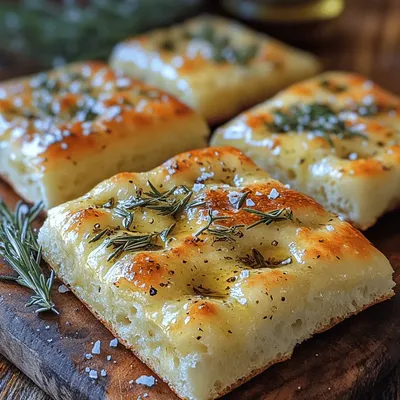
Fluffy & Flavorful No-Knead Focaccia Bread
Delicious Fluffy & Flavorful No-Knead Focaccia Bread
 Appetizers
superbowl party decorations: 5 easy ideas to wow guests
Learn how to make delicious superbowl party decorations: 5 easy ideas to wow guests. Easy recipe…
 Appetizers
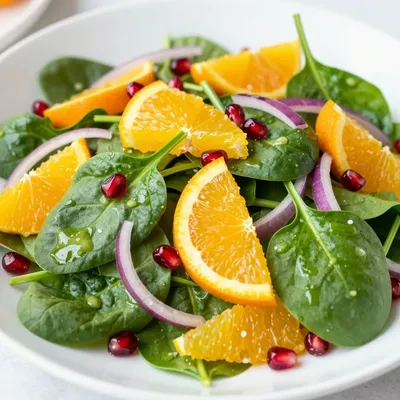
citrusinfused spinach salad with oranges and lemon vinaigrette
Learn how to make delicious citrusinfused spinach salad with oranges and lemon vinaigrette. Easy recipe with…

Caroline
I cook these recipes at home before they ever land here — simple ingredients, clear steps.