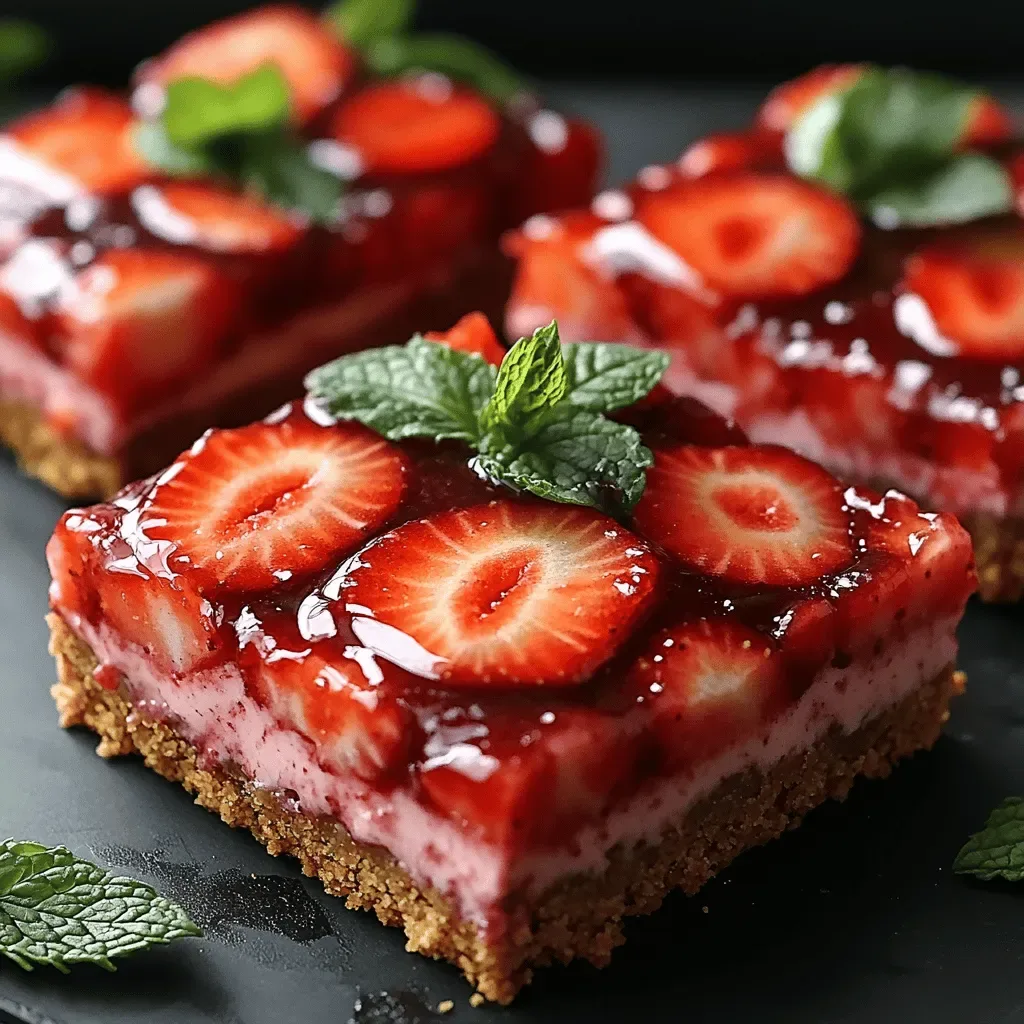
Indulge in Strawberry Dream No-Bake Bars: A Refreshing Dessert Delight
 Save
Save
Imagine a sunrise‑bright bite that tastes like a summer garden, yet requires no oven and almost no fuss. Our Strawberry Dream No‑Bake Bars capture that feeling, delivering a light, creamy texture paired with the natural sweetness of ripe strawberries. Perfect for brunch tables, weekend picnics, or a quick breakfast treat, these bars are as beautiful as they are delicious.
What makes this recipe stand out is the combination of a crunchy oat‑nut base, a velvety strawberry‑cream layer, and a glossy strawberry glaze that adds a burst of fresh flavor. Each component is layered thoughtfully so every forkful offers contrast and harmony.
Strawberry lovers, health‑conscious brunch hosts, and busy parents looking for a make‑ahead option will all fall for these bars. Serve them at a leisurely weekend brunch, as a sweet finish to a light lunch, or even as a midday pick‑me‑up.
The process is straightforward: prepare the crust, blend the creamy strawberry filling, chill until firm, then drizzle with a quick strawberry glaze. No baking, no mess, and the result is a stunningly fresh dessert that feels indulgent without the guilt.
Why You'll Love This Recipe
Fresh Strawberry Flavor: The use of fresh, pureed strawberries gives a bright, natural sweetness that outshines any artificial flavoring, making each bite taste like a garden‑fresh treat.
No‑Bake Simplicity: With only a mixing bowl, a pan, and a refrigerator, you can create a show‑stopping dessert without turning on the oven, perfect for hot summer days.
Balanced Texture: A crunchy oat‑nut crust meets a silky strawberry‑cream filling, delivering a satisfying bite that keeps you reaching for more.
Make‑Ahead Friendly: Once chilled, the bars keep well in the fridge, allowing you to prepare them the night before and serve a fresh‑looking dessert with minimal effort.
Tips & Tricks
Perfecting the Recipe
Use room‑temperature butter. Softened butter incorporates more evenly into the crust, preventing gritty pockets and ensuring a smooth, cohesive base.
Don’t over‑blend the filling. Gentle folding preserves the airy texture of the cream cheese and prevents the strawberry puree from separating.
Line the pan. Parchment paper makes removal effortless and keeps the bars intact when cutting.
Chill before slicing. A solidified bar yields clean cuts; warm bars tend to crumble or smear.
Flavor Enhancements
Add a teaspoon of fresh mint leaves to the strawberry puree for a subtle herbaceous note. For extra depth, swirl a tablespoon of almond butter into the cream filling before spreading. A pinch of pink Himalayan salt on the glaze just before chilling intensifies the fruit’s sweetness.
Common Mistakes to Avoid
Avoid using canned strawberries, which can introduce excess liquid and dilute the glaze. Also, don’t skip the chilling step for the crust; a warm base will become soggy once the filling is added.
Pro Tips
Seasonal strawberries. Choose berries that are fully ripe, fragrant, and bright red; they provide the best flavor and natural sweetness.
Freeze for later. After the first chill, you can wrap individual bars in plastic and freeze for up to two months. Thaw in the fridge before serving.
Use a food processor. For an ultra‑smooth puree, pulse the strawberries in a food processor rather than a blender; it gives a finer texture without heating the fruit.
Top with toasted nuts. A sprinkle of toasted sliced almonds just before serving adds crunch and a nutty aroma that pairs beautifully with the strawberry.
Variations
Ingredient Swaps
Swap almond flour for finely ground hazelnuts for a richer, buttery flavor. Replace the strawberry jam glaze with a raspberry coulis for a tangier finish. For a dairy‑free version, use coconut cream cheese and a plant‑based yogurt alternative while keeping the same sweeteners.
Dietary Adjustments
Make the bars gluten‑free by using certified gluten‑free oats and almond flour. For a low‑sugar version, substitute maple syrup with a monk fruit blend and choose a no‑sugar‑added jam. Keto enthusiasts can replace the oats with coconut flour and increase the nut ratio, while using a sugar‑free strawberry puree.
Serving Suggestions
Serve the bars alongside a dollop of whipped coconut cream and a dusting of powdered sugar for an elegant brunch plate. Pair them with a chilled glass of rosé or a sparkling strawberry‑infused water for a refreshing contrast. For a kid‑friendly twist, add a drizzle of chocolate ganache on top.
Storage Info
Leftover Storage
Allow any remaining bars to cool completely, then lift them out of the pan using the parchment overhang. Slice into individual portions and store in an airtight container. Refrigerate for up to 4 days; the texture remains firm and the flavors continue to meld. For longer preservation, wrap each bar in plastic wrap and freeze for up to 3 months.
Reheating Instructions
No reheating is required for a chilled dessert, but if you prefer a warm bite, microwave a single bar for 10‑12 seconds on medium power. The glaze will soften slightly, creating a luscious, semi‑melty texture without compromising the crust.
Frequently Asked Questions
Can I make these bars ahead of time?
What if fresh strawberries aren’t in season?
Can I substitute the honey in the crust?
How do I get a glossy glaze without it turning grainy?
These Strawberry Dream No‑Bake Bars bring together bright fruit, creamy richness, and a satisfying crunch—all without turning on the oven. By following the step‑by‑step guide, using the tips, and experimenting with the suggested variations, you’ll create a versatile dessert that shines at any brunch or breakfast gathering. Feel free to adapt flavors, textures, or presentation to suit your taste—cooking is an adventure, after all. Enjoy every bite of this refreshing, dreamy treat!
Indulge in Strawberry Dream No-Bake Bars: A Refreshing Dessert Delight
Delicious Indulge in Strawberry Dream No-Bake Bars: A Refreshing Dessert Delight
Ingredients
Crust
- 1 ½ cups rolled oats
- ½ cup almond flour
- ¼ cup unsalted butter, melted
- 2 tablespoons honey
- ¼ teaspoon sea salt
Strawberry Cream Filling
- 1 ½ cups fresh strawberries, hulled
- 8 ounces cream cheese, softened
- ¼ cup Greek yogurt (plain)
- 3 tablespoons maple syrup
- 1 teaspoon vanilla extract
Strawberry Glaze
- ½ cup strawberry jam (no‑sugar‑added)
- 1 tablespoon fresh lemon juice
- 1 teaspoon corn starch
- 2 tablespoons water
Instructions
Forming the Base
- Press the crust. Transfer the crumb mixture to an 8×8‑inch square pan lined with parchment paper. Using the back of a spoon or a flat glass, press firmly and evenly across the surface. A compact crust ensures the bars stay intact when sliced.
- Chill the crust. Place the pan in the refrigerator for about 10 minutes. This short chill sets the butter, creating a sturdy foundation for the filling.
Making the Strawberry Cream Filling
- Puree the strawberries. In a blender, pulse the fresh strawberries until smooth. If you prefer a bit of texture, reserve a tablespoon of finely diced strawberry to fold in later.
- Blend the cream base. In a separate bowl, beat the softened cream cheese until fluffy. Add the Greek yogurt, maple syrup, and vanilla extract, mixing until smooth. The yogurt lightens the mixture while keeping it stable.
- Combine fruit and cream. Fold the strawberry puree into the cream cheese mixture, stirring just until incorporated. Over‑mixing can cause the filling to become watery, so stop once a uniform pink hue appears.
- Spread the filling. Spoon the strawberry cream over the chilled crust, spreading it to the edges with a spatula. Smooth the top for an even finish.
Similar Recipes
 Desserts
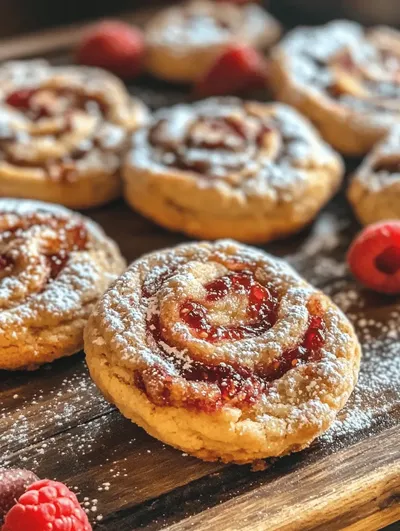
Indulge in Raspberry Swirl Cookies Delight: A Perfect Treat for Every Occasion
Delicious Indulge in Raspberry Swirl Cookies Delight: A Perfect Treat for Every Occasion
 Desserts
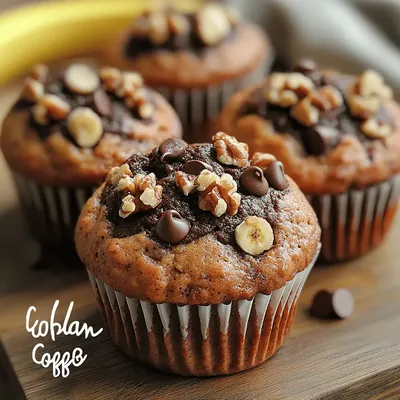
Sweet Chocolate Banana Muffins
Delicious Sweet Chocolate Banana Muffins
 Desserts
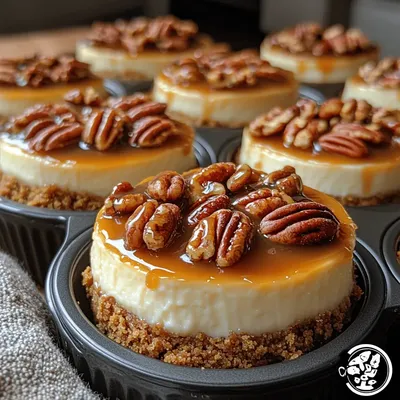
Mini Pecan Pie Cheesecakes: A Delightful Dessert Experience
Delicious Mini Pecan Pie Cheesecakes: A Delightful Dessert Experience
 Desserts
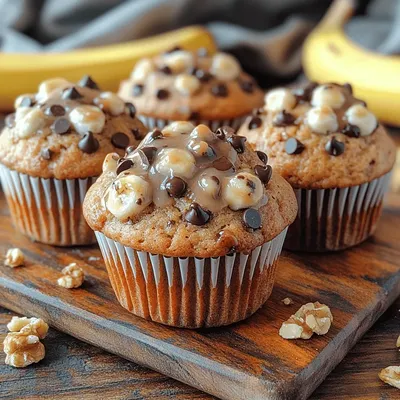
Choco-Banana Bliss Muffins: A Deliciously Decadent Treat
Delicious Choco-Banana Bliss Muffins: A Deliciously Decadent Treat
 Desserts
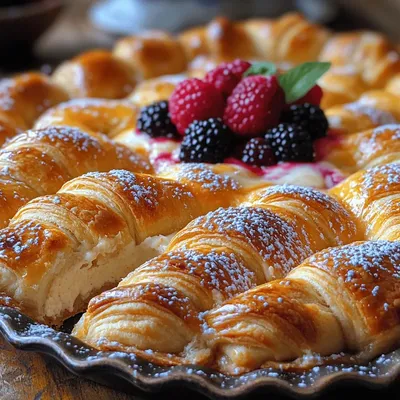
Dreamy Cheesecake Crescent Rolls Casserole: A Decadent Delight
Delicious Dreamy Cheesecake Crescent Rolls Casserole: A Decadent Delight
 Desserts
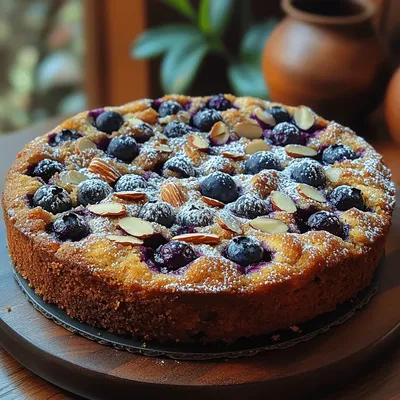
Blueberry Almond Delight Coffee Cake: A Flavorful Treat for Every Occasion
Delicious Blueberry Almond Delight Coffee Cake: A Flavorful Treat for Every Occasion
 Desserts
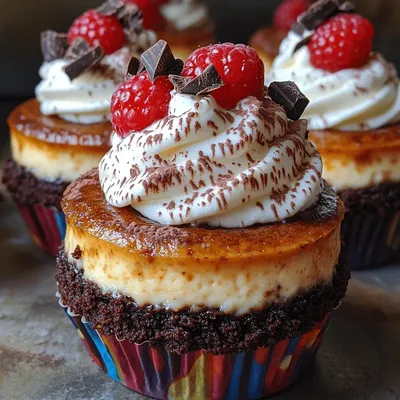
Brownie Bottom Mini Cheesecakes: A Divine Dessert Delight
Delicious Brownie Bottom Mini Cheesecakes: A Divine Dessert Delight
 Desserts
Frozen Yogurt Oatmeal Jam Bites: A Nutritional Powerhouse
Delicious Frozen Yogurt Oatmeal Jam Bites: A Nutritional Powerhouse

Caroline
I cook these recipes at home before they ever land here — simple ingredients, clear steps.