No-Bake Biscoff Cheesecake Truffles
 Save
Save
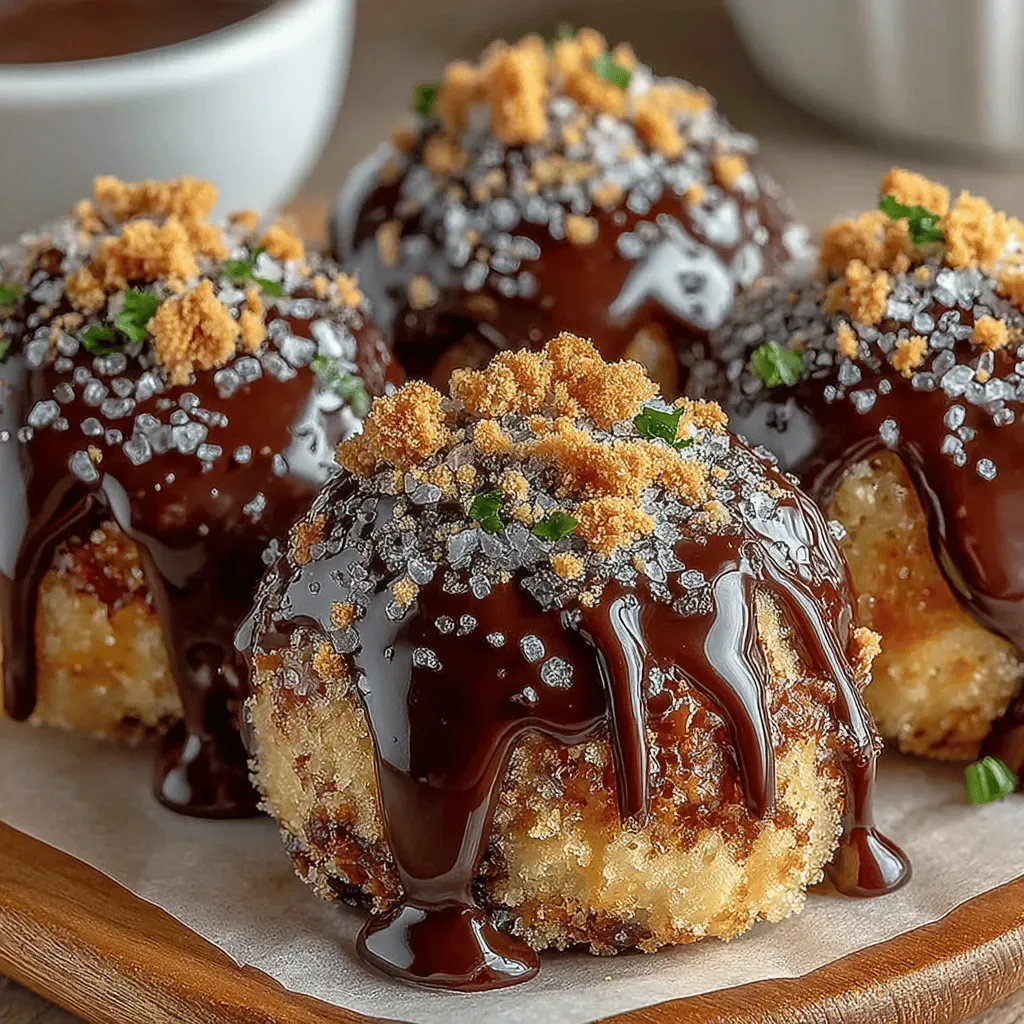
Imagine the creamy indulgence of cheesecake combined with the caramel‑spiced crunch of Biscoff, all without ever turning on an oven. These No‑Bake Biscoff Cheesecake Truffles deliver that wow factor in minutes, making them perfect for a lazy weekend brunch or an impressive breakfast‑buffet treat.
What sets this recipe apart is the seamless marriage of two beloved flavors—rich cream cheese and the buttery, slightly peppery notes of Biscoff—into bite‑size delights that melt on the tongue.
Busy parents, brunch hosts, and anyone craving a sweet‑savory start to the day will adore these truffles, especially when served alongside fresh fruit or a steaming cup of coffee.
The process is straightforward: crush cookies for a buttery crust, blend a silky filling, roll into balls, dip in a glossy Biscoff‑white‑chocolate glaze, and chill until set. No baking, no fuss, just pure decadence.
Why You'll Love This Recipe
Zero‑Oven Simplicity: All steps are done at the countertop and in the fridge, so you can enjoy a bakery‑style treat without heating the kitchen or waiting for a bake cycle.
Bold Flavor Fusion: The distinctive caramel‑spice of Biscoff pairs perfectly with tangy cream cheese, creating a balanced sweet‑savory profile that keeps you reaching for more.
Portion‑Perfect Treats: Shaped into bite‑size truffles, they’re ideal for brunch buffets, cocktail hour, or a quick grab‑and‑go snack that feels indulgent.
Customizable Finish: A glossy Biscoff‑white‑chocolate coating can be rolled in crushed cookies, sea salt, or cocoa for endless texture variations.
Tips & Tricks
Perfecting the Recipe
Chill the Bowl. Keep the mixing bowl and beaters in the fridge for 10 minutes before beating the cream cheese. A cold environment helps the filling stay firm for easier shaping.
Use a Small Ice‑Cream Scoop. A ½‑cup scoop yields consistently sized truffles, ensuring even coating and uniform presentation.
Don’t Overheat the Glaze. Melt the chocolate and Biscoff spread just until smooth; overheating can cause the glaze to become grainy and lose its shine.
Flavor Enhancements
Add a pinch of ground cinnamon or a dash of espresso powder to the filling for a subtle depth. For extra decadence, swirl a teaspoon of caramel sauce into the glaze before dipping. Finish each truffle with a light sprinkle of flaky sea‑salt to balance the sweetness.
Common Mistakes to Avoid
If the crust feels dry, add a splash more melted butter; if it’s too wet, incorporate a few extra cookie crumbs. Avoid over‑mixing the filling, which can incorporate too much air and cause the truffles to crumble. Lastly, don’t skip the final chill—this step solidifies the glaze and prevents smearing.
Pro Tips
Prep Ahead. The crust and filling can be made a day early; keep them wrapped separately in the fridge and assemble just before serving.
Use Parchment Paper. Lining the tray with parchment prevents the glaze from sticking and makes cleanup effortless.
Temperature Check. Keep the glaze warm (but not hot) while dipping; if it cools too quickly, re‑warm briefly to maintain a smooth coating.
Serve Cold. Present the truffles straight from the refrigerator for the best texture; a warm room can cause the glaze to soften.
Variations
Ingredient Swaps
Swap the classic Biscoff cookies for ginger snaps for a spicier crust, or use chocolate wafer crumbs for a richer base. Replace white chocolate with milk chocolate for a softer sweetness, or drizzle dark chocolate over the finished truffles for a bittersweet contrast.
Dietary Adjustments
For a gluten‑free version, ensure the cookie crumbs are certified gluten‑free. To make the truffles dairy‑free, use a plant‑based cream cheese (such as almond‑based) and substitute the butter with coconut oil. Keto‑friendly fans can replace powdered sugar with erythritol and use sugar‑free white chocolate.
Serving Suggestions
Arrange the truffles on a slate board with fresh berries, orange segments, and a dollop of whipped coconut cream for a vibrant brunch platter. Pair them with a robust cold brew or a sparkling mimosa to balance the sweet richness. For a festive twist, dust the tops with edible gold leaf.
Storage Info
Leftover Storage
Place any leftover truffles in an airtight container lined with parchment. Store the container in the refrigerator for up to 4 days; the glaze will stay firm and the interior will remain creamy. For longer keeping, freeze the truffles in a single layer, then transfer to a zip‑top bag; they’ll hold for up to 3 months.
Reheating Instructions
When you’re ready to serve frozen truffles, move them to the fridge overnight to thaw gently. If you prefer a slightly softer texture, let them sit at room temperature for 10‑15 minutes before plating. Avoid microwaving, as it can melt the glaze unevenly.
Frequently Asked Questions
Can I make these truffles ahead of time?
What if I don’t have Biscoff spread?
How do I keep the glaze from cracking?
These No‑Bake Biscoff Cheesecake Truffles bring together the comforting flavors of breakfast and the elegance of a pastry shop, all without turning on the oven. By following the detailed steps, using the tips, and experimenting with the suggested variations, you’ll create a crowd‑pleasing brunch centerpiece that’s as beautiful as it is delicious. Feel free to tweak the coatings or add your favorite toppings—creativity is the secret ingredient. Enjoy every bite of your handcrafted indulgence!
No-Bake Biscoff Cheesecake Truffles
Delicious No-Bake Biscoff Cheesecake Truffles
Ingredients
Crust
- 1 ½ cups Biscoff cookies, finely crushed
- ¼ cup unsalted butter, melted
Cheesecake Filling
- 8 oz cream cheese, softened
- ¼ cup Biscoff spread (smooth)
- ¼ cup powdered sugar
- 1 tsp vanilla extract
Coating
- ½ cup Biscoff spread, melted
- ½ cup white chocolate chips, melted
- 2 tbsp heavy cream (optional, for extra shine)
Optional Garnish
- Crushed Biscoff cookies
- Sea‑salt flakes
Instructions
Assembling the Truffles
- Roll the Balls. Quickly roll each portion between your palms to form smooth spheres. If the mixture sticks, chill the balls for 10 minutes before continuing. Uniform size ensures even coating later.
- Prepare the Glaze. In a heat‑proof bowl, combine the melted Biscoff spread, white chocolate chips, and heavy cream (if using). Microwave in 20‑second intervals, stirring between each, until the mixture is glossy and fully combined. The glaze should be fluid but not too thin.
- Dip the Truffles. Using a fork or skewer, submerge each ball into the glaze, allowing excess to drip back into the bowl. Rotate gently to achieve an even coat. Immediately roll the wet truffle in crushed Biscoff cookies or a pinch of sea‑salt if desired.
- Set the Truffles. Place the coated truffles on a parchment‑lined tray, leaving a little space between each. Refrigerate for at least 30 minutes, or until the glaze hardens and the truffles are firm to the touch.
- Serve and Store. Transfer the chilled truffles to a serving platter. They can be kept refrigerated for up to 4 days or frozen for longer storage (see Storage Info). Serve them as a sweet brunch bite, alongside fresh berries or a robust coffee.
Similar Recipes
 Desserts
Indulge in Health with Bananas Foster Protein Pudding: A Delicious and Nutritious Dessert Recipe
Delicious Indulge in Health with Bananas Foster Protein Pudding: A Delicious and Nutritious Dessert Recipe
 Desserts
Discovering the Delight of Blueberry Cream Cheese Bites
Delicious Discovering the Delight of Blueberry Cream Cheese Bites
 Desserts
Cinnamon Apple Bliss Fritter Donuts Recipe
Delicious Cinnamon Apple Bliss Fritter Donuts Recipe
 Desserts
Blueberry Cheesecake Rolls Recipe – Sweet & Easy Treat
Learn how to make delicious Blueberry Cheesecake Rolls Recipe – Sweet & Easy Treat. Easy recipe…
 Desserts
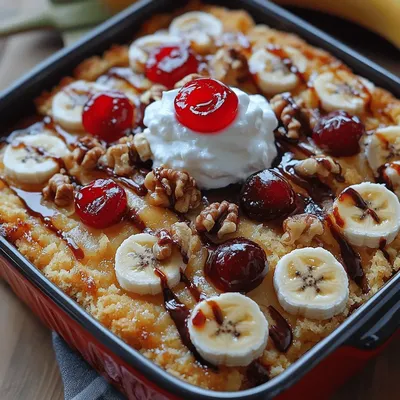
Banana Split Dump Cake Recipe: A Nostalgic Dessert Delight
Delicious Banana Split Dump Cake Recipe: A Nostalgic Dessert Delight
 Desserts
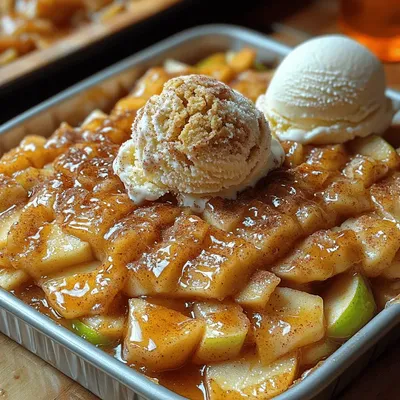
Snickerdoodle Cobbler: The Delightful Fusion of Snickerdoodles and Apple Cobbler
Delicious Snickerdoodle Cobbler: The Delightful Fusion of Snickerdoodles and Apple Cobbler
 Desserts
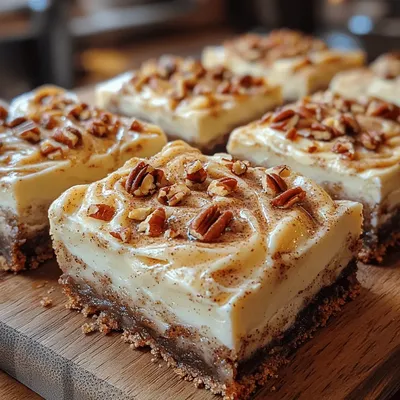
Cinnamon Roll Bliss Bars Recipe
Delicious Cinnamon Roll Bliss Bars Recipe
 Desserts
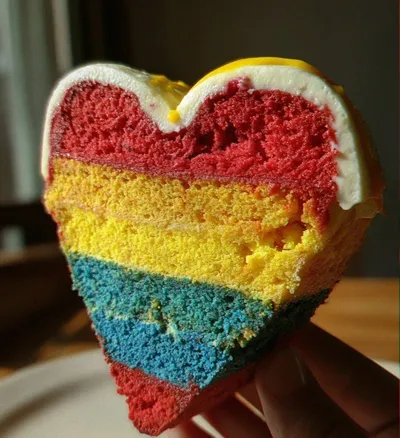
Colorful Heart Cake: 7 Steps to Create Joyful Delight
Learn how to make delicious Colorful Heart Cake: 7 Steps to Create Joyful Delight. Easy recipe…

Caroline
I cook these recipes at home before they ever land here — simple ingredients, clear steps.