Almond Joy Bars Recipe: A Delicious Homemade Treat
 Save
Save
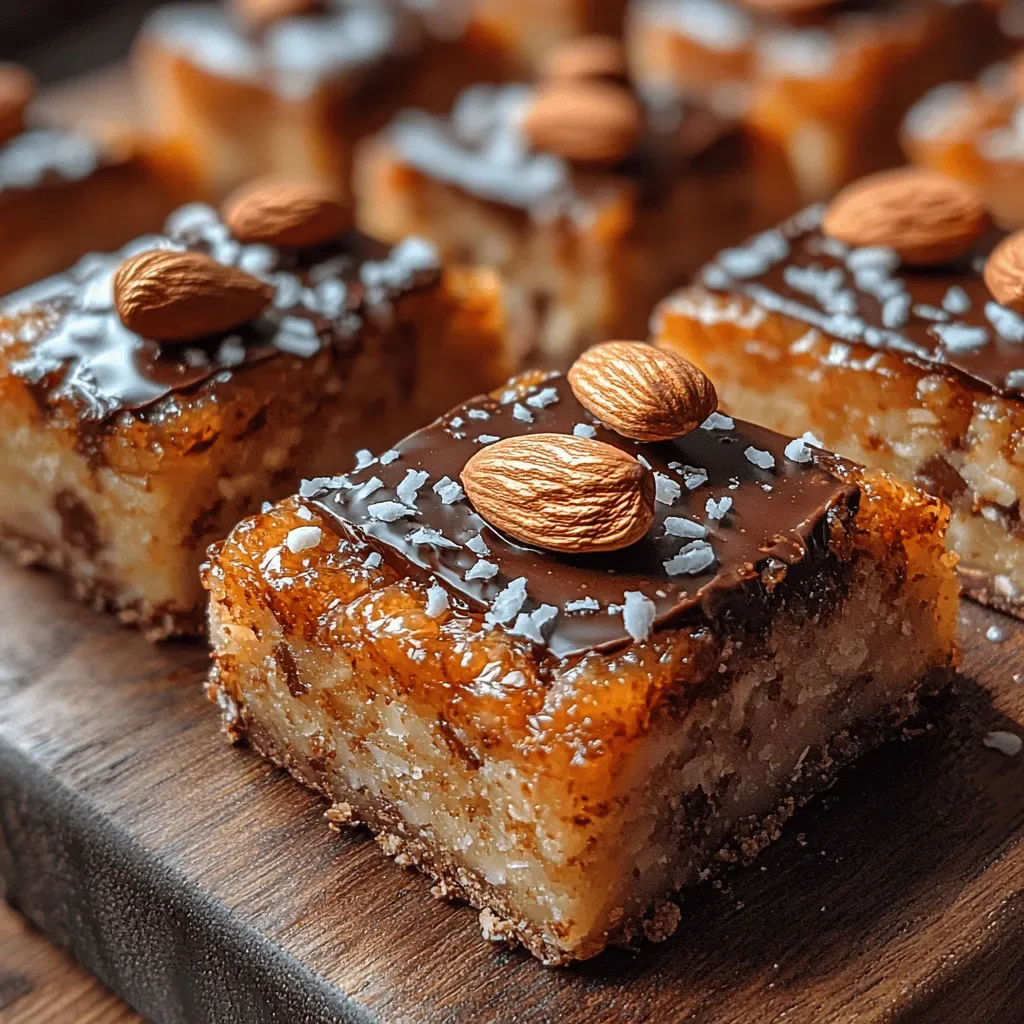
Imagine biting into a soft, chewy bar that captures the nostalgic flavors of the classic candy bar you love, but with a wholesome, breakfast‑friendly twist. These Almond Joy Bars blend toasted coconut, sweet almond butter, and rich dark chocolate into a handheld treat that feels both indulgent and nourishing.
What makes this recipe truly special is the balance between natural sweetness from honey and the deep, nutty richness of almonds, all held together by a sturdy oat base. A light drizzle of melted chocolate on top adds that signature “joy” finish without overwhelming the palate.
Busy parents, brunch enthusiasts, and anyone craving a quick energy boost will adore these bars. They’re perfect for a weekend brunch spread, a grab‑and‑go breakfast, or a midday snack that keeps you satisfied until lunch.
The process is straightforward: toast the oats and coconut, blend the wet ingredients, press the mixture into a pan, bake briefly, and finish with a glossy chocolate coating. In under forty minutes you’ll have a batch of bars that look as good as they taste.
Why You'll Love This Recipe
All‑Natural Sweetness: The combination of honey, coconut, and dark chocolate delivers a satisfying sweet profile without relying on refined sugars, making the bars feel lighter yet just as decadent.
Quick & Simple: With only a handful of steps and minimal equipment, you can whip up a full batch in under forty minutes—ideal for busy mornings or last‑minute brunch plans.
Customizable Texture: The rolled oats give a hearty chew, while the almond butter creates a creamy interior; you can tweak the crunch level by adjusting the amount of toasted coconut.
Make‑Ahead Friendly: These bars keep beautifully in the fridge or freezer, so you can prep a week’s worth of breakfast treats in one go and enjoy them whenever you need a quick bite.
Tips & Tricks
Perfecting the Recipe
Toast Evenly. Spread the oats and coconut in a single layer and stir halfway through baking. Even toasting prevents burnt spots and guarantees a uniform crunch.
Press Firmly. Use the back of a spoon or a flat spatula to compact the mixture. A tightly packed base holds together when sliced, reducing crumble.
Cool Before Glazing. Let the bars sit for a few minutes after baking; a too‑hot surface can cause the chocolate glaze to melt and run off.
Use a Hot Knife. Dip your knife in hot water, wipe dry, and slice. This yields clean cuts without dragging the chocolate.
Flavor Enhancements
Add a pinch of sea‑salt flakes on top of the chocolate glaze for a sweet‑salty contrast. For extra depth, stir a teaspoon of espresso powder into the almond‑honey mixture, or swap half the dark chocolate for white chocolate to create a marbled effect.
Common Mistakes to Avoid
Avoid over‑mixing the wet and dry components; this can make the bars dense rather than chewy. Also, don’t skip the cooling step before glazing—hot bars cause the chocolate to separate, resulting in a dull finish.
Pro Tips
Use High‑Quality Chocolate. A good percentage of cacao (70% or higher) provides a richer flavor and a firmer set, essential for a professional look.
Swap Coconut Oil. If you prefer a firmer glaze, replace coconut oil with a tablespoon of unsalted butter; it adds a buttery sheen without compromising flavor.
Layer Flavors. Sprinkle a few extra toasted almond slivers on top of the glaze before it sets for added texture and visual appeal.
Make Ahead. Store the bars in an airtight container and refrigerate; they actually taste better after the flavors meld overnight.
Variations
Ingredient Swaps
Replace almond butter with cashew or peanut butter for a different nut profile. Swap shredded coconut for finely chopped dried apricots or raisins to introduce a fruity note. For a dairy‑free chocolate coating, use cacao nibs blended with coconut oil instead of chocolate chips.
Dietary Adjustments
For a gluten‑free version, ensure the oats are certified gluten‑free. To make the bars vegan, use a plant‑based sweetener like maple syrup and choose a dairy‑free chocolate. Keto enthusiasts can substitute honey with a low‑carb sweetener such as erythritol and increase the almond flour content for extra fat.
Serving Suggestions
Serve the bars alongside a dollop of Greek yogurt and fresh berries for a balanced brunch plate. Pair them with a steaming mug of chai or cold brew coffee to accentuate the chocolate‑nut flavors. For a festive twist, drizzle a thin layer of caramel sauce just before serving.
Storage Info
Leftover Storage
Allow the bars to cool completely, then transfer them to an airtight container. Store in the refrigerator for up to 5 days; the chilled environment keeps the chocolate glaze firm and prevents sogginess. For longer keeping, wrap individual bars in parchment and freeze them in a zip‑top bag for up to 3 months.
Reheating Instructions
To enjoy warm bars, preheat your oven to 300°F (150°C) and place the desired number on a parchment‑lined tray. Heat for 5‑7 minutes until the interior is soft and the chocolate glaze becomes slightly glossy again. If you’re in a hurry, microwave a single bar for 15‑20 seconds, but watch closely to avoid melting the chocolate.
Frequently Asked Questions
Can I make these bars ahead of time?
What if I don’t have dark chocolate chips?
Can I add extra protein to the bars?
How do I keep the chocolate glaze from cracking?
These homemade Almond Joy Bars bring the beloved candy‑bar experience to your breakfast table with wholesome ingredients and minimal fuss. By following the step‑by‑step guide, mastering the tips, and exploring the suggested variations, you’ll create a versatile treat that can be customized to suit any dietary need or flavor craving. Feel free to experiment, share with loved ones, and enjoy the sweet, nutty goodness any time of day.
Almond Joy Bars Recipe: A Delicious Homemade Treat
Delicious Almond Joy Bars Recipe: A Delicious Homemade Treat
Ingredients
Main Ingredients
- 2 cups rolled oats
- 1 cup unsweetened shredded coconut
- ½ cup sliced almonds, toasted
Binding Mixture
- ½ cup almond butter (smooth)
- ⅓ cup honey
- 1 teaspoon vanilla extract
- ¼ teaspoon sea salt
Chocolate Topping
- ½ cup dark chocolate chips (70% cacao)
- 1 tablespoon coconut oil
Instructions
Baking & Finishing
- Bake the Base. Place the pan back in the oven and bake for 12‑15 minutes, or until the edges turn lightly golden. This short bake sets the bars without drying them out, preserving a tender interior.
- Prepare the Chocolate Glaze. While the base bakes, melt the dark chocolate chips and coconut oil together in a microwave‑safe bowl, heating in 20‑second intervals and stirring between each until smooth and glossy. The coconut oil adds shine and prevents the glaze from becoming too thick.
- Cool Slightly. Remove the pan from the oven and let the bars cool on a wire rack for 5‑7 minutes. This short cooling period allows the glaze to set without cracking when poured.
- Drizzle the Glaze. Pour the melted chocolate over the warm base, using a spatula to spread it evenly to the edges. Tap the pan lightly on the counter to eliminate air bubbles and ensure a uniform coating.
- Set & Slice. Allow the bars to cool completely at room temperature, then refrigerate for 20‑30 minutes to firm the chocolate. Once set, lift the parchment paper and cut into twelve equal squares or rectangles.
Similar Recipes
 Desserts
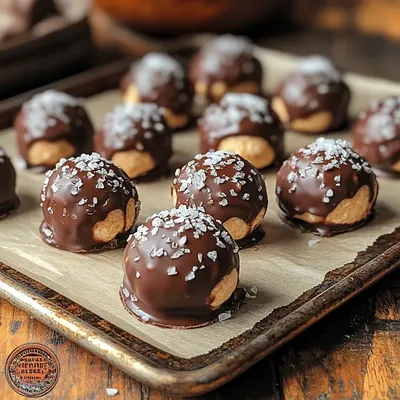
Peanut Butter Cheesecake Balls Recipe
Delicious Peanut Butter Cheesecake Balls Recipe
 Desserts
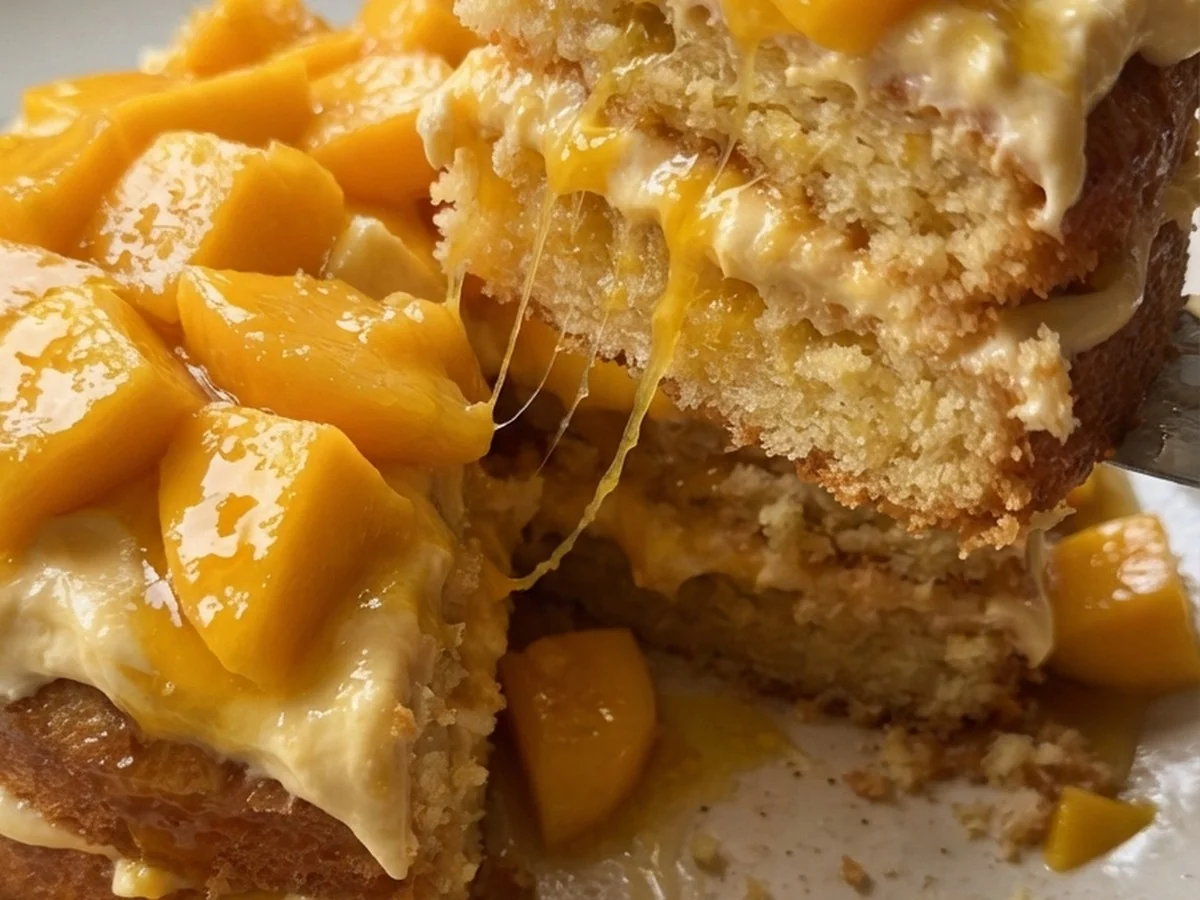
Airfryer Mango Yogurt Cake
Moist mango cake with tangy Greek yogurt, baked crisp in an air‑fryer for a quick, tropical…
 Desserts
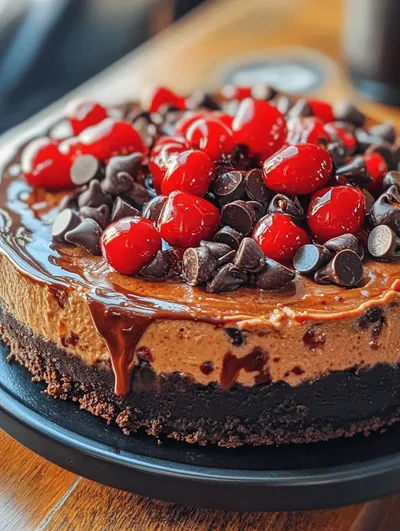
Decadent Chocolate Cherry Cheesecake with Chocolate Chips: A Perfect Dessert for Every Occasion
Delicious Decadent Chocolate Cherry Cheesecake with Chocolate Chips: A Perfect Dessert for Every Occasion
 Desserts
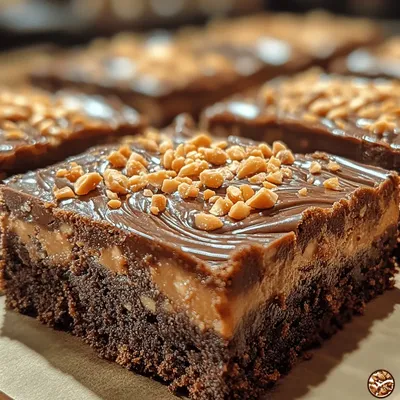
Irresistible Peanut Butter Brownies
Delicious Irresistible Peanut Butter Brownies
 Desserts
Banana Bliss Icebox Cake: A Delightful No-Bake Dessert Recipe
Delicious Banana Bliss Icebox Cake: A Delightful No-Bake Dessert Recipe
 Desserts
Salted Caramel Chocolate Sugar Cookie Bars Recipe
Delicious Salted Caramel Chocolate Sugar Cookie Bars Recipe
 Desserts
Chilly Delight: Frozen Peanut Butter Oat Cups
Delicious Chilly Delight: Frozen Peanut Butter Oat Cups
 Desserts
Pineapple Paradise Condensed Milk Cake: A Sweet Escape to Tropical Bliss
Delicious Pineapple Paradise Condensed Milk Cake: A Sweet Escape to Tropical Bliss

Caroline
I cook these recipes at home before they ever land here — simple ingredients, clear steps.