Orange Creamsicle Mini Cheesecakes: A Nostalgic Delight
 Save
Save
Imagine the moment you bite into a creamy, tangy cheesecake that instantly transports you back to the carefree days of summer popsicles. Those iconic orange‑cream creamsicles become a sophisticated breakfast treat when they’re transformed into bite‑size mini cheesecakes.
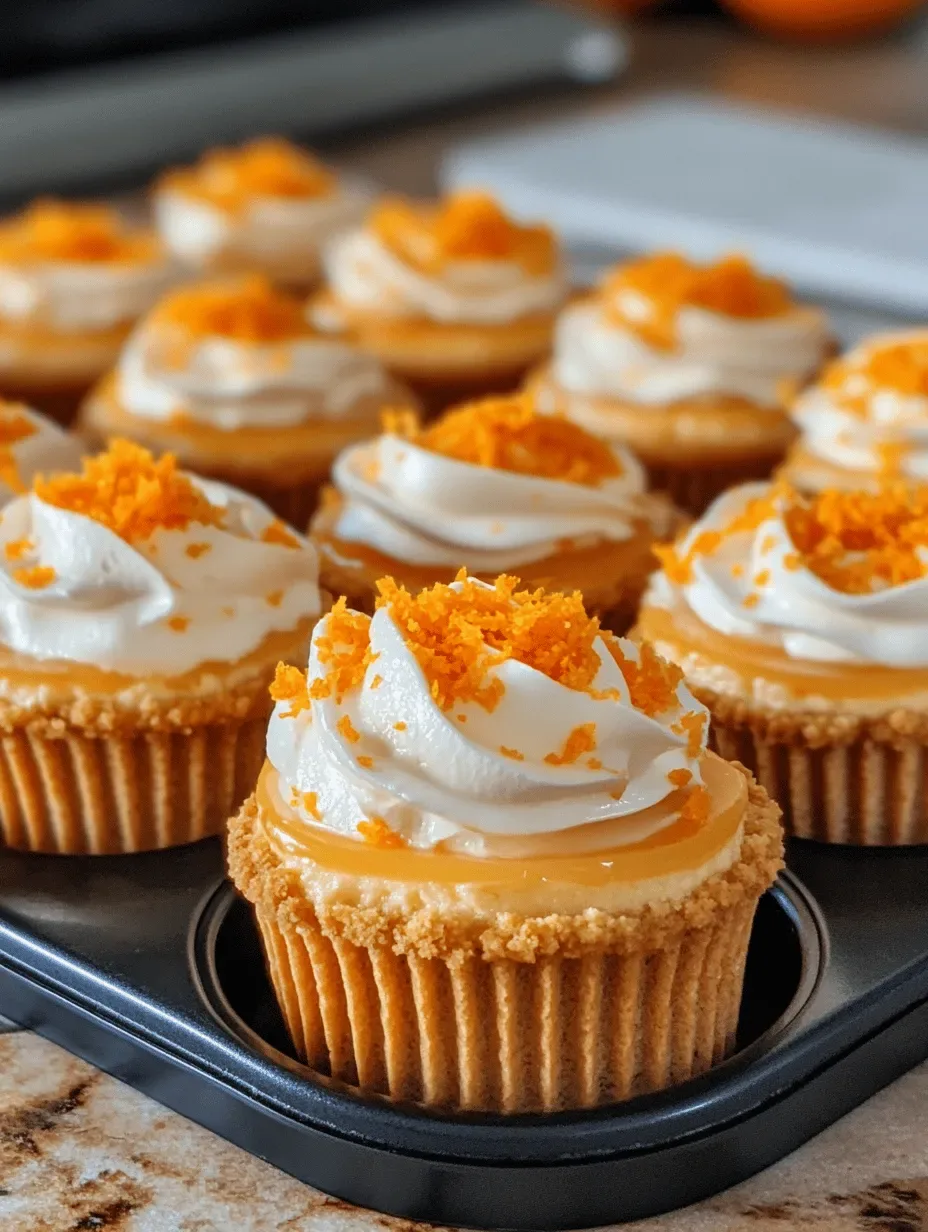
What makes this recipe truly special is the perfect marriage of bright orange curd, silky vanilla cream cheese, and a buttery graham‑cracker crust that snaps delightfully with every bite. The subtle hint of orange zest keeps the flavor lively without overwhelming the classic cheesecake richness.
These mini cheesecakes are ideal for brunch gatherings, weekend breakfasts, or even a nostalgic after‑school snack. Kids love the familiar flavor, while adults appreciate the elegant presentation and the fact they’re easy to eat with a fork or even a spoon.
The process is straightforward: blend a simple crust, whisk together a silky filling, pour, and bake just until the edges are set. A quick chill in the fridge finishes the texture, leaving you with a glossy, dreamy dessert ready to wow any crowd.
Why You'll Love This Recipe
Retro Flavor Boost: The orange creamsicle taste is instantly recognizable, turning a classic childhood memory into an elegant brunch centerpiece that delights every palate.
Mini Size, Maximum Impact: Bite‑size portions are perfect for grazing, allowing guests to sample multiple flavors without feeling over‑indulged.
Simple Prep, No Fancy Equipment: All you need are basic mixing bowls, a muffin tin, and a standard oven—no special tools or techniques required.
Visually Stunning: The vibrant orange hue against a crisp golden crust makes these cheesecakes as beautiful as they are tasty, perfect for Instagram‑ready plating.
Tips & Tricks
Perfecting the Recipe
Room‑Temperature Cream Cheese: Soften the cheese before mixing; this prevents lumps and creates a smoother filling that bakes evenly.
Don’t Over‑Mix the Egg: Incorporate the egg just until blended. Over‑mixing can introduce excess air, leading to cracks on the surface.
Use a Water Bath (Optional): Placing the tin in a shallow pan of hot water helps maintain gentle, even heat and further reduces cracking.
Flavor Enhancements
Add a teaspoon of almond extract for a subtle nutty undertone, or swirl in a dollop of raspberry puree before baking for a fruity contrast. A pinch of sea salt sprinkled on top just before serving intensifies the orange flavor.
Common Mistakes to Avoid
Skipping the chilling step leaves the filling too soft, making it difficult to remove from the tin. Also, avoid opening the oven door during baking; sudden temperature drops can cause the tops to sink.
Pro Tips
Use Fresh Orange Juice: Freshly squeezed juice provides brighter acidity and a cleaner flavor than bottled varieties.
Line the Muffin Tin: If you prefer a cleaner release, line each cup with a paper liner; it also adds a decorative touch.
Store in Individual Containers: Portioning the cheesecakes into small jars or containers helps preserve texture and makes serving a breeze.
Variations
Ingredient Swaps
Swap graham crackers for vanilla wafers or digestive biscuits for a different crumb flavor. Replace orange juice with blood orange or tangerine juice for a deeper citrus profile. For a dairy‑free version, use a blend of coconut cream and vegan cream cheese.
Dietary Adjustments
To keep the recipe gluten‑free, ensure the crackers are certified gluten‑free. For a lower‑sugar option, substitute granulated sugar with a 1:1 sugar substitute such as erythritol. Keto dieters can replace the crust with almond‑flour crumbs and use a sugar‑free orange extract.
Serving Suggestions
Serve the mini cheesecakes alongside a fresh fruit salad, a dollop of whipped coconut cream, or a drizzle of caramel sauce for extra indulgence. Pair with a sparkling orange‑infused mimosa for a brunch‑ready combo that feels both nostalgic and sophisticated.
Storage Info
Leftover Storage
Allow any remaining cheesecakes to cool completely, then transfer them to an airtight container. Store in the refrigerator for up to 4 days. For longer keeping, wrap each mini cheesecake in plastic wrap and place them in a freezer‑safe bag; they’ll maintain quality for up to 2 months.
Reheating Instructions
Reheat refrigerated leftovers in a 300°F (150°C) oven for about 8‑10 minutes, or until just warmed through. If using a microwave, heat on medium power for 20‑30 seconds per cheesecake, adding a splash of orange juice to keep the filling moist.
Frequently Asked Questions
Can I make these mini cheesecakes ahead of time?
What if I don’t have fresh oranges?
How can I make these gluten‑free?
This Orange Creamsicle Mini Cheesecake recipe captures the joy of a classic summer treat while delivering the elegance of a brunch‑worthy dessert. You’ve learned how to build a buttery crust, whisk a silky orange‑infused filling, and finish with a glossy dusting that looks as good as it tastes. Feel free to experiment with swaps, toppings, or seasonal twists—cooking is all about making it your own. Serve, snap a photo, and savor every nostalgic bite!
Orange Creamsicle Mini Cheesecakes: A Nostalgic Delight
Delicious Orange Creamsicle Mini Cheesecakes: A Nostalgic Delight
Ingredients
Crust
- 1 cup graham cracker crumbs
- 2 tablespoons unsalted butter, melted
- 1 tablespoon granulated sugar
Filling
- 8 ounces cream cheese, softened
- 1/3 cup granulated sugar
- 1 large egg, lightly beaten
- 1/4 cup freshly squeezed orange juice
- 1 teaspoon orange zest (about 1 orange)
- 1 teaspoon pure vanilla extract
Topping
- Powdered sugar, for dusting
- Extra orange zest (optional)
Instructions
Baking & Finishing
- Preheat the Oven. Set your oven to 325°F (163°C) and let it fully preheat. A steady temperature ensures the cheesecakes bake evenly without over‑browning the tops.
- Fill the Cups. Spoon the cream filling over each crust, filling each cup to within 1/4 inch of the rim. A small offset spatula helps achieve smooth, even tops.
- Bake Gently. Place the muffin tin on the middle rack and bake for 18‑22 minutes, or until the edges are set and the centers still have a slight wobble. This gentle bake keeps the interior creamy.
- Cool & Chill. Remove the tin from the oven and let the cheesecakes cool on a wire rack for 30 minutes. Then, refrigerate for at least 2 hours (preferably overnight) to allow the filling to firm up fully.
- Serve. Just before serving, dust each mini cheesecake with a light layer of powdered sugar and sprinkle extra orange zest for a pop of color and aroma. Use a small offset spatula to lift them out of the tin.
Similar Recipes
 Desserts
No-Bake Biscoff Cheesecake Truffles
Delicious No-Bake Biscoff Cheesecake Truffles
 Desserts
Heavenly Sweet Glazed Peach Cobbler
Delicious Heavenly Sweet Glazed Peach Cobbler
 Desserts
Delicious Strawberry Danish That’s Easy to Make at Home
Learn how to make delicious Delicious Strawberry Danish That’s Easy to Make at Home. Easy recipe…
 Desserts
Tropical Paradise Cheesecake Cups
Delicious Tropical Paradise Cheesecake Cups
 Desserts
Italian Almond-Orange Cookies – Soft, Chewy Citrus Almond Treats
Learn how to make delicious Italian Almond-Orange Cookies – Soft, Chewy Citrus Almond Treats. Easy recipe…
 Desserts
Frozen Coconut Vanilla Chia Bites Recipe
Delicious Frozen Coconut Vanilla Chia Bites Recipe
 Desserts
Rich & Creamy New York Cheesecake Recipe
Delicious Rich & Creamy New York Cheesecake Recipe
 Desserts
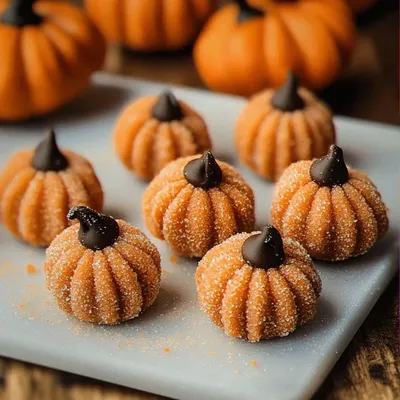
Delightful Pumpkin Cheesecake Truffles for Fall Celebrations
Learn how to make delicious Delightful Pumpkin Cheesecake Truffles for Fall Celebrations. Easy recipe with step-by-step…

Caroline
I cook these recipes at home before they ever land here — simple ingredients, clear steps.